After you add a picture to a document in Google Docs, there are several ways you can modify it. This is great when a picture that you have added to your document is backward, facing the wrong direction, or needs some minor edits.
But if you’ve never had to make modifications to a photo that you put in a document, then you may be wondering how to rotate a picture in Google Docs.
Fortunately the tool that allows for this will appear when you click on an image in your document, allowing you to rotate the image ad needed.
How to Turn a Picture in a Google Document
- Sign into Google Drive and open the Docs file.
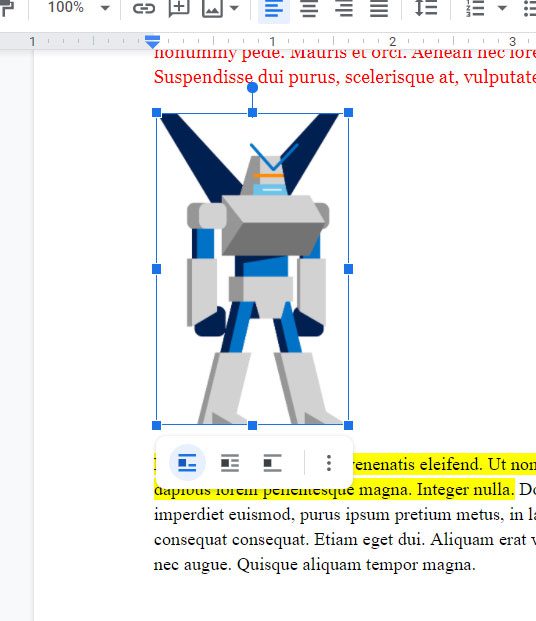
- Click on the picture to rotate.
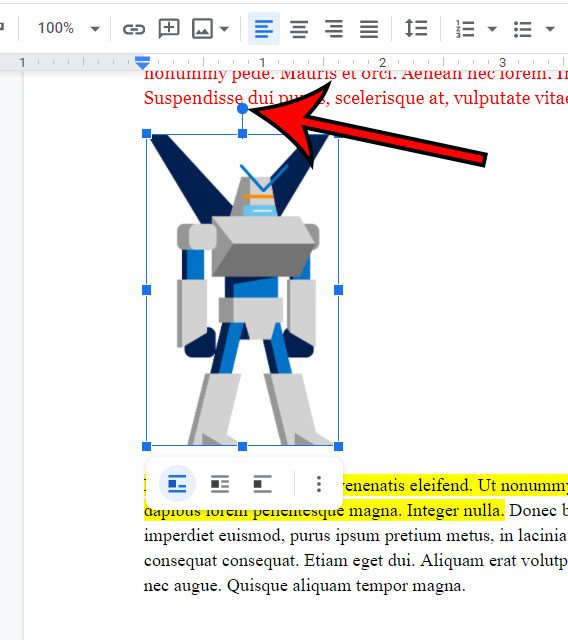
- Click and hold on the circular handle at the top of the picture.
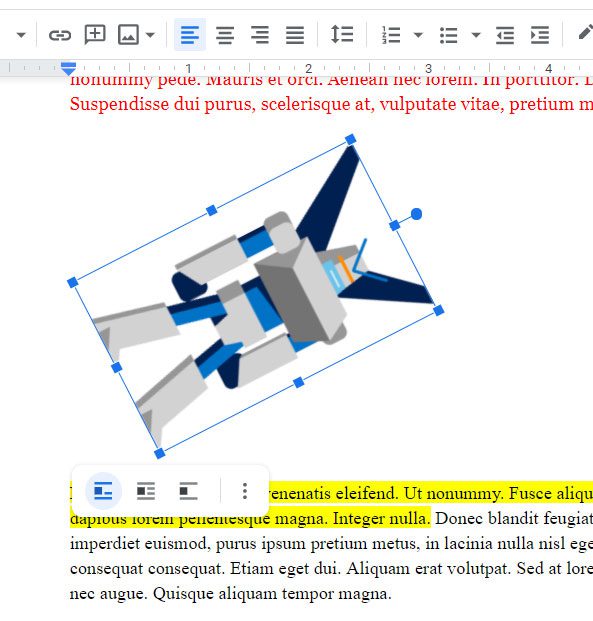
- Drag the handle to rotate the image.
The article continues below with additional information on how to rotate a picture in Google Docs, including pictures for the steps.
Related: How to Insert a Circle in Google Slides
Many times a picture that you have on your computer or that you find online will not be rotated properly.
This is pretty common with pictures taken on smartphones as they can vary between portrait and landscape orientation.
When you insert a picture with the wrong orientation into your Google Docs document, you will need to find a way to rotate that picture so that it displays the way that you need.
Our guide below will show you how to rotate a picture in Google Docs.
Find out how to do subscript in Google Docs if you often write mathematical equations in your document and need to format some text in that manner.
How to Rotate an Image in Google Docs (Guide with Pictures)
The steps in this article were performed in the desktop version of the Google Chrome Web browser, but will also work in other desktop browsers as well.
Step 1: Sign into your Google Drive and open the Docs file with the picture you need to rotate.
Step 2: Click on the picture to select it.

Step 3: Click and hold on the circle handle attached to the top border of the image.

Step 4: Drag the picture until it is at the correct rotation.

Now that you know how to rotate a picture in Google Docs you will be able to fix images that you have placed in your document that need to be turned in one direction or another.
Note that if there is other content surrounding the picture then that content may be moved to accommodate the new layout of the picture.
When you have a picture selected in Google Docs, an Image options button will appear in the toolbar above the document. If you click that button it will show some options in a column at the right side of the window.
If you click the Size & Rotation tab you will see another way to rotate the picture where you can specify the angle of rotation that you wish to use.
This can be a better way to rotate Google images, as it gives you a bit more precision over that rotation.
Continue Reading
- How to change margins in Google Docs
- How to add strikethrough in Google Docs
- How to add a row to a table in Google Docs
- How to insert a horizontal line in Google Docs
- How to change to landscape orientation in Google Docs

Matthew Burleigh has been writing tech tutorials since 2008. His writing has appeared on dozens of different websites and been read over 50 million times.
After receiving his Bachelor’s and Master’s degrees in Computer Science he spent several years working in IT management for small businesses. However, he now works full time writing content online and creating websites.
His main writing topics include iPhones, Microsoft Office, Google Apps, Android, and Photoshop, but he has also written about many other tech topics as well.