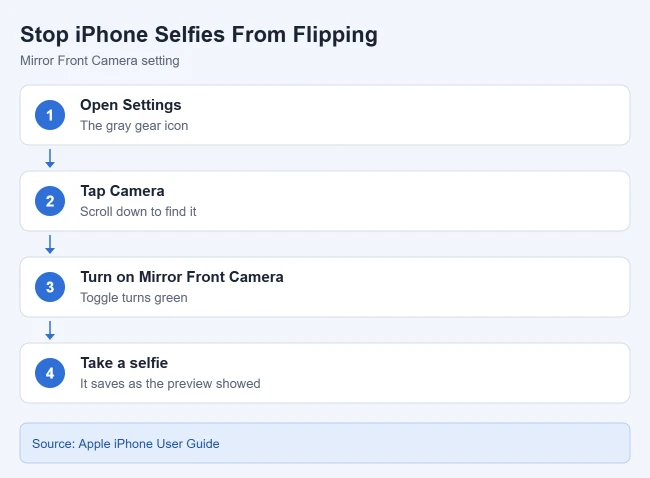
To stop your iPhone from flipping selfies, go to Settings > Camera and turn on Mirror Front Camera. Your selfies then save exactly the way they looked in the camera frame, instead of reversed. To go back to the flipped look, turn the setting off.
This guide covers the setting, why selfies look flipped, how to fix photos you already took, and what to do if “inverted” means your colors look reversed. The steps come from Apple’s iPhone User Guide pages Take a selfie, Crop, rotate, flip, or straighten photos and videos, and Change display colors.
How to Turn Off the Inverted (Flipped) Selfie Camera
- Open the Settings app.
- Scroll down and tap Camera.
- Turn on Mirror Front Camera.
- Open the Camera app, switch to the front camera, and take a selfie.
Result: Apple says the selfie now captures the shot as you see it in the front-facing camera frame, rather than reversing it. Text on your shirt will look backward in the saved photo, just as it does in the preview.
Older iPhones
The setting arrived in iOS 14. It may be labeled Mirror Front Photos on iPhone X and earlier. The setting covers both photos and videos on iPhone XS, iPhone XR, and later, but only photos on older models. If your iPhone can’t run iOS 14, flip each selfie by hand with the steps below.
Why iPhone Selfies Look Flipped
The front camera preview works like a mirror. It shows you the way you’re used to seeing yourself in a bathroom mirror. With Mirror Front Camera turned off, which is the default, the saved photo shows you the way other people see you, which is the reverse of the preview.
That’s why the part in your hair or a logo on your shirt can look like it switched sides. Neither version is wrong. Many social media apps save mirrored selfies, so you may be more used to that look.
Which setting should you use?
- Mirror Front Camera on: the photo matches the preview and the mirror image you know.
- Mirror Front Camera off: the photo shows the true view, so text and signs in the background read correctly.
How to Flip a Selfie You Already Took
The setting only affects new selfies. To fix one you already took, use the Photos app:
- Open the photo in the Photos app.
- Tap the Edit button.
- Tap the Crop button.
- Tap the Flip button. Apple says this flips the image horizontally.
- Tap Done to save.
Result: The photo is mirrored. If you use iCloud Photos, Apple says the edit is saved on all your devices. To undo it later, open the photo, tap Edit, and tap Revert.

If “Inverted” Means Reversed Colors
Some people say “inverted camera” when the colors on the screen look like a photo negative. That’s not a camera setting. It’s usually an accessibility display option. Apple describes two modes:
- Smart Invert: reverses colors everywhere except images.
- Classic Invert: reverses all the colors on the screen, including what the camera shows.
- Go to Settings > Accessibility > Display & Text Size.
- Turn off Classic Invert and Smart Invert.
Result: The screen and camera preview go back to normal colors.
Troubleshooting
- No Mirror Front Camera option: update your iPhone in Settings > General > Software Update. On older models, look for Mirror Front Photos.
- Selfies still look flipped in another app: Apple describes the setting for its Camera app. Apps that take photos with their own camera screens may handle selfies differently, and many social apps save mirrored selfies on their own.
- The preview looks flipped, not the photo: that’s normal. The preview is always a mirror view; the setting only changes the saved photo.
- The setting won’t stick: Try closing the Camera app from the App Switcher or restarting the iPhone. See how to turn off your iPhone.
Frequently Asked Questions
Does Mirror Front Camera change photos I already took?
No. It only changes selfies you take after you turn it on. Use the Photos app’s Flip button for older shots.
Does it affect the back camera?
No. Apple describes it only as a setting for the front-facing camera.
Related Guides
- How to turn on the camera grid on an iPhone
- How to take a long exposure on an iPhone
- How to take a screenshot on an iPhone

Matthew Burleigh is the founder, head writer, and editor of Solve Your Tech, which he launched in 2012. He has written technology tutorials since 2008 and worked in IT since 2003, including small-business support, IT management, and consulting. He holds Bachelor’s and Master’s degrees in Computer Science from Arizona State University.
Matthew writes practical guides for Windows, iPhone and iPad, Microsoft Office, Outlook, Google apps, and Android. Solve Your Tech’s guides are tested on current devices or checked against official product documentation, with clear steps, sources, and update dates.
Read more about Matthew and how Solve Your Tech writes and updates its guides, or report a correction.