To reverse image search on an iPhone, open the Google app, tap the Lens camera icon, select a photo, and adjust the selection box around what you want to find. You can also upload a saved image through Google in Safari or Chrome. The Google app is a useful starting point if you want to photograph an object directly.
This guide covers the current Google Lens routes documented for iPhone and iPad. Button names and placement can vary with app updates. The original pictures below were captured for an iPhone 13 running iOS 15.5; they show the earlier interface.
Before You Start
A reverse image search uses a picture as the search input. It can help you identify an object, compare similar pictures, or investigate where an image appears online. Those are different goals: a similar-looking result is a lead to investigate, not confirmation that you found the exact photograph or its creator.
Use an internet connection and an updated browser or Google app. The Google app from the App Store is free to download; you do not need a separate paid reverse-image app for these methods. Choose a picture you are comfortable uploading to a search service. Avoid using private documents or photos containing information you do not want to submit.
If you want to find pictures by typing a description instead of uploading a photo, use our guide to image search on iPhone with keywords. It covers the image-results viewer, collections, source pages, and usage-rights filters.
Search a Saved Photo with the Google App
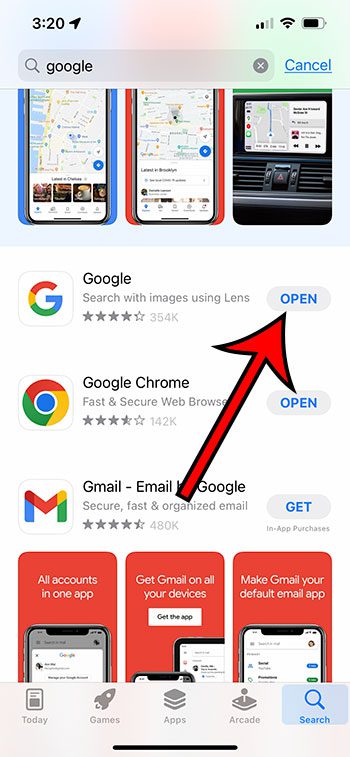
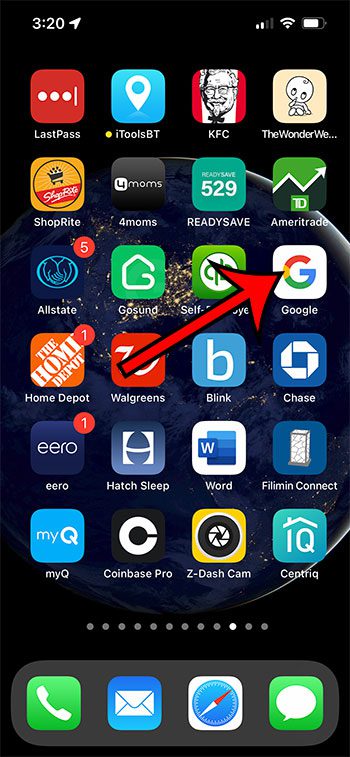
- Open Google. Install or update the app if necessary, then tap its icon. You should see the Google search screen.
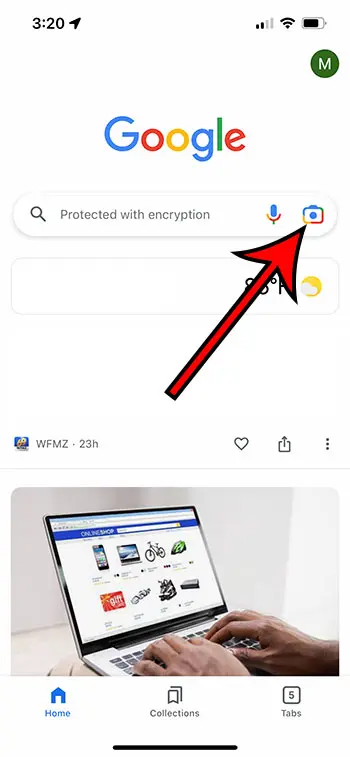
- Tap the Lens camera icon beside the search field. This opens the image-search controls rather than a text search.
- Choose the photo picker and select your saved picture. If the app requests access, select an access level appropriate for the photo you want to use. The selected image should appear in Lens.
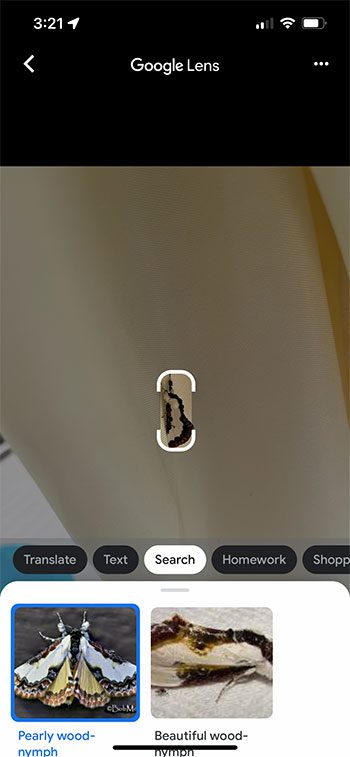
- Adjust the selection box. Drag its corners around the object or area you want to search. Start with the whole picture when looking for copies; narrow the box when identifying one object.
- Scroll through the results. Open promising pages and compare their images and descriptions. In the Google app, use Add to your search to add a clue such as a color, material, or place.
To search something in front of you, use the camera option in Lens instead of selecting a saved photo. Point at the object and tap the search control. Camera permission is relevant to taking a new picture; it is a separate issue from choosing a photo already on your phone. If a website in Chrome needs the camera, see how to allow Chrome to use the camera on iPhone. See Google’s iPhone image-search instructions for current options.
Original iPhone 13 Screenshot Reference
These four original screenshots accompany the earlier iPhone 13/iOS 15.5 version of this guide. The sequence remains useful for recognizing the app, Lens entry point, and crop controls, but current screens may look different.
Upload a Picture in Safari or Chrome
- Open the browser and visit google.com. Use the Google webpage for this method; a general Safari image menu does not necessarily include Lens.
- Tap the Lens icon in Google’s search bar. Choose the photo picker or upload option shown, then select your image.
- Review the selected area and results. Adjust the box if you want to focus on one part of the image. If this route does not show the controls you need, use the Google app method above.
You do not need to change Safari’s default search engine just to visit Google directly. If you also want ordinary address-bar searches to use Google, our guide to changing the iPhone’s Safari search engine explains that separate setting.
Search an Image Already on a Website
In the Google app or Chrome, open the page containing the picture, then touch and hold the image. Google documents Search inside image in its app and Search image with Google in Chrome. For Chrome’s website-image method, Google must be the default search engine. If the menu is unavailable, use a saved copy with the upload method instead.
For a picture in Google Images results, tap it to open the larger viewer. Use its Lens control, or touch and hold the image and choose the Lens search option when offered. Google’s image-viewer help also explains the Visit option for opening the page that contains a result.
Fix Missing Photos or Unhelpful Results
The photo is missing: check Settings > Apps > Google > Photos. Google lists None, Limited access, and Full access. Limited access can be sufficient when your chosen picture is included; you do not have to grant access to every photo simply to search one image.
The Lens option is missing: check whether you are using the Google webpage, the Google app, or Chrome. Their menus differ. Update the app and try the main Lens entry point rather than assuming the Photos share sheet or Safari’s long-press menu must contain it.
The results focus on the wrong object: reduce the selection area. For example, if a room photo produces furniture results when you want the wall print, draw the box around the print. If a tightly cropped search loses useful context, try the whole picture again.
You cannot find the exact picture: compare several results and their pages. A photo of a common product can return similar products without finding your particular image. A failed search does not establish that the image has never appeared online.
Can Reverse Image Search Prove a Picture Is Authentic?
No single result proves authenticity or ownership. When available, About this image can offer earlier uses, similar versions, and the approximate time Google first encountered an image. That time is not necessarily when the photograph was created.
Open the underlying pages, compare their explanations, and look for independent evidence of important claims. Google notes that image metadata can be edited and that this feature is available only in some regions. Read Google’s explanation of About this image before treating an early result or metadata field as definitive.
No. Its availability can vary, and this guide does not depend on it. Open the Google app and select the image through Lens, or upload the picture through Google in your browser. If your first search is too broad, adjust the selected area and compare the pages behind the next set of results.

Matthew Burleigh is the founder, head writer, and editor of Solve Your Tech, which he launched in 2012. He has written technology tutorials since 2008 and worked in IT since 2003, including small-business support, IT management, and consulting. He holds Bachelor’s and Master’s degrees in Computer Science from Arizona State University.
Matthew writes practical guides for Windows, iPhone and iPad, Microsoft Office, Outlook, Google apps, and Android. Solve Your Tech’s guides are tested on current devices or checked against official product documentation, with clear steps, sources, and update dates.
Read more about Matthew and how Solve Your Tech writes and updates its guides, or report a correction.