This guide is going to show you how to place a picture in the header of your Google Docs document so that it appears at the top of every page.
We cover these steps briefly at the top of the article, then continue below with additional information and pictures for the steps.
How to Insert a Google Docs Header Image
- Open the document in Google Docs.
- Double-click inside the header section of the document.
- Select the Insert tab at the top of the window.
- Choose the Image option, then select the location of the image to add.
- Locate the image, then select it to insert it into the header.
The header of a document that you create in Google Docs can include many types of information. It’s common to add page numbers, document titles, or your name, but you may find yourself needing to add an image, such as a company logo.
Luckily it is possible to include a picture in your document header so that it appears at the top of each page. Our guide below will show you how to accomplish this in Google Docs.
Our tutorial on how to do subscript in Google Docs will show you a quick way to format data as either subscript or superscript in one of your documents.
How to Show a Picture at the Top of Each Page in Google Docs (Guide with Pictures)
The steps in this article were performed in the desktop version of the Google Chrome Web browser, but will work in other browsers too, like Mozilla’s Firefox or Microsoft Edge.
If you have a file on your computer, then you can upload it to Google Drive and let the application convert it to a Google Docs file.
Step 1: Sign in to your Google Drive at https://drive.google.com and open the document to which you wish to add the header image.
Step 2: Double-click inside the header section at the top of the page.
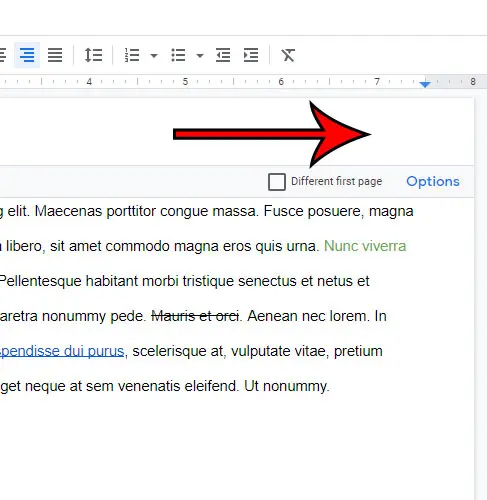
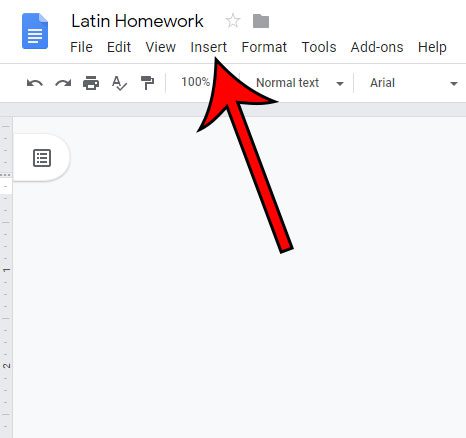
Step 3: Click the Insert tab at the top of the window.
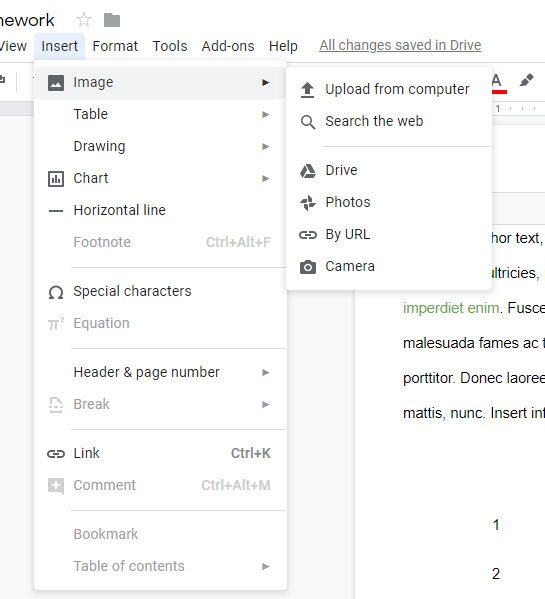
Step 4: Hover over the Image option, then choose the location of the picture that you want to add.
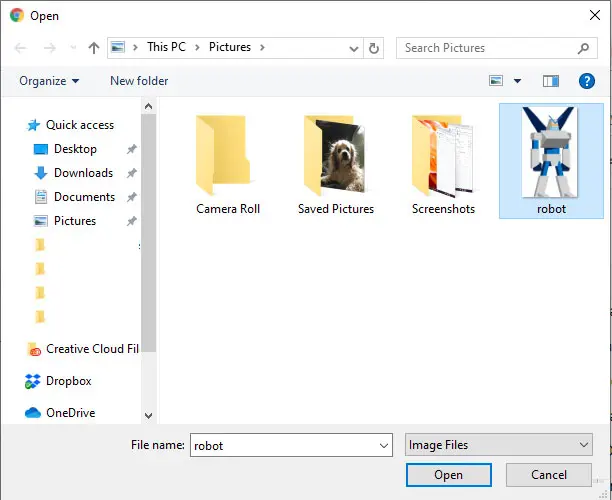
Step 5: Browse to the picture, then select it and click the Insert or Open button.
Depending on the size of the image you may need to use the anchors on the image border to resize it.
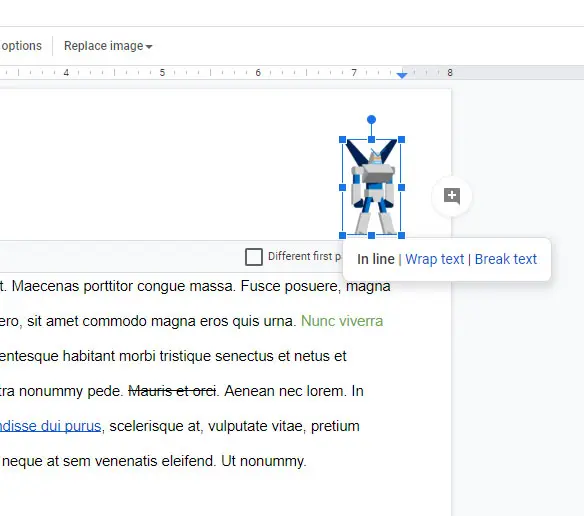
Now that you know how to insert a Google Docs header image in your document you can use it to do things like including a company logo on your documents, or adding a watermark to the things that you create.
Related: How to Do Hanging Indent on Google Docs
Find out how to delete a header in Google Docs if you need the additional space on the page, or if there is header data that you don’t want to include in your document.
Conclusion
While word-processing applications like Microsoft Word and Google Docs make it easy for you to include pictures inside of the body of a document, it can be a little tricky when you have an image that you want in your header or the background.
In Google Docs, adding an image to the header section of the document is a great way to include something like a watermark or a company logo that you want to appear on every page of the document.
Hopefully, our Google Docs header image guide above has provided you with the information and instruction that you need in order to add this type of content to your documents.
Continue Reading

Matthew Burleigh has been writing tech tutorials since 2008. His writing has appeared on dozens of different websites and been read over 50 million times.
After receiving his Bachelor’s and Master’s degrees in Computer Science he spent several years working in IT management for small businesses. However, he now works full time writing content online and creating websites.
His main writing topics include iPhones, Microsoft Office, Google Apps, Android, and Photoshop, but he has also written about many other tech topics as well.