When you first set up your Apple watch on your iPhone, you had to select the wrist on which you would wear the device, as well as the side on which the digital crown was located. This causes the Apple Watch to automatically orientate its face so that you could see it.
But if you decide later that you want to wear your watch on your other wrist, or that you want to put the crown on a different side, then the face might be backwards. Fortunately you can change the wrist setting on your Apple Watch at any time, allowing you to reconfigure the face so that you can read it.
When you use AirPods to listen to music on your iPhone you might get interrupted by Siri reading notifications. Our guide on how to turn off AirPod notifications can stop that from happening.
How to Switch the Wrist on Which You Wear Your Apple Watch
The steps below were performed on an iPhone 7 Plus, in iOS 10.2. The watch is using Watch OS 3.2. If you don’t have an iPhone paired with your Apple watch, then you can scroll to the bottom of this article where we show you how to change the wrist setting directly from the Apple Watch.
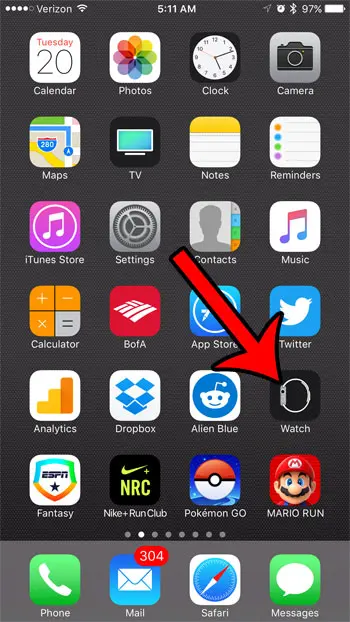
Step 1: Open the Watch app on your iPhone.
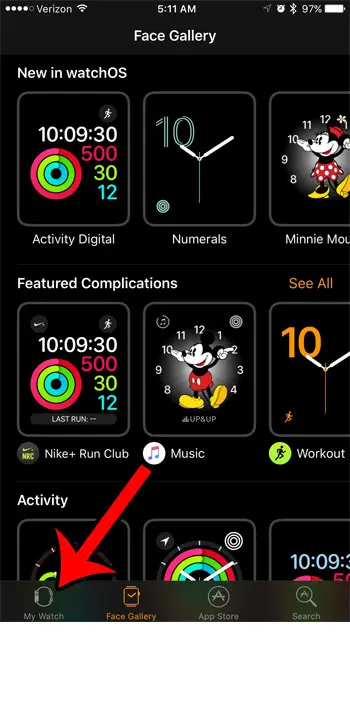
Step 2: Select the My Watch tab at the bottom-left corner of the screen.
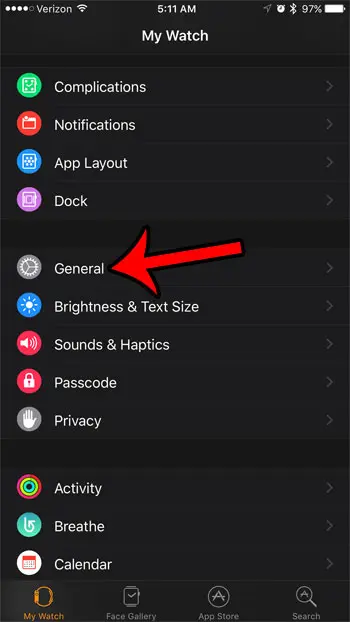
Step 3: Select the General option.
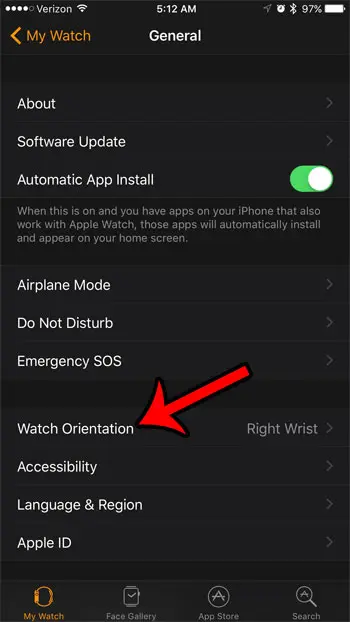
Step 4: Tap the Wrist Orientation option.
Step 5: Select the wrist on which you want to wear your Apple Watch. Additionally, make sure that the setting for the digital crown aligns with how you will be wearing the watch on your wrist. If you switch the wrist setting, but don’t change the digital crown setting, then the orientation of the watch face will not change.
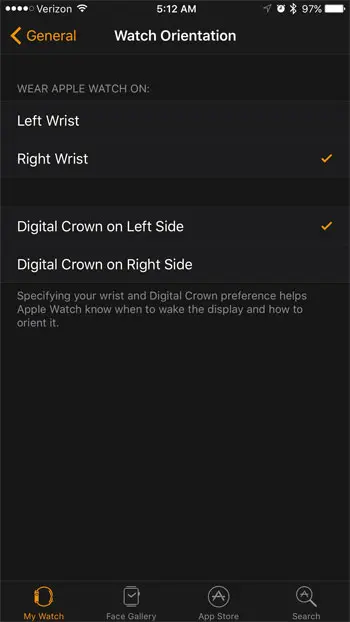
If you don’t have your Apple Watch set up on an iPhone, then you can also adjust this setting directly from the watch itself.
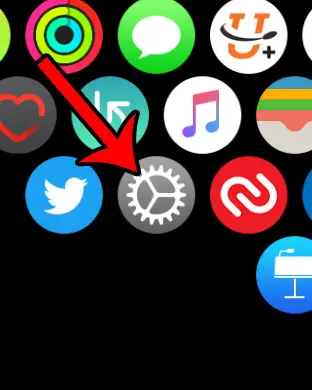
Step 1: Tap the Settings icon on the watch.
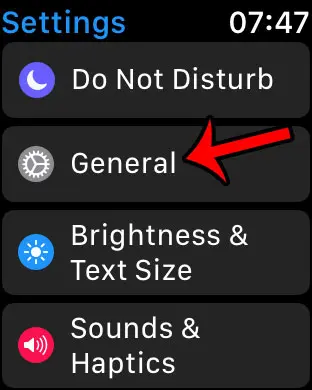
Step 2: Tap the General option.
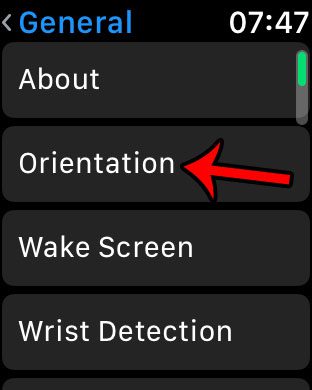
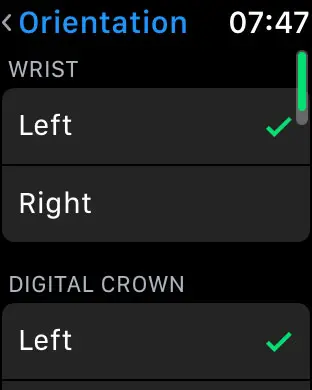
Step 3: Select the Orientation option.
Step 4: Select the wrist and digital crown settings that you wish to use.
Are there other things about your Apple Watch that you would like to change? One of the first settings I changed on my iPhone was to turn off the Breathe Reminders. At first it was interesting, but after a while I stopped doing them, and was always just dismissing the notification.

Matthew Burleigh has been writing tech tutorials since 2008. His writing has appeared on dozens of different websites and been read over 50 million times.
After receiving his Bachelor’s and Master’s degrees in Computer Science he spent several years working in IT management for small businesses. However, he now works full time writing content online and creating websites.
His main writing topics include iPhones, Microsoft Office, Google Apps, Android, and Photoshop, but he has also written about many other tech topics as well.