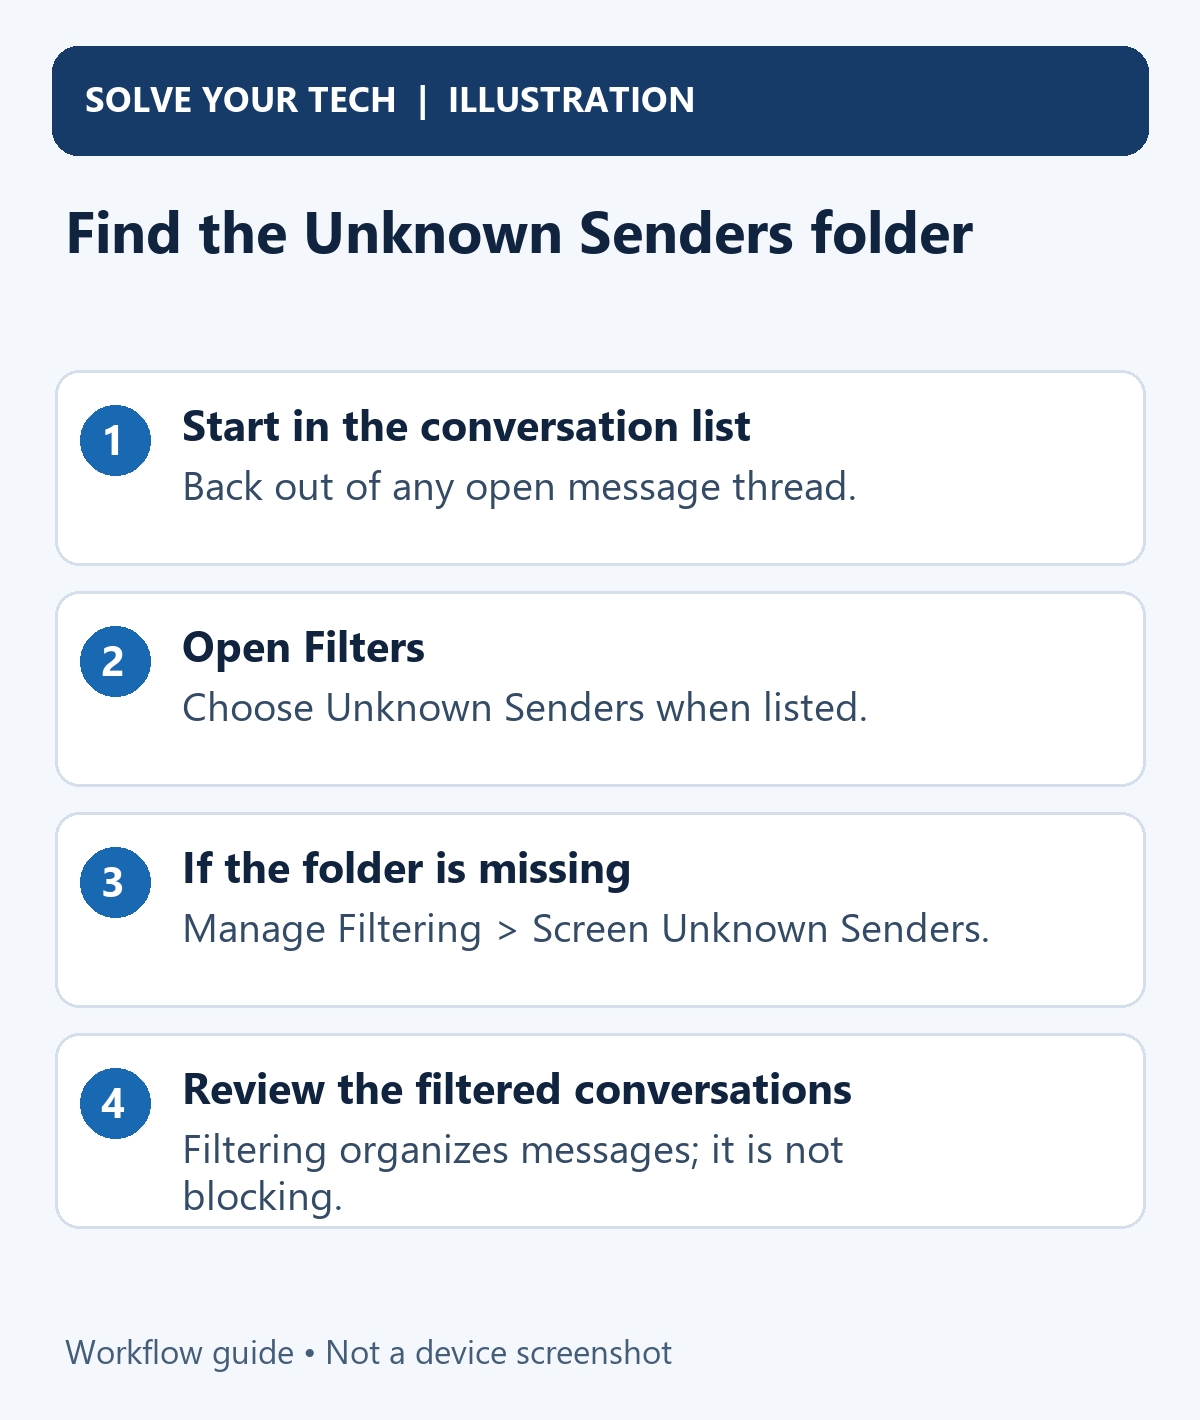
On current iPhone software, open Messages, return to the conversation list, tap the Filters button, and choose Unknown Senders. If the option is missing, tap Manage Filtering and turn on Screen Unknown Senders. This organizes unfamiliar senders into a separate folder; it does not delete their messages or block every unwanted number.
The quickest check is to leave the conversation you are reading first. The filtering controls belong to the list of conversations, so you will not find them beside the text-entry box inside an individual chat.
This guide follows Apple's current iOS 27 user guide and its separate iOS 26 support instructions. It also includes the older Filter Unknown Senders routes for iOS 18 and iOS 17. These are documented instructions; the illustrations explain the workflow and are not device screenshots.
Before you look for the folder
Make sure you are using Apple's Messages app. WhatsApp, Messenger, and an email inbox have their own organization controls. An Unknown Senders folder in Messages does not rearrange messages in those other apps.
If you are unsure which instructions apply, open Settings > General > About and check your iOS version. Choose one version's steps below and follow that method from beginning to end. The iPhone model alone does not tell you which menu names are installed.
Have a particular missing message in mind, if possible. For example, you might be expecting a delivery update from a number you have never saved. That gives you something useful to look for after enabling the folder. You do not need to send a reply to an unfamiliar number just to test filtering.
Find Unknown Senders on current iOS
- Open Messages. If a conversation opens, use the back control at the upper left to return to the conversation list. You should see several conversations rather than one message thread.
- Tap the Filters button in that list. Apple's documentation sometimes calls it the Filter button or shows its icon instead of the word. This opens the available conversation views.
- Choose Unknown Senders if it is listed. You are now viewing messages separated from your main conversation list.
- Open a conversation to read it. Check the sender's number or email address and the message itself before deciding whether you recognize it.
- To return to your regular messages, go back to the list and use Filters to choose the main conversation view again.
A folder can be empty even when filtering is working. It only shows messages that qualify for that view; it is not a collection of every message from a phone number you find unfamiliar. A message may already belong to a known sender or temporarily appear in the main list because of your notification choices.
Turn on Screen Unknown Senders if the option is missing
- In Messages, return to the conversation list and tap Filters. Stay in the list rather than opening an individual conversation.
- Tap Manage Filtering. This opens the filtering settings used by Messages.
- Find Screen Unknown Senders and turn it on. If you are on iOS 26, Apple's support article says to scroll to the Unknown Senders area to find the switch.
- Return to Messages, open Filters, and choose Unknown Senders. Review the resulting list before assuming an expected text never arrived.
There is also a route through Settings > Apps > Messages. Apple's iOS 26 instructions place Screen Unknown Senders in the Unknown Senders section. This is useful when you can find Messages in Settings more easily than the filtering button in the app.
Apple says the feature is off by default in iOS 26. However, if Filter Unknown Senders was already enabled in iOS 18, screening is enabled when upgrading to iOS 26. Therefore, a phone that recently changed versions may already be screening messages even if you have not touched the new switch yourself.
For the documented paths and behavior, see Apple's current screen and filter messages guide and iOS 26 Unknown Senders instructions.
Find the older Filter Unknown Senders setting
On iOS 18
- Open Settings, tap Apps, and choose Messages. This is the app's settings page, not your conversation list.
- Scroll to Message Filtering and turn on Filter Unknown Senders.
- Open Messages and return to the conversation list.
- Tap Filters at the upper left, then choose Unknown Senders.
Apple's iOS 18 guide describes this older feature in terms of iMessage. Do not assume every current screening or text-categorization option exists on that version.
On iOS 17
- Open Settings > Messages. This version uses the direct Messages entry rather than the newer Apps route.
- Scroll to Message Filtering and enable Filter Unknown Senders.
- Return to the conversation list in Messages.
- Tap Filters at the upper left and select Unknown Senders.
The older setting name is expected on these versions. You do not need to search for a switch called Screen Unknown Senders if your phone still uses Filter Unknown Senders. Likewise, a screenshot showing two tabs from a much older interface may not match the filtering menu on your installed software.
Move a legitimate conversation back to the main list
Before marking someone as known, confirm who they are. A recognizable organization name in the message text is not enough by itself. For an unexpected delivery or payment notice, you can check the organization's official app or website independently instead of opening a link in the text.
On current iOS:
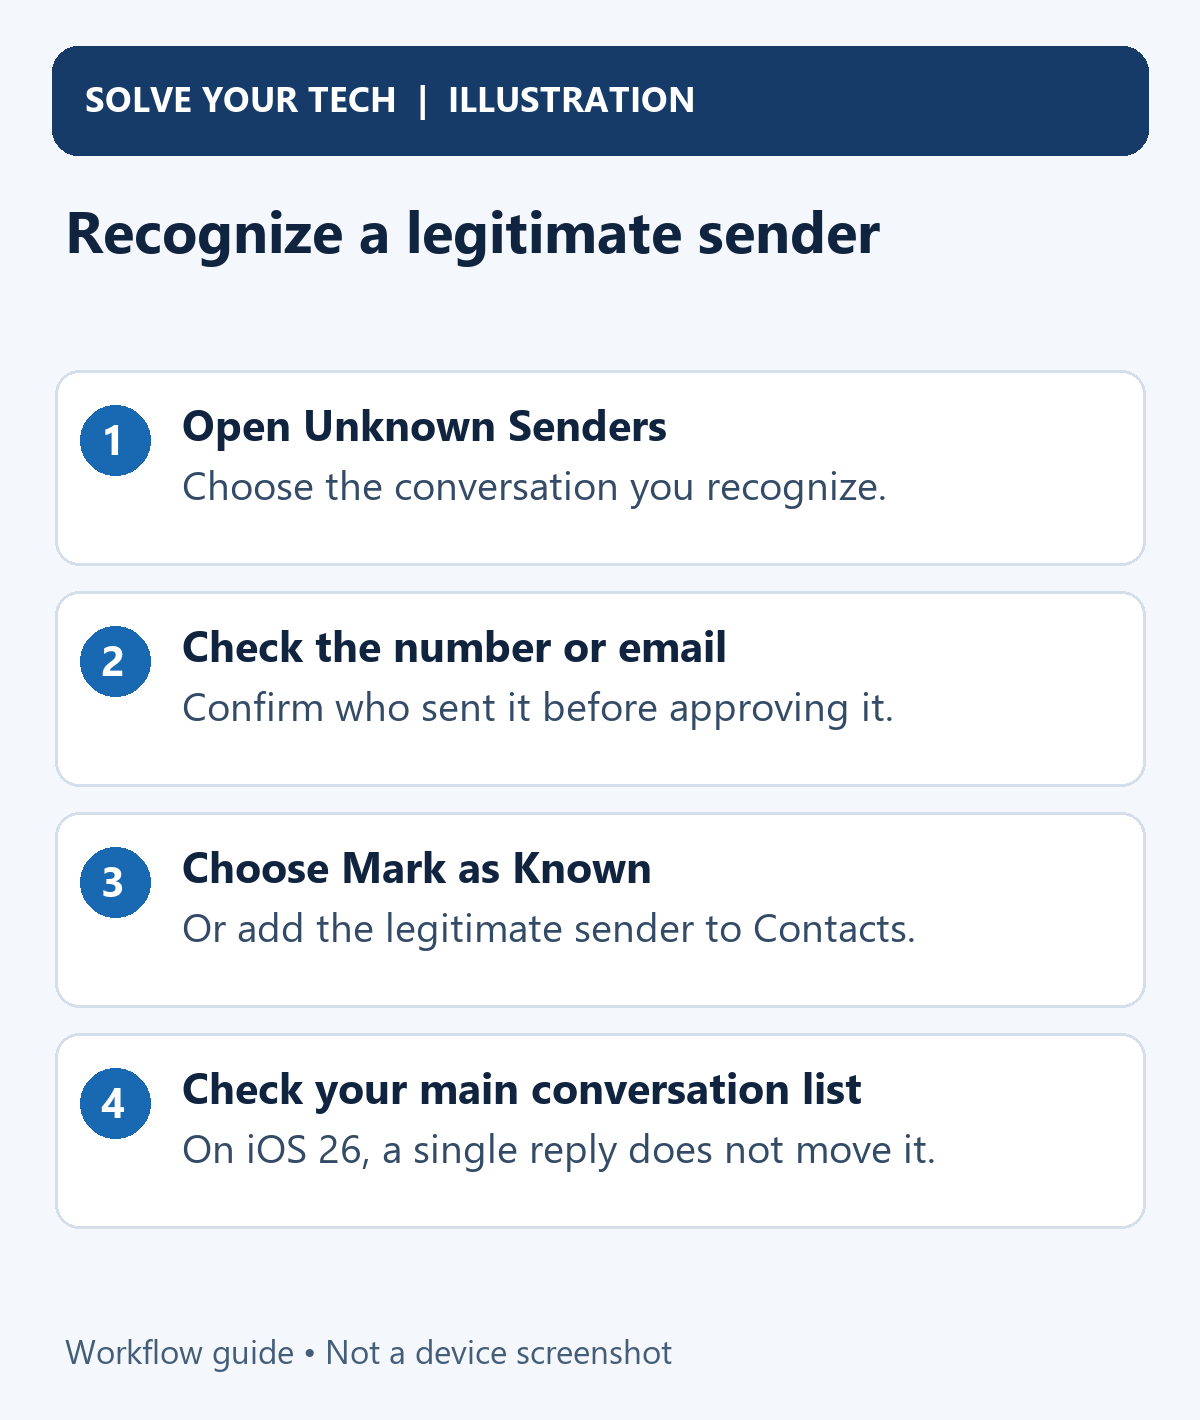
- Open Messages > Filters > Unknown Senders.
- Tap the conversation you recognize. Check the actual number or email address at the top.
- Tap Mark as Known. Apple's instructions say the selected conversation moves to the main conversation list.
- Alternatively, tap the number or email address at the top and choose Create New Contact if you want to save the person in Contacts.
- Return to the conversation list and confirm that you can find the thread there.
Saving a contact and marking a sender as known serve related purposes, but they are different actions. Use Create New Contact when you want a saved name and contact details. Use Mark as Known when your immediate goal is to treat that sender as recognized in Messages.
On iOS 26, simply replying once does not automatically mark the sender as known or move the thread into the main list. Apple's current guide also says future messages remain filtered until the sender is marked known or added as a contact. The older iOS 17 and 18 guides describe adding a contact or replying as ways to make an iMessage sender known, so avoid applying an older reply-based instruction to the newer interface.
Keep useful alerts from unknown senders
Screening can make your main list easier to browse, but you may still want an alert for a verification code. Configure those exceptions deliberately rather than turning off all Messages notifications.
- On iOS 26, open Settings > Apps > Messages.
- Scroll to Unknown Senders and tap Allow Notifications.
- Review the available categories. Apple's support article lists Time Sensitive, Personal, Transactions, and Promotions; the available options depend on your country or region.
- Enable the categories you want. You can also reach notification choices from the filtering settings described in the current iPhone guide.
- Return to Unknown Senders periodically to review legitimate messages that did not produce an alert.
Apple's iOS 26 support article says Time Sensitive notifications, including verification codes and urgent alerts, are on by default. It also says an unknown-sender message allowed to notify can appear in the main conversation list for eight hours, then appear in Unknown Senders afterward. This explains why a delivery or verification text may seem to change locations later.
Notification defaults and category controls vary by region. Apple specifically describes adjustable unknown-sender notification choices for the United States, Brazil, and India. If you do not see the same categories as another person's phone, check your version and regional availability before treating it as a malfunction.
Understand the other filtering choices
Screen Unknown Senders determines how unfamiliar senders are separated from the main conversation list. Text Message Filter is a related control for organizing SMS, MMS, and RCS messages into categories such as Transactions and Promotions, including categories supplied by installed filtering extensions.
To inspect that second control, open Messages > Filters > Manage Filtering > Text Message Filter. Apple's instructions describe enabling Text Message Filter and any installed third-party filtering extensions there. A third-party app is not required just to follow the basic Unknown Senders folder instructions in this guide.
Do not assume a transaction category is the same as a Junk folder. A shipping update can be an unfamiliar sender's legitimate transaction message. Similarly, being in your main list does not certify that a message is trustworthy.
Apple says text message filtering does not apply to senders you have replied to three times or more. If a familiar unwanted number continues reaching you, repeatedly changing filtering settings may not solve that problem. For stopping a specific sender, follow our guide to blocking text messages and calls on iPhone.
Fix common missing-folder and missing-message problems
Filters is missing while you are reading a chat
Back out to the conversation list first. Check the controls there. Changing settings inside one conversation will not expose the list's filtering menu.
The instructions show a different setting name
Check Settings > General > About. Use Screen Unknown Senders for the current branch described above, or Filter Unknown Senders for iOS 17 and 18. The presence or absence of Apps in the Settings route is another version difference.
An expected message is not in Unknown Senders
Check the main conversation list as well. Search for the sender's phone number, saved contact name, or a distinctive word from the expected message. If you have enabled additional text categories, look in the relevant category too. An allowed notification may temporarily put a message in the main list; a known sender may not belong in Unknown Senders at all.
Filtering can organize a message that arrived. It cannot make a message appear if it was never delivered. Confirm the correct receiving number with the legitimate sender before changing several unrelated settings.
Unknown-sender alerts still appear
Review Allow Notifications and its categories. Screening is not a promise that every unfamiliar message will be silent. For one specific conversation whose messages you want to keep, you can instead mute that text conversation.
Links or pictures are restricted in a filtered conversation
The current Apple guide says marking a sender as known or adding them to Contacts allows opening links and viewing blurred images. Do that only after recognizing the sender. Do not approve an unfamiliar sender solely to open a suspicious attachment or link.
You want to undo screening
Return to the same filtering settings and turn Screen Unknown Senders off, or turn Filter Unknown Senders off on the older versions. Then review the conversation list. Disabling this organization preference is different from deleting a conversation, reporting it as junk, or unblocking a number.
Frequently asked questions
Is Unknown Senders a separate app or a hidden folder in Files?
No. It is a view inside Apple's Messages app. Start in the conversation list and open Filters; searching the Files app will not reveal it.
Does filtering block the sender?
No. The relevant messages are organized into another view. Blocking is a separate action for preventing communication from a particular contact or number. Reporting junk is another separate action and does not itself block future messages.
Why does someone I recognize appear as unknown?
Recognition depends on the number or email address that Messages receives, saved contacts, and the version's known-sender behavior. Someone may text from a different number from the one you saved. Confirm the details, then use Mark as Known or save the correct contact if appropriate.
Should I reply to every unknown message to move it back?
No. On iOS 26, replying once does not automatically perform that move. Open a legitimate conversation and use Mark as Known or create a contact. Avoid engaging with unrelated spam just to test how the folder works.
Why did a verification code appear in the main list and later disappear from it?
Apple documents an eight-hour main-list window for allowed unknown-sender notification messages in iOS 26. Look in Unknown Senders afterward. That change of view does not mean the conversation was deleted.
Can I keep screening on and still read filtered messages?
Yes. Open Filters and choose Unknown Senders whenever you want to review them. Start by finding the message you were expecting, then decide whether its sender belongs in your main list.

Matthew Burleigh is the founder, head writer, and editor of Solve Your Tech, which he launched in 2012. He has written technology tutorials since 2008 and worked in IT since 2003, including small-business support, IT management, and consulting. He holds Bachelor’s and Master’s degrees in Computer Science from Arizona State University.
Matthew writes practical guides for Windows, iPhone and iPad, Microsoft Office, Outlook, Google apps, and Android. Solve Your Tech’s guides are tested on current devices or checked against official product documentation, with clear steps, sources, and update dates.
Read more about Matthew and how Solve Your Tech writes and updates its guides, or report a correction.