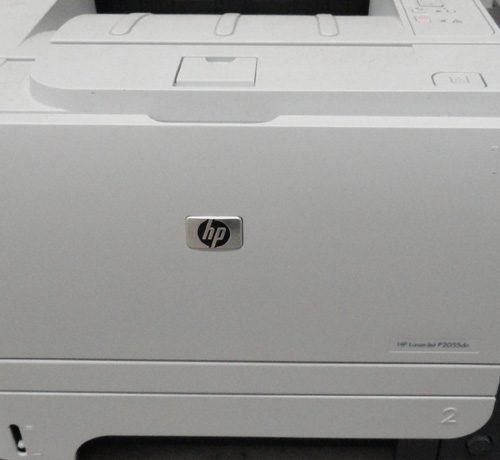
An HP Laserjet p2055dn driver is a piece of software that you might find yourself looking for if you have attempted to add the printer to a Windows 7 Homegroup. There are several potential problems that you could encounter when setting up this printer, and many of these problems stem from the perceived usefulness of the printer across a range of operating systems and network configurations.
If you have been experiencing problems with this printer for an extended period of time, you may be asking yourself how you got into this situation. The answer is that it seems like a very functional printer with a lot of potential in an environment that you might eventually be expanding, it is available from a number of convenient retail locations, and it exists at a good price point for the features it contains.
The initial setup that you perform, per the instructions included with the printer when you purchase it new from a local retailer, involves installing all of the necessary software and drivers included with the printer.
These files are included on a disc that is packaged with the printer and, especially for single computer setups, this could work for a while, even indefinitely. However, for two reasons, this installation procedure is not a good idea for more complex situations.
I, along with others, have encountered situations where the default installation is incompatible with Windows 7 systems, particularly those that have set up a Homegroup and want to use this printer across that Homegroup.
The second problem is the firmware update that is mandatory for HP Laserjet printers. This firmware update addresses some potential security problems with the default firmware, which you are going to want to rectify immediately.
So, you may be asking yourself, how do I proceed?
Procedure for Installing the HP Laserjet p2055dn Driver
The first thing you should do is disconnect the printer from your computer, then delete the printer from your “Devices and Printers” menu. To do this, right-click the printer icon, click “Remove Device,” and then confirm your action.
The next thing to do is uninstall the driver and driver package from the “Print Server Properties” menu. (Click Print Server Properties at the top of the “Devices and Printers” window, click the “Drivers” tab, then remove the driver for your HP P2055dn.) At this point, you may also want to consider uninstalling any other driver packages that might be lingering around from previous printer installations. You are unlikely to find yourself editing entries in this menu very often, so it is best to clear it out while you are thinking about it. One particular item you should address is the presence of any other unused HP drivers that exist here.
The third step is to go to the Hp Laserjet p2055dn support page, select your operating system, then download the HP Universal Print Driver for Windows PCL6. Double-click the downloaded file to install it.
Connect the HP Laserjet P2055dn printer to your computer, then wait for the computer to recognize the device.
Navigate to the HP Support Document page, click the “20120131 or later” link to the right of your printer name, then download and run the updater. Eventually, you will be able to select your connected HP Laserjet p2055dn driver printer from the window, and the updater will automatically apply the new, correct firmware update.
Continue Reading

Matthew Burleigh has been writing tech tutorials since 2008. His writing has appeared on dozens of different websites and been read over 50 million times.
After receiving his Bachelor’s and Master’s degrees in Computer Science he spent several years working in IT management for small businesses. However, he now works full time writing content online and creating websites.
His main writing topics include iPhones, Microsoft Office, Google Apps, Android, and Photoshop, but he has also written about many other tech topics as well.
