Date formatting has long been an issue for spreadsheet users. Sometimes a spreadsheet won’t recognize an input as a date and assign it a weird number, while other times it will put the date into a format that is different than what you want to use.
Fortunately, you do have some control over how your dates are displayed in Google Sheets. Our tutorial below will show you how to select a group of cells that contain a date, then choose from one of many different date formatting options.
How to Change Date Type in Google Sheets
The steps in this article were performed in the desktop version of Google Chrome. These steps will also work in other desktop Web browsers like Firefox, Edge, and Safari.
Step 1: Sign into your Google Drive at https://drive.google.com and open the Sheets file containing the date cells that you wish to reformat.
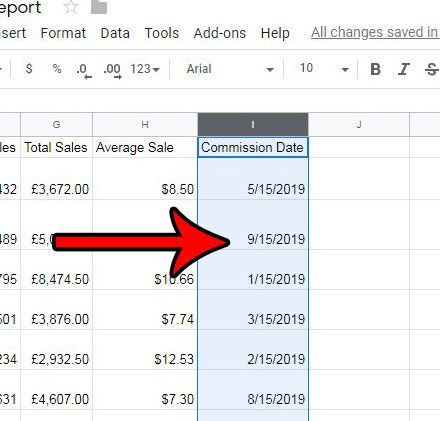
Step 2: Select the cells containing the dates that you want to change. Note that you can select an entire column by clicking the column letter, or you can select an entire row by clicking the row number.

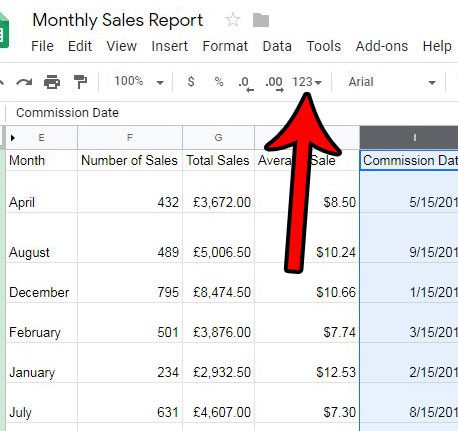
Step 3: Click the More formats button in the toolbar above the spreadsheet.

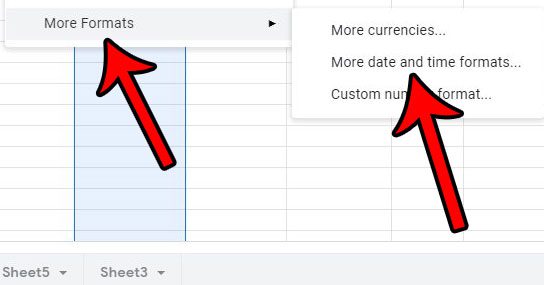
Step 4: Choose the More formats option at the bottom of the menu, then select the More date and time formats option.

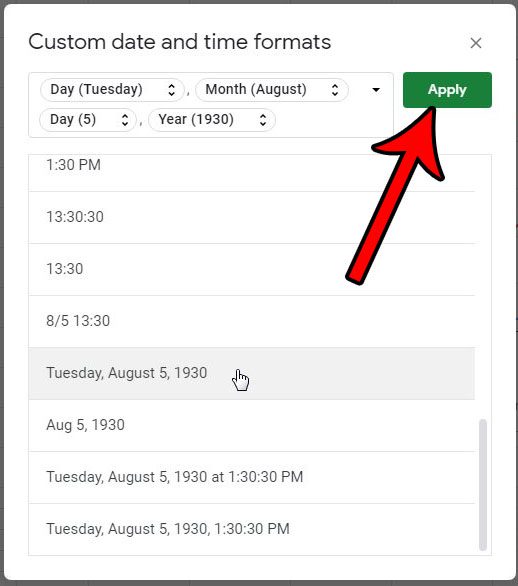
Step 5: Select the desired format from the list, then click the Apply button at the top-right of the window.

Would you like to include the date and time whenever you print this file? Learn how to add the date and time to the header in Google Sheets so that you can use that information when referencing the printed document in the future.
Continue Reading
- How to merge cells in Google Sheets
- How to wrap text in Google Sheets
- How to alphabetize in Google Sheets
- How to subtract in Google Sheets
- How to change row height in Google Sheets

Matthew Burleigh has been writing tech tutorials since 2008. His writing has appeared on dozens of different websites and been read over 50 million times.
After receiving his Bachelor’s and Master’s degrees in Computer Science he spent several years working in IT management for small businesses. However, he now works full time writing content online and creating websites.
His main writing topics include iPhones, Microsoft Office, Google Apps, Android, and Photoshop, but he has also written about many other tech topics as well.