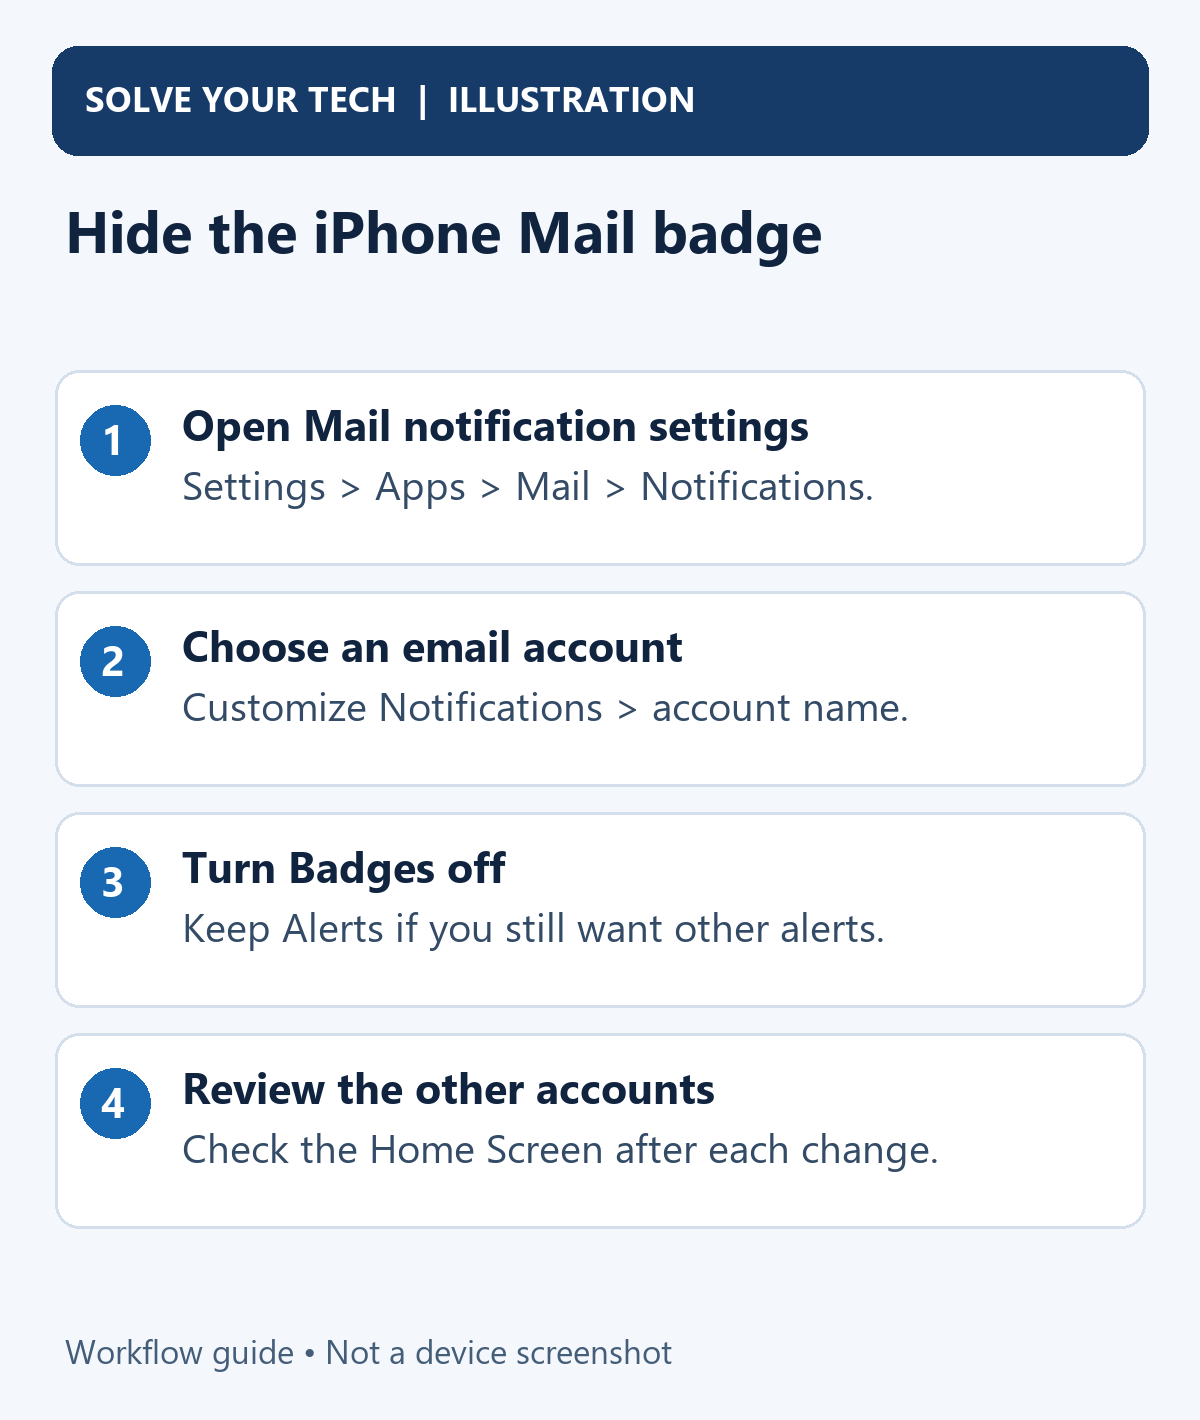
To hide the red number on Apple's Mail icon, open Settings > Notifications > Mail and turn Badges off if that switch appears. For account-specific controls, use Settings > Apps > Mail > Notifications > Customize Notifications, choose an account, and turn its Badges off. Repeat for other accounts whose unread counts you want hidden.
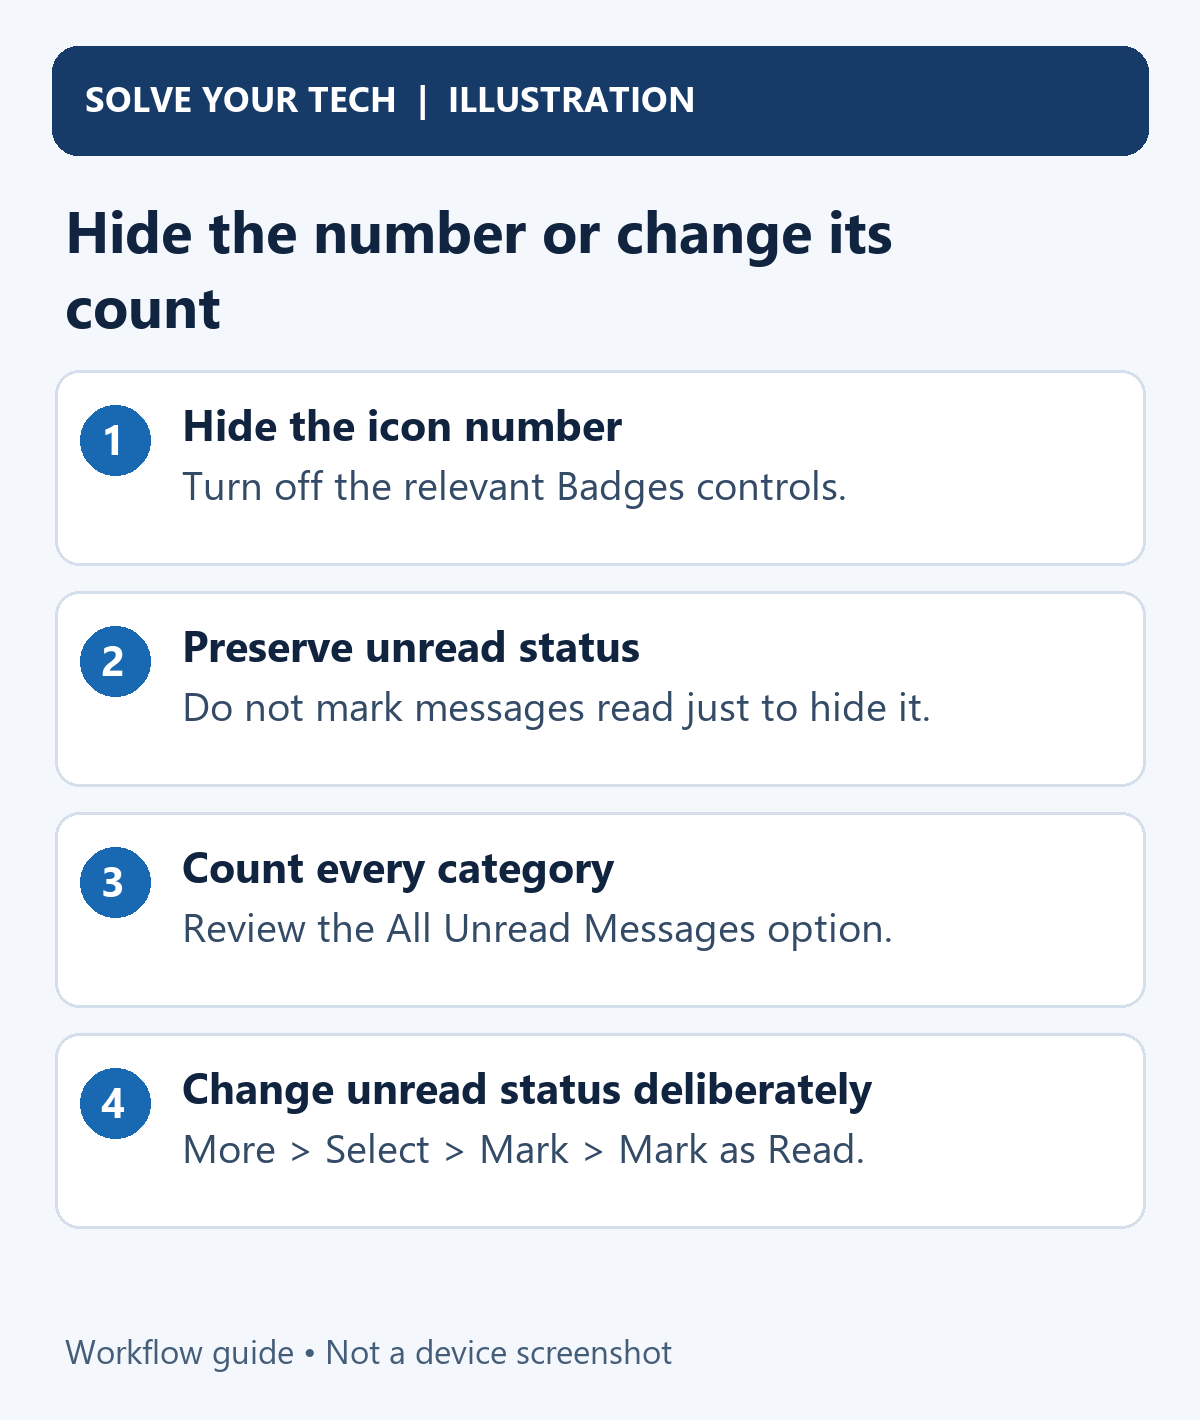
You can keep emails unread while hiding the number. If you want to clear the underlying unread count instead, open Mail and deliberately mark the relevant messages as read. These choices have different effects, so choose the one that matches what you actually want.
This guide uses Apple's current iOS 27 documentation, its Mail notification support article, and a separate iOS 18 message-selection branch. The labeled illustrations show the workflow; they are not screenshots or evidence of a physical iPhone test.
Choose what you want to change
A badge is the small indicator on an app icon. A banner is an alert that appears on the screen, while a notification sound is the audio accompanying an alert. Removing the badge does not require removing all three.
| Your goal | Choose this action |
|---|---|
| Hide the red Mail number | Turn off Badges for Mail or its accounts. |
| Keep unread messages easy to identify inside Mail | Hide the badge without marking messages as read. |
| Reduce the actual unread count | Read the relevant emails or mark them as read intentionally. |
| Count unread emails in every Mail category | Review All Unread Messages. |
| Stop all Mail notifications | Turn off Allow Notifications, a broader change. |
For example, suppose you have hundreds of old newsletters that you still want to recognize as unread. Turning Badges off removes the Home Screen number while preserving that status. Marking everything as read would remove the distinction between newsletters you opened and those you did not.
Before changing a setting, confirm the icon is Mail, Apple's email app. A Gmail account can be added to Mail, but the separate Gmail app has its own icon and notification settings. A count inside an email website is another separate display.
Hide the Mail badge from the main notification screen
- Open Settings on your iPhone. You are changing a notification preference rather than an email account.
- Tap Notifications, then find and tap Mail in the app list. Check the app name before changing its controls.
- If you see a Badges switch, turn it off. Keep Allow Notifications on if you still want other Mail alerts.
- Return to the Home Screen and inspect the Mail icon. The badge should no longer be displayed with this control disabled.
- Open Mail and confirm that your messages are still available. Hiding a badge does not delete email, remove an account, or mark your inbox as read.
Apple's notification settings guide documents Badges separately from sounds, alert locations, and Allow Notifications. If your Mail layout directs you to account-specific controls, use the next method.
Turn off badges for individual email accounts
Mail can combine several accounts, such as a personal address and a work address. Its account-specific settings let you keep a badge for one account while hiding another account's count.
- Open Settings > Apps > Mail on current iOS. This route opens the Mail app's preferences.
- Tap Notifications. If you want other alerts, leave Allow Notifications on.
- Tap Customize Notifications to see the account controls.
- Choose the email account whose count you want to hide. Confirm the address or account name so you do not change the wrong inbox.
- Turn Badges off for that account. Leave its Alerts setting configured according to whether you want alerts for incoming mail.
- Go back to Customize Notifications and repeat for every other account whose count you want hidden.
- Return to the Home Screen and check the icon. If a number remains, review the remaining accounts and any main Mail Badges switch available on your version.
Apple documents this route in Customize your Mail notifications. On older iOS layouts without the Apps section, start from Settings > Notifications > Mail to inspect the available Mail notification controls. An old guide may call the switch Badge App Icon rather than Badges.
You do not need to delete a work or personal account to stop its number appearing. Removing an account is a separate configuration action and can require credentials and other preparation to restore it.
Keep email alerts while removing the number
Review the controls individually. If Allow Notifications stays on, you can keep the available Lock Screen, Notification Center, or banner choices while turning Badges off. Account-specific Alerts controls determine which accounts provide alerts, and sound options determine whether an enabled alert makes noise.
For a useful combination, you might hide the badge for a newsletter-heavy personal account while keeping alerts for a work account. You can also hide the badge for both and keep their banners. The appropriate choice depends on which reminders you find useful.
Turning off Allow Notifications is a broader action. If you do that accidentally, turn it back on and review the individual choices again. Do not assume toggling that one switch is the same as turning off only the red number.
Mail also has Mute for busy email threads and Notify Me for replies you want to follow. Those are conversation-specific notification tools. They do not replace the badge controls or change your entire unread backlog.
Clear unread status only when you intend to
Before a batch action, review the selection. Marking emails as read changes the status you use to distinguish opened and unopened messages. That status can also synchronize through your email account to other devices. If you only want a cleaner Home Screen, use the badge settings instead.
Current iOS: More, Select, and Mark
- Open Mail and choose the inbox or message list you want to work on. Check the account and category shown on screen.
- Tap the More button in that message list, then tap Select. Apple's current guide identifies this as the selection entry point.
- Select only the messages you want treated as read. Start with a small, identifiable set if you are unsure how your current view groups messages.
- Tap the Mark button at the bottom of the message list.
- Choose Mark as Read. Return to the list and check the affected messages before moving on to another account or category.
Apple warns that selecting an item in Transactions, Updates, or Promotions selects the messages in that category from the same sender. That can include more than the one visible item you tapped. Read this warning before confirming a batch action.
The iOS 18 selection route
Apple's selected iOS 18 guide describes opening a message list, tapping Select, checking the intended messages, then choosing Mark > Mark as Read. Use the control your installed version actually displays. The current More > Select route and this older direct Select route are separate documented layouts.
Opening a particular email to read it is another way to address unread mail deliberately. There is no requirement to process every email at once. Work through the messages that matter, then use badge preferences if the remaining count is distracting.
See Apple's guide to checking email for the current selection steps and category warning.
Why the badge may not match all your unread emails
When Mail uses categories, its Home Screen badge can reflect unread messages in Primary, rather than every unread message in Transactions, Updates, and Promotions. Apple's notification support article describes this behavior beginning with categories in iOS 18.2, and the current user guide documents the Primary count too.
To count all categories:
- Open Settings > Apps > Mail > Notifications.
- Tap Customize Notifications.
- Look for Badge Count and choose All Unread Messages. Apple's current user guide also documents reaching this option through Settings > Notifications > Mail > Customize Notifications.
- Return to the Home Screen and review the number with Badges enabled.
This changes what the badge counts; it does not hide the badge. If you want the number gone altogether, turn Badges off instead. If your software does not offer categories or this counting option, do not assume its inbox should match someone else's category-based count.
Troubleshoot a number that remains or looks wrong
Another account still contributes a count
Review every relevant account under Customize Notifications. Turning off one account's badges does not necessarily remove a number supplied by another account. Also inspect the main Badges control if your version offers one.
You changed Mail, but the number is on Gmail or Outlook
Open Settings > Notifications and select the app whose icon actually carries the badge. Each app has separate notification preferences. A Gmail account inside Apple Mail and the standalone Gmail app are different choices in this app list.
Likewise, if the red number is on the App Store rather than Mail, use our guide to removing the App Store icon number. That count concerns app notifications and updates, not unread email.
The current inbox is empty, but a count remains
Check the other accounts and the active category before treating the number as incorrect. Your current screen might show only one mailbox, a filtered subset, or Primary messages while the badge is configured to count more.
Mail's filtering control lets you choose which messages are shown. In a mailbox list, tap the filtering button, then Filtered by to inspect the criteria. Turn off a restrictive filter when you want to see the full list again. A Focus can also limit which accounts appear during that Focus.
Hiding the badge does not require proving every remaining unread message is an error. If your goal is simply to remove the indicator, return to Badges rather than changing message status unnecessarily.
The setting is off, but the icon has not refreshed
Return to the Home Screen after changing the setting. Reopen Mail and check the relevant account's status. If the app appears stuck, close and reopen it, then restart the iPhone if necessary. Check whether an iOS update is available if the mismatch persists. These are troubleshooting checks, not a guaranteed fix for every email-service problem.
If an account is showing a connection or authentication error, resolve that with the email provider before assuming unread changes synchronized successfully. A local view and the provider's mailbox can disagree while an account is not updating.
Should you remove the account or reset the phone?
Neither is needed to hide an icon badge. Some older troubleshooting articles suggest removing and recreating an account, or erasing the iPhone, for a persistent incorrect count. Those are much broader actions than changing a notification preference.
Do not assume all email and associated information is safely stored on a server. Before considering account removal for a separate synchronization problem, confirm important mail is available through the provider and that you can sign back in. For a persistent fault, seek help from the provider or Apple with the account and version details. A factory reset is disproportionate as a first response to an unwanted badge.
Restore the Mail number later
Return to the same Mail notification settings and turn Badges on. If you disabled badges for individual accounts, open Customize Notifications and restore the accounts you want included. Re-enable a main Badges switch too if you turned it off.
Check the icon after retaining or receiving an unread message. A zero count, a Primary-only count, or disabled badges for the relevant account can explain why no number appears. Restoring the badge does not make already-read messages unread again.
For a separate inbox preference, see changing Mail swipe options on iPhone. Swipe actions affect how you handle messages inside Mail; the badge preference affects the Home Screen indicator.
Frequently asked questions
Can I remove the red number without opening thousands of emails?
Yes. Turn off Badges. You do not have to mark old mail as read just to hide its icon count.
Will new emails still arrive?
Hiding Badges changes the icon's presentation. It does not remove your account or stop Mail from receiving messages under its normal account setup. Review alerts separately if you also want a notification when a message arrives.
Does turning off badges also turn off sounds?
Badges, account alerts, and sounds are separate controls. Review the alert and sound choices if you want audio while keeping the red number hidden.
Why is the count smaller than the number of unread emails I can find?
With categories, check whether the badge counts only Primary. All Unread Messages includes the other categories when available. Also check which accounts have badges enabled.
Will this change the badge on my iPad or Mac?
Review each device's notification preferences separately. A choice about displaying a badge differs from email read status that can synchronize through the account.
Is deleting email the best way to hide the number?
No deletion is needed for this preference. Hide Badges if you want to preserve the emails and their unread status. Finish by checking the Home Screen and one inbox to confirm the number is hidden while your mail remains available.

Matthew Burleigh is the founder, head writer, and editor of Solve Your Tech, which he launched in 2012. He has written technology tutorials since 2008 and worked in IT since 2003, including small-business support, IT management, and consulting. He holds Bachelor’s and Master’s degrees in Computer Science from Arizona State University.
Matthew writes practical guides for Windows, iPhone and iPad, Microsoft Office, Outlook, Google apps, and Android. Solve Your Tech’s guides are tested on current devices or checked against official product documentation, with clear steps, sources, and update dates.
Read more about Matthew and how Solve Your Tech writes and updates its guides, or report a correction.