Ever felt overwhelmed by the clutter in your inbox or struggled to manage your email on your iPhone? Don’t worry; we’ve got you covered! This “complete guide to mail on iPhone” will walk you through the ins and outs of using the iPhone’s Mail app to efficiently handle your email accounts, customize settings, and share attachments with ease. Let’s dive in and transform your email experience on your iPhone!
Key Takeaways
Setting up and managing email accounts on your iPhone is easy!
Easily add any email account, customize the Mail app to stay organized & personalize emails with an eye-catching signature.
Manage unwanted emails by muting conversations and blocking senders – plus save & share attachments quickly in the Mail app.
Setting Up and Managing Email Accounts on iPhone
It’s straightforward to set up and manage email accounts on your iPhone. Whether you have a Gmail, Outlook, or any other email provider, you can add your account either automatically or manually, depending on the provider and your account details.
Once your account is set up, you can choose your desired account type and send and receive emails directly from your iPhone, ensuring you stay connected, even on the move.
Adding an Email Account Automatically
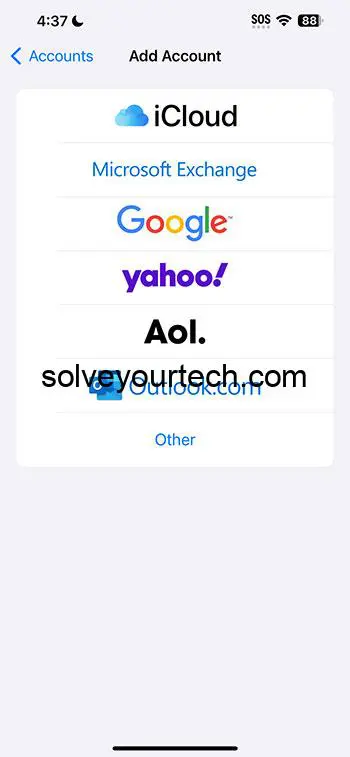
For popular email providers like Gmail, Yahoo, AOL, Outlook, and Microsoft Exchange, adding an email account automatically is a piece of cake. Your iPhone will take care of most of the setup process for you, making it incredibly simple to get started.
All you need to do is enter your email address and password, and you’ll be ready to access your inbox in no time.
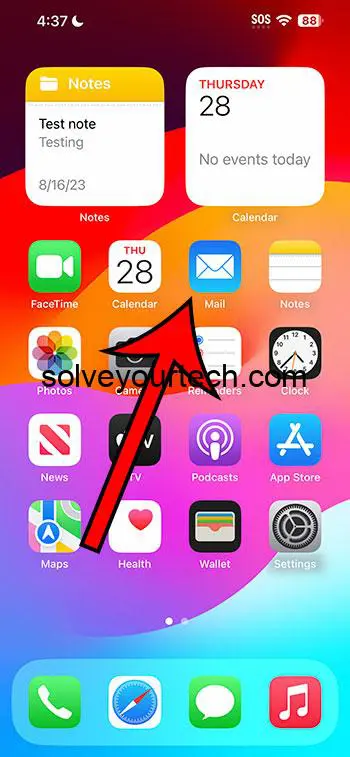
You can either open the Mail app to do this, or you can go to Settings > Mail > Accounts > and set up your email there.
Adding an Email Account Manually
If you have a less-common email provider or need to enter specific domain email settings, you can add your account manually. This process requires a bit more information, such as your email account details, including incoming and outgoing mail server details, but it’s still straightforward with step-by-step instructions.
By following these steps, you’ll be able to add any email account to your iPhone and gain full control over your inbox.
Now that your email accounts are set up, it’s time to explore the Mail app and make it work for you. From organizing your mailboxes and folders to personalizing your email signature, the Mail app offers a plethora of tools to keep your inbox tidy and efficient.
No more endless scrolling through emails or struggling to find important messages – the Mail app has your back.
Organizing Mailboxes and Folders
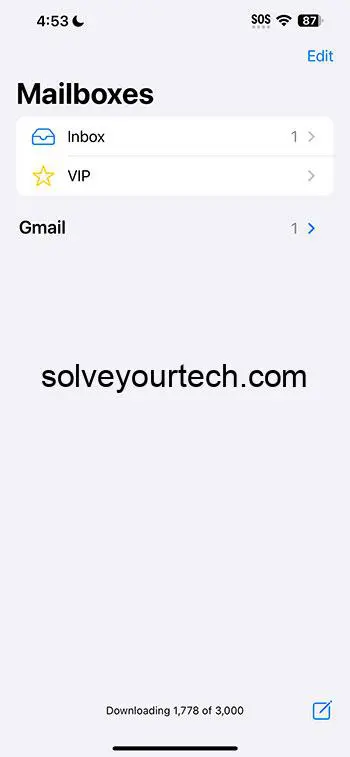
The Mail app makes it simple to organize your mailboxes and folders, including setting up a new mailbox. You can easily add, delete, or rename folders to keep your inbox in tip-top shape. Plus, you can drag and drop emails into different folders, making it simple to categorize and prioritize your messages. To further enhance your organization, you can reorder mailboxes as needed.
Say goodbye to inbox chaos and hello to a well-organized email experience!
Personalizing Your Email Signature
Adding a personalized touch to your emails is easy with the Mail app. Customize your email signature by following these steps:
Open the Settings app on your device.
Tap on “Mail.”
Select “Signature.”
From there, you can spruce up your signature with text, images, and links to make your messages stand out and leave a lasting impression.
Go ahead, let your personality shine through your emails!
You can check out this video about how to delete an email signature on iPhone for more information.
Composing, Sending, and Scheduling Emails
The Mail app on your iPhone is not only great for managing your inbox but also for composing and sending messages. You can easily create new messages, add recipients, and even attach files to your emails.
Plus, the Mail app offers the ability to schedule emails for later, ensuring you never miss an important deadline or forget to send a crucial message.
Composing and Sending Emails
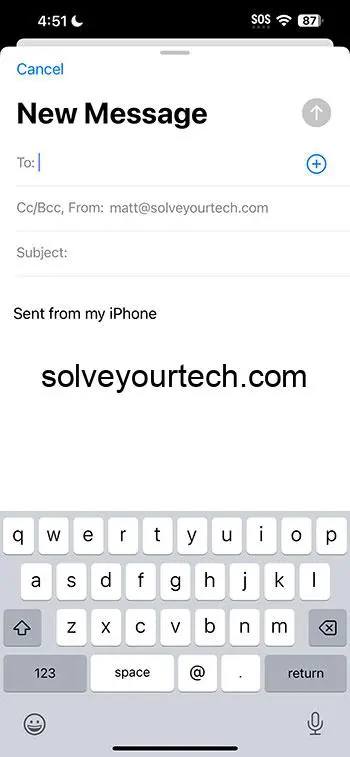
The Mail app makes it easy to compose and send emails using the mail app. Simply follow these steps:
Tap the Compose button.
Enter your recipients.
Craft your message.
Add attachments if needed.
Customize the look and feel of your email with various formatting options.
With just a few taps, your email will be on its way to its destination using our email service.
Scheduling Emails for Later
Need to send an email at a specific time but don’t want to risk forgetting? The Mail app has got you covered. By holding down the send icon and selecting a time, you can schedule your email to be sent later.
Ensure you have a stable internet connection when the scheduled time comes, and your email will be dispatched seamlessly.
Managing and Organizing Your Inbox
The Mail app offers numerous features to help you manage and organize your inbox, the core of your email experience. From searching and filtering emails to flagging and marking messages, these tools ensure you can quickly and easily find the emails you need when you need them.
Stay on top of your inbox and never lose track of important messages again.
Searching and Filtering Emails
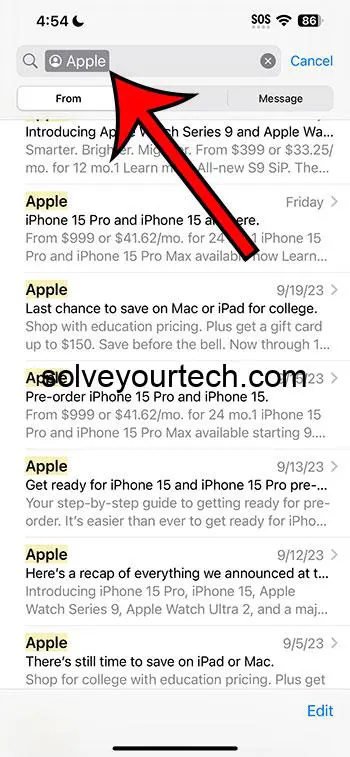
The Mail app’s search and filter options make it easy to find a specific email or conversation. Simply enter keywords or sender names in the search bar, and the app will quickly display the relevant messages.
You can also filter emails by categories like unread, flagged, or specific senders to focus on the messages that matter most. No more endless scrolling through your inbox – the Mail app makes finding emails a breeze.
Flagging and Marking Emails
Sometimes we need a little help keeping track of important emails. That’s where flagging and marking messages in the Mail app come in handy. Flagging an email makes it easy to find later, while marking a message as read or unread helps you prioritize your inbox.
With these tools at your disposal, you can stay organized and focused on what really matters.
Handling Unwanted Emails: Junk, Trash, and Blocking Senders
Dealing with unwanted emails can be a headache, but the Mail app on your iPhone makes it easy to handle junk, trash, and block senders. Keep your inbox clean and clutter-free by moving unwanted messages to the appropriate folders or blocking pesky senders altogether.
Take control of your inbox and say goodbye to unwanted emails.
Related: How to Block an Email Sender on iPhone 13
Moving Emails to Junk or Trash
The Mail app makes it simple to move emails to your junk folder or Trash. Simply swipe left on the message and tap the appropriate option. This helps keep your inbox clean and organized, ensuring that you can focus on the messages that truly matter.
Don’t let unwanted emails clutter your inbox – take control with the Mail app.
Muting Conversations and Blocking Senders
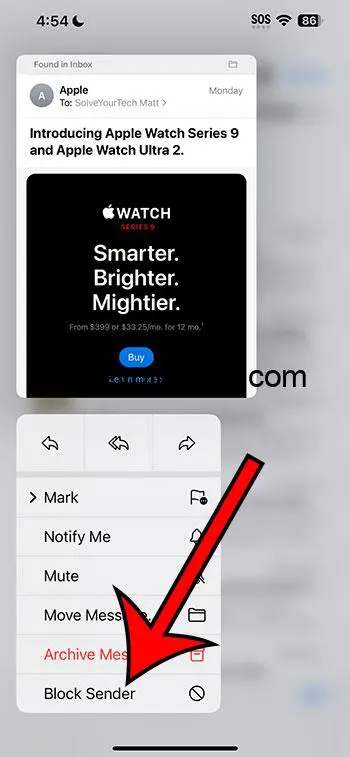
If you’re tired of receiving unwanted messages from certain senders or wish to mute noisy conversations, the Mail app has your back. Tap the conversation and hit the Mute button to silence notifications, or block a sender by tapping their name and selecting “Block this Caller” or “Block Contact.”
Say goodbye to distractions and enjoy a clutter-free inbox.
Managing Email Notifications and Settings
Notifications and settings in the Mail app are key to keeping you informed about new messages and tailoring your email experience. The Mail app on your iPhone offers various options for enabling and customizing notifications, as well as adjusting settings to make the app work best for your needs.
Take control of your email experience and stay in the loop with the Mail app.
Enabling and Customizing Notifications
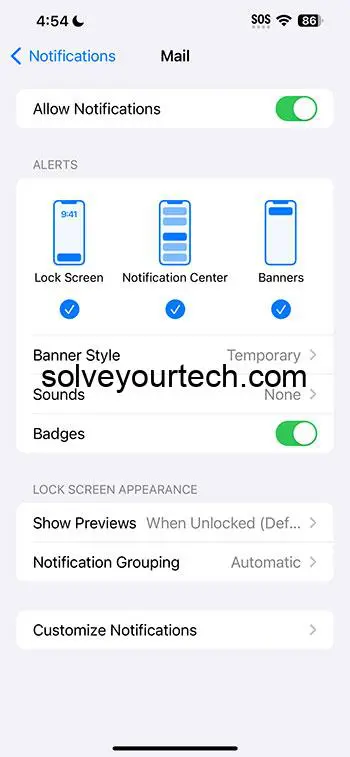
Stay informed about new messages and prioritize important emails by enabling and customizing notifications. Head to Settings > Mail > Mail > > Email > Alerts and toggle on “Allow Notifications.”
You can also choose how you want notifications displayed on the Lock Screen or the home screen, ensuring that you never miss an important message again.
Adjusting Mail App Settings
Optimize your email experience on your iPhone by adjusting the Mail app settings. You can customize options like the default email account, the default mail app, and the default email address.
By fine-tuning these settings, you can make the Mail app work exactly as you want it to, ensuring the best possible email experience on your iPhone.
Saving and Sharing Attachments in the Mail App
The Mail app on iPhone simplifies the process of saving and sharing email attachments, an integral part of our digital lives. Whether you need to save a file to your device for later or share it with others, the Mail app offers simple and efficient solutions.
Say goodbye to the hassle of dealing with attachments and embrace the convenience of the Mail app.
Saving Attachments
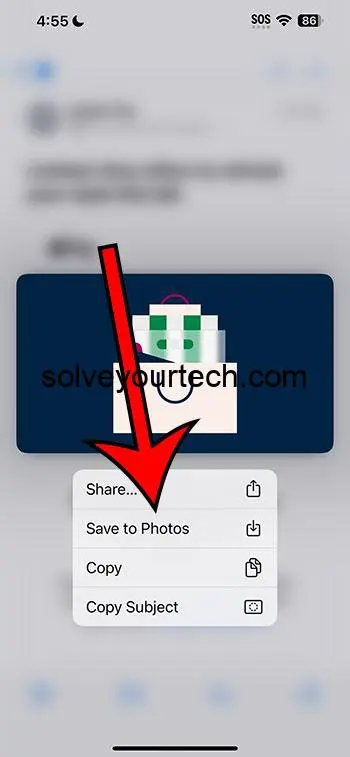
Save important attachments from emails directly to your iPhone for easy access and organization. Simply tap and hold your finger on the attachment, then select the ‘Share’ option and choose the ‘Save’ option to save the file to your device or a specific folder.
Never lose track of important files again – save them with just a few taps in the Mail app.
Sharing Attachments
Share attachments with others using AirDrop or other sharing options available on your iPhone. Touch and hold the file you want to share, then tap the ‘Share’ button to send it to your desired recipient.
Whether it’s a document, photo, or video, sharing attachments has never been easier with the Mail app on your iPhone.
Summary
In conclusion, the Mail app on your iPhone is a powerful tool for managing your email accounts, customizing settings, and handling attachments. From setting up accounts to organizing your inbox, the Mail app offers a wealth of features to make your email experience more efficient, organized, and enjoyable. Embrace the convenience and control offered by the Mail app and transform your email experience on your iPhone today!
Frequently Asked Questions
How do I use the mail app on my iPhone?
To use the mail app on your iPhone, click on ‘Accounts’ in the app, then click ‘Add Account’ and follow the setup instructions. Easy as that!
How to use email step by step?
Sign into your account, compose a new email, type out recipient’s address, enter the subject and body of the message, include any necessary attachments, and hit send. Keep an eye out for replies to your emails.
How do I read all my emails on iPhone?
To read all your emails on iPhone, launch the Mail app, select “All Mailboxes” and tap “Edit”, then select “Mark All”. Finally, tap “Mark as Read” from the resulting menu.
How do I declutter Apple Mail?
To declutter your Apple Mail, delete unneeded messages, save attachments to your Mac, and create more mailboxes to organize your messages.
How do I add a new email account to my iPhone?
Adding a new email account to your iPhone is easy – simply follow the instructions on the screen depending on your email provider, and you’ll be up and running in no time.

Matthew Burleigh has been writing tech tutorials since 2008. His writing has appeared on dozens of different websites and been read over 50 million times.
After receiving his Bachelor’s and Master’s degrees in Computer Science he spent several years working in IT management for small businesses. However, he now works full time writing content online and creating websites.
His main writing topics include iPhones, Microsoft Office, Google Apps, Android, and Photoshop, but he has also written about many other tech topics as well.
