Anyone that had been comfortable with the appearance and layout of Microsoft Office programs was in for a bit of a shock the first time they used Office 2007 or Office 2010.
The navigational system had changed entirely and now incorporates a “ribbon” with a series of different menus.
It also features a Quick Access toolbar at the very top of the window, where you can insert icons that allow for one-click access to commonly used tools.
The default settings include options such as Save and Redo, but you can customize this toolbar with a number of different options to suit your needs.
Add an Icon to the Word 2010 Quick Access Toolbar
The Quick Access toolbar is very helpful for removing a step or two from commonly used tasks. For example, you can click the default Save icon to quickly save your document instead of clicking the File tab, then clicking your desired saving option.
Step 1: Launch Microsoft Word 2010.
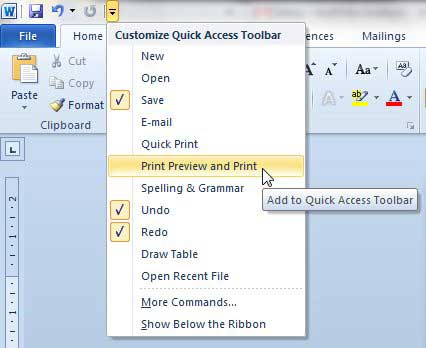
Step 2: Click the Customize Quick Access Toolbar icon at the top of the window.
Step 3: Click a command for which you want to add an icon to the Quick Access toolbar. In the example image below, I have selected the Print Preview and Print option.
Once you have selected a new option, an icon for it will appear in the Quick Access toolbar.
Remove an Icon from the Quick Access Toolbar in Word 2010
Step 1: Launch Microsoft Word 2010.
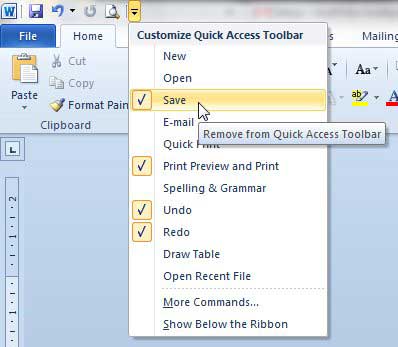
Step 2: Click the Customize Quick Access Toolbar icon.
Step 3: Click the command for the icon which you want to remove. Note that currently active icons have a check mark next to them. In the image below, for example, I am choosing to remove the Save icon.
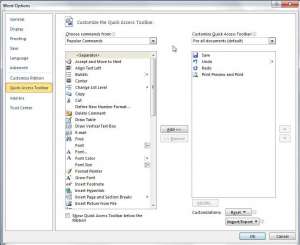
To add additional commands, you can also click the More Commands button at the bottom of the menu. This will open up the Word Options window.
You can then click options from the column at the left side of the window, then click the Add button to add them to the Quick Access toolbar. You can also click options in the right column, then click the Remove button to cut them from the toolbar.
Are you looking for some different options for creating and editing Word or Excel documents? There is a “hidden” tab that you can enable in both of these programs called the Developer tab. Read this article to learn how to enable the Developer tab in your programs.
Continue Reading
- How to insert a check mark in Microsoft Word
- How to do small caps in Microsoft Word
- How to center text in Microsoft Word
- How to merge cells in Microsoft Word tables
- How to insert a square root symbol in Microsoft Word
- How to Move the Quick Access Toolbar Below the Ribbon in Outlook 2013

Matthew Burleigh has been writing tech tutorials since 2008. His writing has appeared on dozens of different websites and been read over 50 million times.
After receiving his Bachelor’s and Master’s degrees in Computer Science he spent several years working in IT management for small businesses. However, he now works full time writing content online and creating websites.
His main writing topics include iPhones, Microsoft Office, Google Apps, Android, and Photoshop, but he has also written about many other tech topics as well.


