To change a picture from portrait to landscape on an iPhone, open the photo in Photos, tap Edit, tap Crop, then tap the Rotate button. Each tap turns the photo 90 degrees. Tap Done to save it.
This guide covers the Photos app on iPhone with iOS 26 and other recent versions. It shows how to rotate a photo or video, flip it, crop it to a wider shape, straighten a tilted shot, undo your changes, and stop the iPhone screen itself from turning. The steps come from Apple’s Crop, rotate, flip, or straighten photos and videos guide, checked in October 2026.
How to Rotate a Photo on iPhone
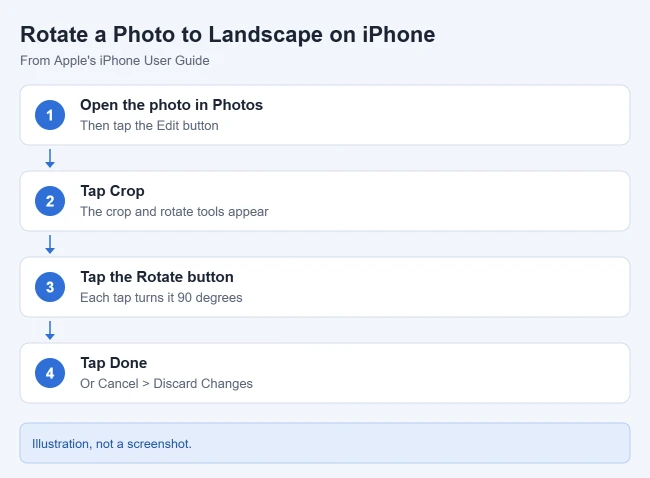
- Open the Photos app and tap the photo. Result: the photo opens full screen.
- Tap the Edit button. Result: the editing tools appear.
- Tap Crop. Result: the crop, rotate and flip buttons appear.
- Tap the Rotate button (a square with a curved arrow). Result: the photo turns 90 degrees.
- Tap Done. Result: the rotated photo is saved.
A portrait photo becomes landscape after one tap. Tap three more times to get back to where you started. If you don’t like the result before saving, tap Cancel, then Discard Changes.
Apple says the same steps work for videos. If you use iCloud Photos, your edits are saved across all your devices.
How to Flip a Photo
On the same Crop screen, tap the Flip button to flip the image horizontally, like a mirror. This is handy for selfies where text appears backwards. For a setting that stops the front camera from flipping selfies, see how to flip a selfie on iPhone.
Crop a Photo to a Landscape Shape
If you want a wide photo instead of a turned one, crop it:
- Open the photo, tap Edit, then tap Crop. Result: the crop frame appears.
- Tap the aspect ratio button and pick a preset. Apple lists options such as Square, Wallpaper, 9:16 and 5:7. Choose the landscape version if the presets show up tall. Result: the crop frame changes shape.
- Drag the photo to frame it, then tap Done. Result: the wider version is saved.
To crop freely, drag the corners of the rectangle. Apple notes that dragging a corner keeps the original aspect ratio; tap the lock at the top-right corner of the photo to unlock it. You can also pinch to zoom while viewing a photo and tap Crop in the top-right corner for a quick crop.
Straighten a Tilted Photo
- Open the photo, tap Edit, then tap Crop. Result: the straighten and tilt buttons appear below the photo.
- Tap a button to straighten, tilt vertically or tilt horizontally. Result: a slider appears.
- Drag the slider, then tap Done. Result: the horizon or building looks level.
Tap Reset before saving to go back to the original angle.
How to Undo a Rotation
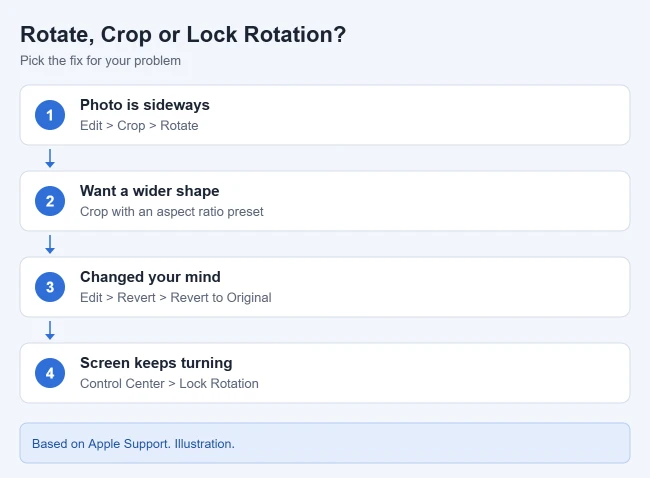
Photos keeps the original. Open the photo, tap Edit, then tap Revert, then tap Revert to Original. The photo goes back to how it looked before any edits. If you want both the rotated and the unrotated version, duplicate the photo first and rotate the copy.
Stop the Screen From Turning When You Rotate the Phone
If the problem is that your screen keeps switching between portrait and landscape, that’s a different setting. Apple’s Rotate your iPhone screen guide says to open Control Center and tap the Lock Rotation button. It’s red when the orientation is locked and gray when it isn’t. On supported models, a lock icon appears in the status bar. If you don’t see the button, add it to Control Center.
To watch a video in landscape, unlock rotation and turn your iPhone sideways.
Frequently Asked Questions
Does rotating a photo lower its quality?
No. Rotating in 90-degree steps just changes the orientation, and you can always revert to the original.
Why is my photo sideways on my computer but fine on my iPhone?
Some programs read photo orientation differently. Rotating and saving in Photos before you share usually fixes it. See how to upload iPhone photos to a computer.
Can I rotate several photos at once?
Apple’s guide covers editing one photo at a time in Photos.
Related: how to add a filter or crop a photo. If the issue is background blur instead of rotation, see how to remove the Portrait blur effect. To keep shots straight while you take them, see how to turn on the camera grid on iPad.

Matthew Burleigh has been writing tech tutorials since 2008. His writing has appeared on dozens of different websites and been read hundreds of millions of times.
After receiving his Bachelor’s and Master’s degrees in Computer Science he spent several years working in IT management for small businesses. However, he now works full time writing content online and creating websites.
His main writing topics include iPhones, Microsoft Office, Google Apps, Android, and Photoshop, but he has also written about many other tech topics as well.