For a document that is often very reliant on visual imagery, the inclusion of pictures can really help to improve the way an audience experiences your content.
If something that you want to include on one of your presentation slides is currently on your computer screen, then you might be wondering how to capture an image of it.
Our Powerpoint screenshot tutorial below will show you how to use a tool in Microsoft Powerpoint that quickly and easily creates a screenshot and inserts it into one of the slides in your slideshow.
How to Take a Screenshot in Powerpoint 2013
- Open your slideshow.
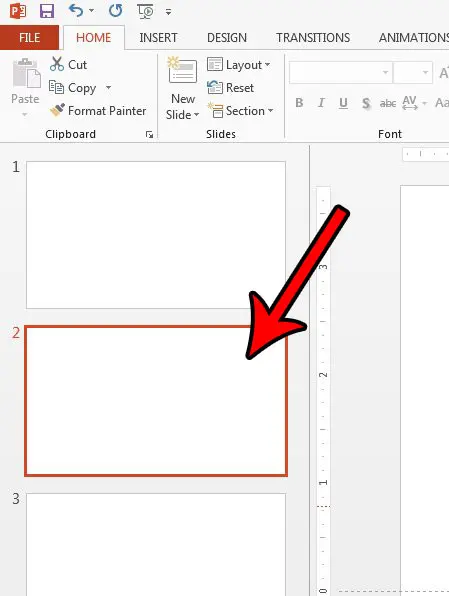
- Choose the slide for the screenshot.
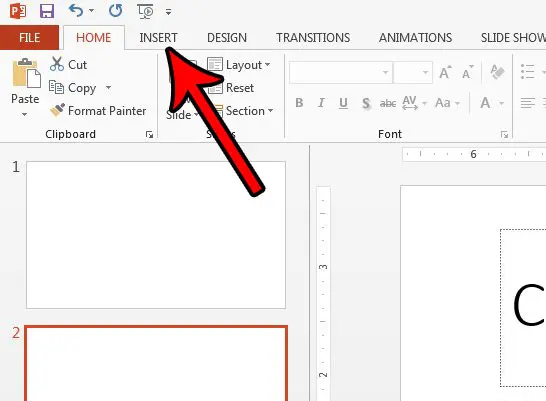
- Select the Insert tab.
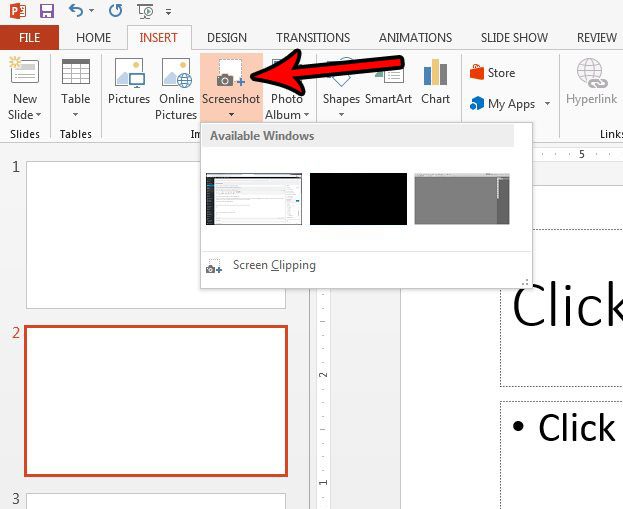
- Click the Screenshot button.
- Choose the window to use for the screenshot.
Our guide continues below with additional information on how ot make a PowerPoint screenshot, including pictures of these steps.
Occasionally you may find yourself creating a Powerpoint presentation that includes a section that is meant to teach people how to use a tool or program on their computer.
One of the best ways to do this typically involves the use of screenshots.
You may be familiar with taking screenshots on your computer, but there is actually a built-in tool in Powerpoint that can make the process a little easier.
Our Powerpoint screenshot tutorial below will show you how to add a screenshot directly to your presentation without leaving Powerpoint. You will be able to add a screenshot of a window in one of your open programs, or you can manually crop the screen instead.
Related Topic: Our how to screenshot on Acer laptop guide can show you a couple of ways to capture pictures of your screen on a Windows computer.
How to Take a Screenshot and Add it to a Slide in Powerpoint 2013 (Guide with Pictures)
The steps in this article were performed in Microsoft Powerpoint 2013. These steps will also work in newer versions of Powerpoint.
Once you complete the steps in this guide, you will have taken a screenshot on your computer and added that screenshot to one of the slides in your presentation.
Step 1: Open your slideshow in Powerpoint 2013.
Step 2: Select the slide at the left side of the window into which you want to insert the screenshot.

Step 3: Choose the Insert tab at the top of the window.

Step 4: Click the Screenshot button in the Images section of the window, then choose the window of which you wish to take a screenshot.
Alternatively, you can choose the Screen Clipping option and manually crop part of your screen.

Now that you know how to take a PowerPoint screenshot, you can use these steps whenever you are working on a presentation or a slideshow, and you need an image of something that is on your computer screen.
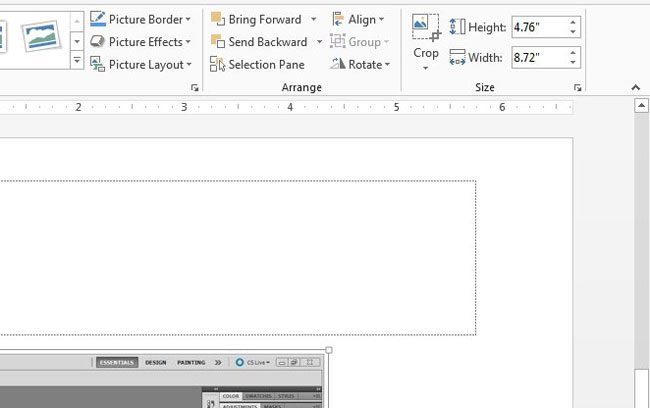
If you select the picture in the slide, then click the Format tab under Picture Tools at the top of the window, you will be able to perform some edits on the picture, such as cropping it or adding some effects to it.

Do you need your Powerpoint slideshow to be a video instead? Find out how to convert a slideshow to a video in Powerpoint 2013 using only the tools already available in the program.

Matthew Burleigh has been writing tech tutorials since 2008. His writing has appeared on dozens of different websites and been read over 50 million times.
After receiving his Bachelor’s and Master’s degrees in Computer Science he spent several years working in IT management for small businesses. However, he now works full time writing content online and creating websites.
His main writing topics include iPhones, Microsoft Office, Google Apps, Android, and Photoshop, but he has also written about many other tech topics as well.