Beginning with the iPhone 5S, iPhone devices include a feature that allows you to unlock the device by simply placing your finger on the Touch ID sensor.
This provides a simple and convenient way to unlock your device and serves as a security measure for some other aspects of the device.
You likely added at least one fingerprint to your iPhone when you initially set up the device, and you can follow the steps in this article to add more.
But if there is a fingerprint that you have added that you would like to remove from your iPhone, then you can continue reading below to learn how.
Remove a Touch ID Fingerprint on the iPhone
The steps in this article were written using iOS 8, on an iPhone 6 Plus. The Touch ID feature is only available on the iPhone 5S and newer devices.
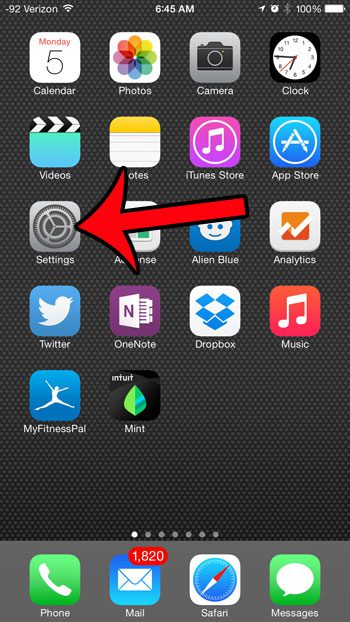
Step 1: Tap the Settings icon.
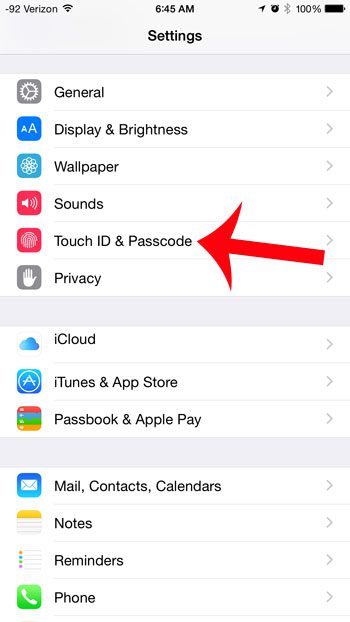
Step 2: Scroll down and select the Touch ID & Passcode option.
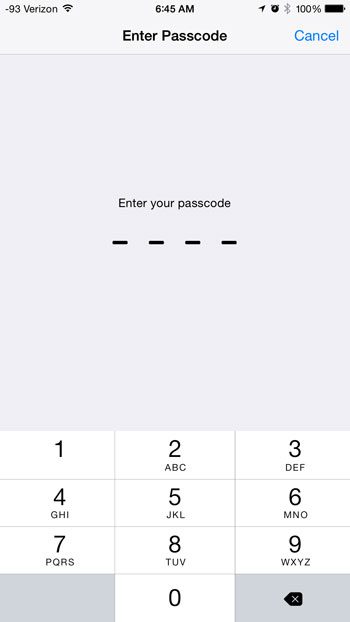
Step 3: Enter your passcode (if you have one).
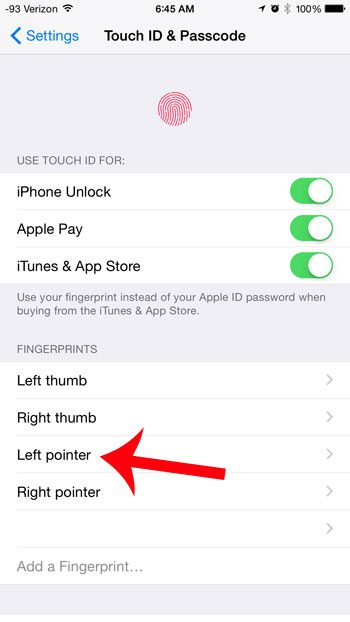
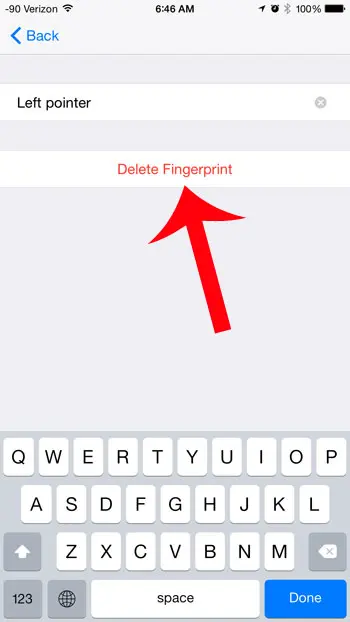
Step 4: Select the fingerprint that you would like to delete.
Step 5: Tap the Delete Fingerprint button.
Now that you know how to delete a fingerprint from your iPhone 6, you can use this option to remove bad fingerprints, or fingerprints for other people that you no longer want to use your phone.
If you no longer wish to use a fingerprint to unlock your device, then you can disable the feature. Learn how to stop unlocking your iPhone with a fingerprint by following a few short steps.

Matthew Burleigh has been writing tech tutorials since 2008. His writing has appeared on dozens of different websites and been read over 50 million times.
After receiving his Bachelor’s and Master’s degrees in Computer Science he spent several years working in IT management for small businesses. However, he now works full time writing content online and creating websites.
His main writing topics include iPhones, Microsoft Office, Google Apps, Android, and Photoshop, but he has also written about many other tech topics as well.