Microsoft Word documents are generally easier to print than Excel spreadsheets, but there are small frustrations that can arise in Word, even when you have already taken measures to make your printing task a little simpler. This issue can be even worse when dealing with large documents.
One problem that you might encounter is that your document seems to have printed backward.
Some printer models will print pages with the page content facing up, meaning the first page that is printed will be on the bottom of the stack.
If Word starts printing a document from the first page, this means your completed print job will be backward.
Fortunately, there is a setting in Word 2013 that lets you print the last page first, which can save you from needing to manually fix the order of your printed document.
Can I Reverse the Order in Which My Document Prints in Word 2013?
The steps in this article are going to change how your Word documents print.
If you have not made any adjustments to Word or your printer, then it likely prints the first page of the document and continues until it has printed the last page.
Depending on how your printer works, this could actually leave you with a document that it backward.
By following the steps below to reverse the print order in Word 2013, you will save yourself the frustration of manually re-sorting your document pages.
Step 1: Open Word 2013.
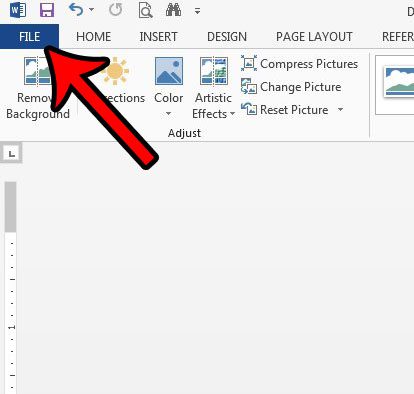
Step 2: Click the File tab at the top-left corner of the window.

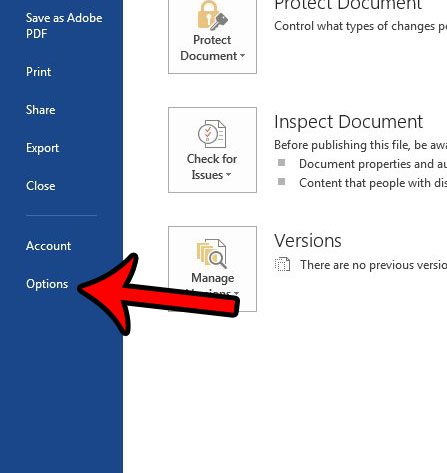
Step 3: Click Options in the left column of the Word 2013 window.

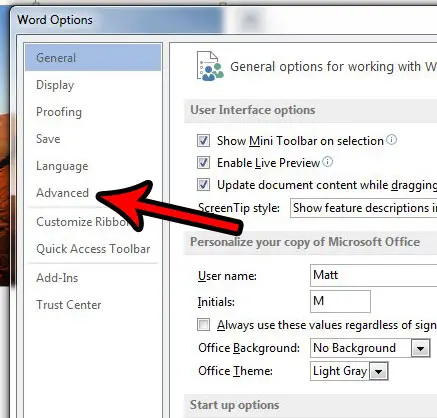
Step 3: Click the Advanced tab in the left column of the Word Options window.

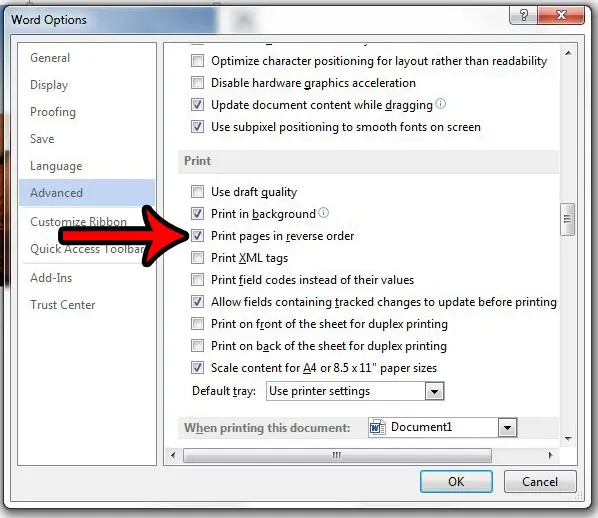
Step 4: Scroll to the Print section at the bottom of the menu, then check the box to the left of Print pages in reverse order.

Step 5: Click the OK button to save your changes and close the window.
Note that these changes will affect the way that all of your documents print in Word 2013.
Now that you know how to print the last page first in Word 2013, you can save yourself some time if you have previously had to reorganize your document pages manually.
Are you creating a document with a list? Learn how to add a check mark in Word 2013 if you would like to indicate that an item or task in that list has been completed.

Matthew Burleigh has been writing tech tutorials since 2008. His writing has appeared on dozens of different websites and been read over 50 million times.
After receiving his Bachelor’s and Master’s degrees in Computer Science he spent several years working in IT management for small businesses. However, he now works full time writing content online and creating websites.
His main writing topics include iPhones, Microsoft Office, Google Apps, Android, and Photoshop, but he has also written about many other tech topics as well.