If you are looking for ways to add page borders for Word documents, then you are likely trying to visually improve your Microsoft Word documents so that they stand out among a sea of documents that consist only of black text on a white background.
Microsoft understood that many of its Word users would need to make their documents look better, so they provided a way for you to add borders for Word documents.
This addition to Microsoft’s word processing software did not stop there, as the amount of page borders in Microsoft Word is truly astounding when you consider the designs that are possible through combinations of styles, colors, widths and art.
Sometimes the layout of your document can be dramatically affected by formatting choices. Our how to delete section break in Word guide can show you how to remove one of those formatting settings.
How to Make a Microsoft Word Document Border
In Microsoft Word 2010, the menu that you use to add borders for Word documents is located on the Page Layout tab at the top of the window.
Once you have clicked the Page Layout tab, you will notice that the Ribbon, or the horizontal navigation menu at the top of the window, has changed to include a new set of options. Among these options is a Page Background section, which includes the menu that you will use to add borders for Word documents.
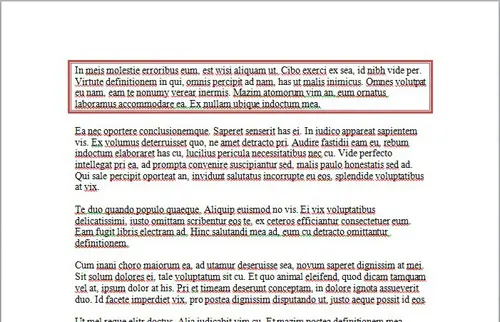
Click the Page Borders icon in the Page Background section of the Ribbon, which will launch a pop-up window on top of the Microsoft Word window. At the top of this pop-up window are three tabs that contain the options you will need to apply borders to your paragraphs or your entire document. If you only want to apply borders to your paragraphs, then click the Borders tab at the top of the window. If you want to apply borders to the entire page, click the Page Borders tab. If you do not know what you want, then here is an example of a document with a paragraph border:
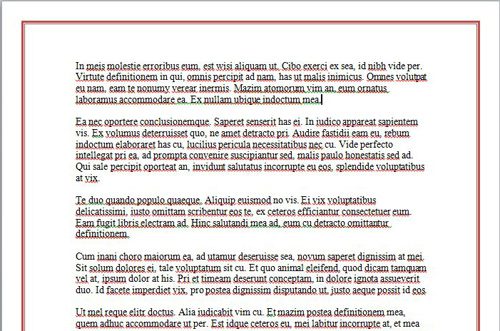
and here is an example of an entire document with borders:
The process for adding paragraph borders for Word documents or document borders for Word documents is very similar, so once you can do one of them, you can do both of them.
How to Make a Paragraph Border in Microsoft Word
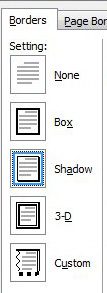
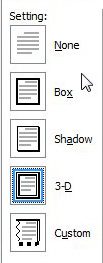
If you want to add paragraph borders to your Word document, then you need to select a border setting from the Settings column at the left side of the menu.
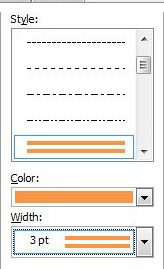
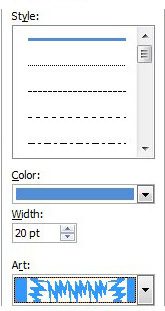
You then need to select a Style, Color and Width option from the center column.
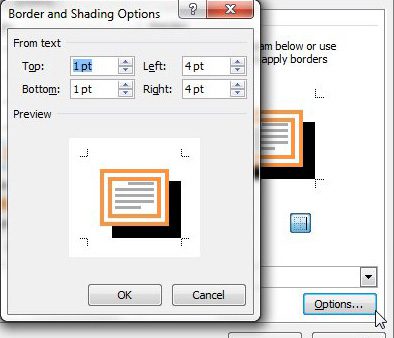
Finally, click the Options button at the bottom of the right column, then specify the distances of the borders from your text. When you have finished customizing your paragraph borders, click the OK button to close the Border and Shading Options window, then click the OK button to close the Borders and Shading window.
How to Add a Border to an Entire Document in Word
The entire process is very similar when you want to add a page border to your Word document instead of a paragraph border. Confirm that the Page Border tab is selected at the top of the window, then select a border setting from the Settings column at the left side of the window.
Select Style, Color, Width and Art options from the center column
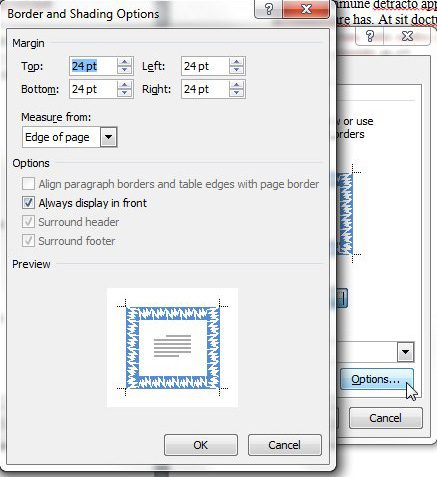
Then click the Options button at the bottom of the right column to specify the margins for your border. Once you have specified your margins, click the OK button at the bottom of each open window to apply your changes.
For additional information about configuring your borders in Microsoft Word, check out this article on Microsoft Word 2010 page borders.

Matthew Burleigh has been writing tech tutorials since 2008. His writing has appeared on dozens of different websites and been read over 50 million times.
After receiving his Bachelor’s and Master’s degrees in Computer Science he spent several years working in IT management for small businesses. However, he now works full time writing content online and creating websites.
His main writing topics include iPhones, Microsoft Office, Google Apps, Android, and Photoshop, but he has also written about many other tech topics as well.


