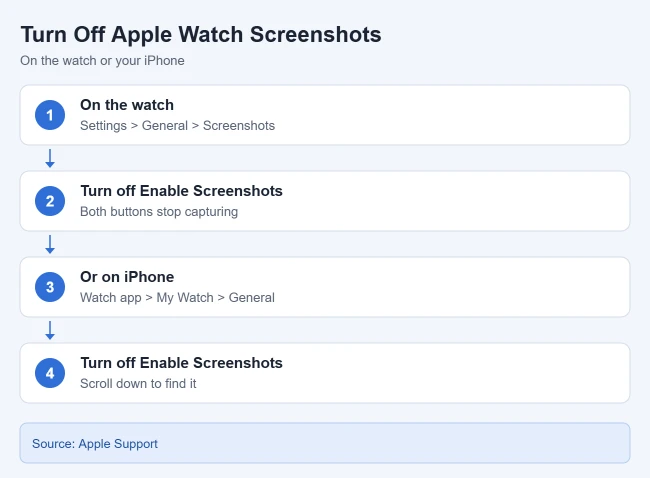
To stop taking accidental screenshots on Apple Watch, open Settings on the watch, tap General > Screenshots, and turn off Enable Screenshots. You can also do it on your iPhone: open the Watch app, tap My Watch > General, scroll down, and turn off Enable Screenshots. After that, pressing the Digital Crown and side button together won’t capture the screen.
This guide covers both ways to turn screenshots off, how to clean up the ones already in your Photos library, and how to take a screenshot when you want one. The steps come from Apple Support’s Take a screenshot on Apple Watch article and Apple’s iPhone User Guide pages Locate photos and videos by media type and Delete or hide photos and videos.
How to Turn Off Screenshots on Apple Watch
- Open the Settings app on your Apple Watch.
- Tap General.
- Scroll down and tap Screenshots.
- Turn off Enable Screenshots.
Result: Pressing the Digital Crown and the side button together no longer takes a screenshot. The change takes effect right away.
Turn it off from your iPhone instead
- Open the Watch app on your iPhone (Apple calls it the Apple Watch app).
- Tap the My Watch tab.
- Tap General.
- Scroll down and turn off Enable Screenshots.
Result: The setting changes on your paired watch. You only need to use one of the two methods.
For a family member’s Apple Watch
If you set up an Apple Watch for a family member, Apple says to change the setting on that watch itself: Settings > General > Screenshots. Apple notes that a family member’s screenshots are saved on their watch and sent to your iPhone, where you can view them in the Watch app under General > Diagnostic Logs.
Why Do I Keep Taking Screenshots by Accident?
The screenshot shortcut uses both buttons on the right side of the watch. Bending your wrist can press the two buttons together without you noticing.
Apple also notes that in the Workout app, pressing both buttons pauses your workout, and pressing them again resumes it. If you only want screenshots occasionally, leave the feature off and turn it on when you need it.
How to Delete Accidental Watch Screenshots
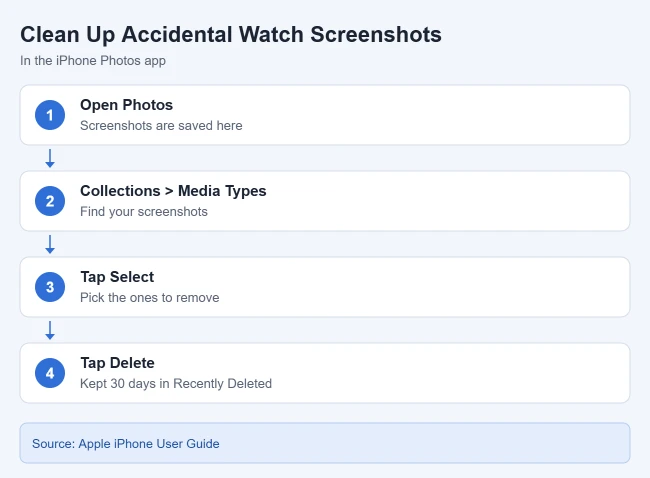
Apple says Apple Watch screenshots go to the Photos app on your iPhone. To clear out the ones you didn’t mean to take:
- Open the Photos app on your iPhone.
- Tap Collections, scroll down, and tap Media Types, then choose the screenshots collection.
- Tap Select and tap each screenshot you want to remove.
- Tap the delete button.
Result: Apple says the screenshots move to Recently Deleted and stay there for 30 days, so you can recover them if you change your mind. If you use iCloud Photos, they’re removed from your other devices too.
How to Take a Screenshot on Apple Watch
If you change your mind later, turn Enable Screenshots back on with either method above. Then:
- Open the screen you want to capture.
- With two fingers, press the Digital Crown and the side button at the same time.
- Open the Photos app on your iPhone to find it.
Result: Apple says the watch screen flashes when the screenshot is taken.
Troubleshooting
- No Screenshots option on the watch: use the iPhone method instead. The setting arrived in watchOS 3, so very old software may not have it.
- Screenshots keep appearing after you turned it off: check the setting again on the watch. If you have more than one watch, change it on each one.
- Your workout paused unexpectedly: that’s the same two-button press. Apple says pressing both buttons again resumes the workout.
Frequently Asked Questions
Does turning off screenshots change anything else?
Apple’s article describes the switch only as turning screenshots on or off. It doesn’t mention any other feature tied to it.
Can I see Apple Watch screenshots on the watch?
Apple says your screenshots appear in the Photos app on your iPhone. For a family member’s watch, Apple says screenshots are saved to the Photos app on that watch.
Related Guides
- How to quit an app on Apple Watch
- How to turn off or restart an Apple Watch
- How to control your iPhone camera from Apple Watch
- How to send an audio message from Apple Watch

Matthew Burleigh is the founder, head writer, and editor of Solve Your Tech, which he launched in 2012. He has written technology tutorials since 2008 and worked in IT since 2003, including small-business support, IT management, and consulting. He holds Bachelor’s and Master’s degrees in Computer Science from Arizona State University.
Matthew writes practical guides for Windows, iPhone and iPad, Microsoft Office, Outlook, Google apps, and Android. Solve Your Tech’s guides are tested on current devices or checked against official product documentation, with clear steps, sources, and update dates.
Read more about Matthew and how Solve Your Tech writes and updates its guides, or report a correction.