To increase audio quality in Pandora on an iPhone, open Pandora, tap Profile, tap the Settings gear, then tap Advanced. Free and Plus listeners turn on the switch under Cell Network Audio Quality. Premium subscribers open Audio Quality and Downloads and choose High.
Which control you see depends on your Pandora plan, so this guide covers each one separately. It follows Pandora’s own help article on audio quality, and it explains the data trade-off before you flip anything.
Before You Start
- Know your plan. Pandora has a free, ad-supported tier and paid Plus, Premium and Premium Family subscriptions. Free and Plus share one audio setting. Premium has a more detailed screen.
- Use a current app. Pandora says its current iPhone app requires iOS 15 or later. To check your version, open the iPhone Settings app and go to General > About.
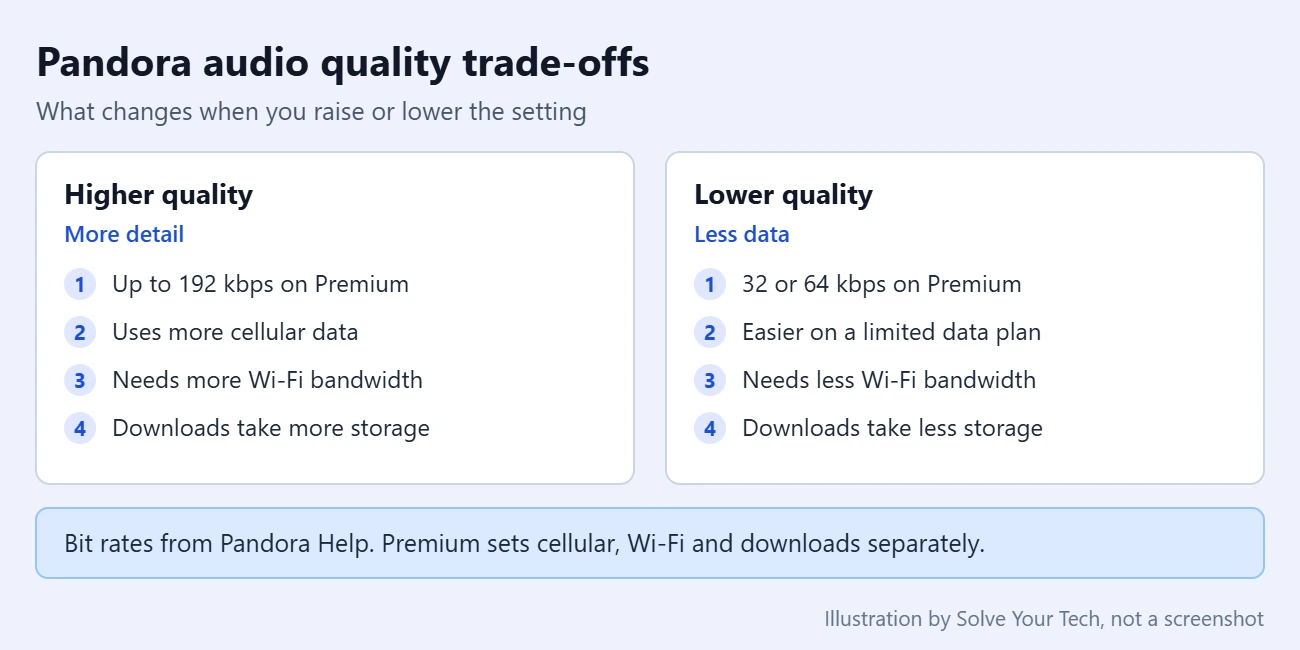
- Think about your data plan. Higher quality means a higher bit rate. Bit rate is the amount of audio data sent each second, measured in kilobits per second (kbps). More kbps usually means more detail, and it always means more data used.
Warning: if your cellular plan has a monthly data cap, turning on higher quality for cellular listening will use that allowance faster. You can switch back at any time using the same steps.
Pandora Audio Quality Levels by Plan
| Where you listen | Plan | Audio quality |
|---|---|---|
| iPhone app | Free and Plus | Normal or high quality on cellular (one switch) |
| iPhone app | Premium | Low (32 kbps AAC+), Standard (64 kbps AAC+) or High (192 kbps MP3) |
| Pandora on the web | Free | 64k AAC+ |
| Pandora on the web | Plus and Premium | 192 kbps |
AAC+ and MP3 are audio formats. AAC+ is a format built for low bit rates, and Pandora lists it for the Low and Standard settings. Pandora does not publish the exact bit rates behind the Free and Plus mobile switch, only that it changes between normal and high quality.
Increase Audio Quality for Free and Plus Listeners
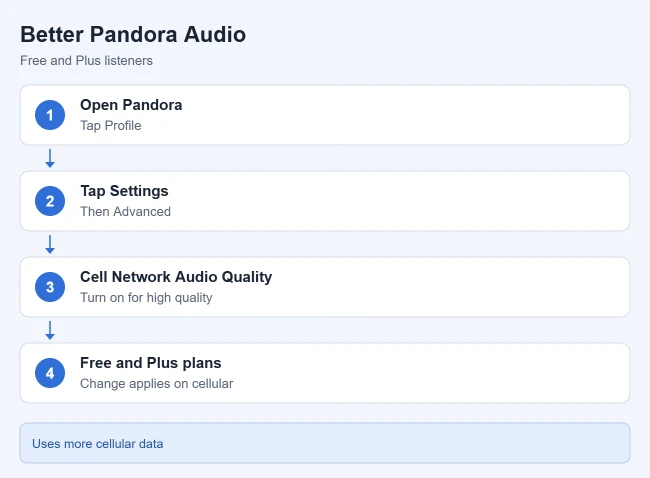
- Open the Pandora app and tap Profile in the bottom navigation bar.
- Tap the Settings gear in the top-right corner of the Profile screen.
- Tap Advanced.
- Find Cell Network Audio Quality and turn the switch on for high quality audio.
Result: Pandora uses its higher quality stream when your iPhone is on a cellular connection. As the name says, this switch is about the cell network. Pandora’s help article does not list a separate Wi-Fi quality control for Free and Plus listeners.
To undo it: return to Advanced and turn the same switch off. Pandora goes back to normal quality on cellular, which uses less data.
Choose Audio Quality as a Premium Subscriber
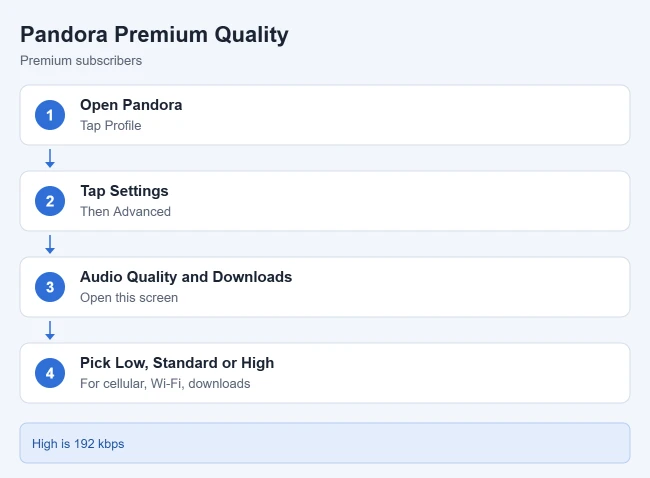
- Open the Pandora app and tap Profile.
- Tap the Settings gear in the top-right corner.
- Tap Advanced, then tap Audio Quality and Downloads.
- Choose High for the best sound. Choose Standard or Low if you would rather use less data.
Premium subscribers get additional options for listening on a cell network, on Wi-Fi, and for downloads, so you can pick a different level for each. A sensible starting point is High on Wi-Fi, with a lower level on cellular if your data plan is limited.
The download setting matters for storage as well as sound. Pandora says offline content can take roughly 300 MB to 700 MB of space depending on what you download, and higher quality files are larger. Its Offline Mode and Downloads article also notes that Pandora downloads over Wi-Fi only by default.
Result: Pandora uses the level you picked for each connection type. To undo the change, open Audio Quality and Downloads again and select a different level.
The same settings area holds other playback options. For example, you can disable Auto-Lock when using Pandora on an iPhone so the screen stays awake.
Change Audio Quality on the Web
If you also listen at pandora.com on a computer, that setting is separate from the iPhone app:
- Select your profile in the upper-right corner.
- Select Settings, then Content Settings.
- Turn Audio Quality on for high quality audio, or off for normal quality.
Pandora says the change takes effect on the next track, so skip ahead or wait for the current song to finish before you judge the difference.
How to Confirm the Change Worked
Pandora does not show a bit rate on the Now Playing screen, so the setting itself is your confirmation. Go back to Profile > Settings > Advanced and check that the switch is still on, or that High is still selected.
You can also watch the effect on data. Open the iPhone Settings app, tap Cellular, and scroll to the list of apps. Apple’s guide to cellular data settings on iPhone explains that the amount of cellular data used appears below each app. Expect Pandora’s number to climb faster once the higher quality setting is on.
Troubleshooting
You don’t see Advanced
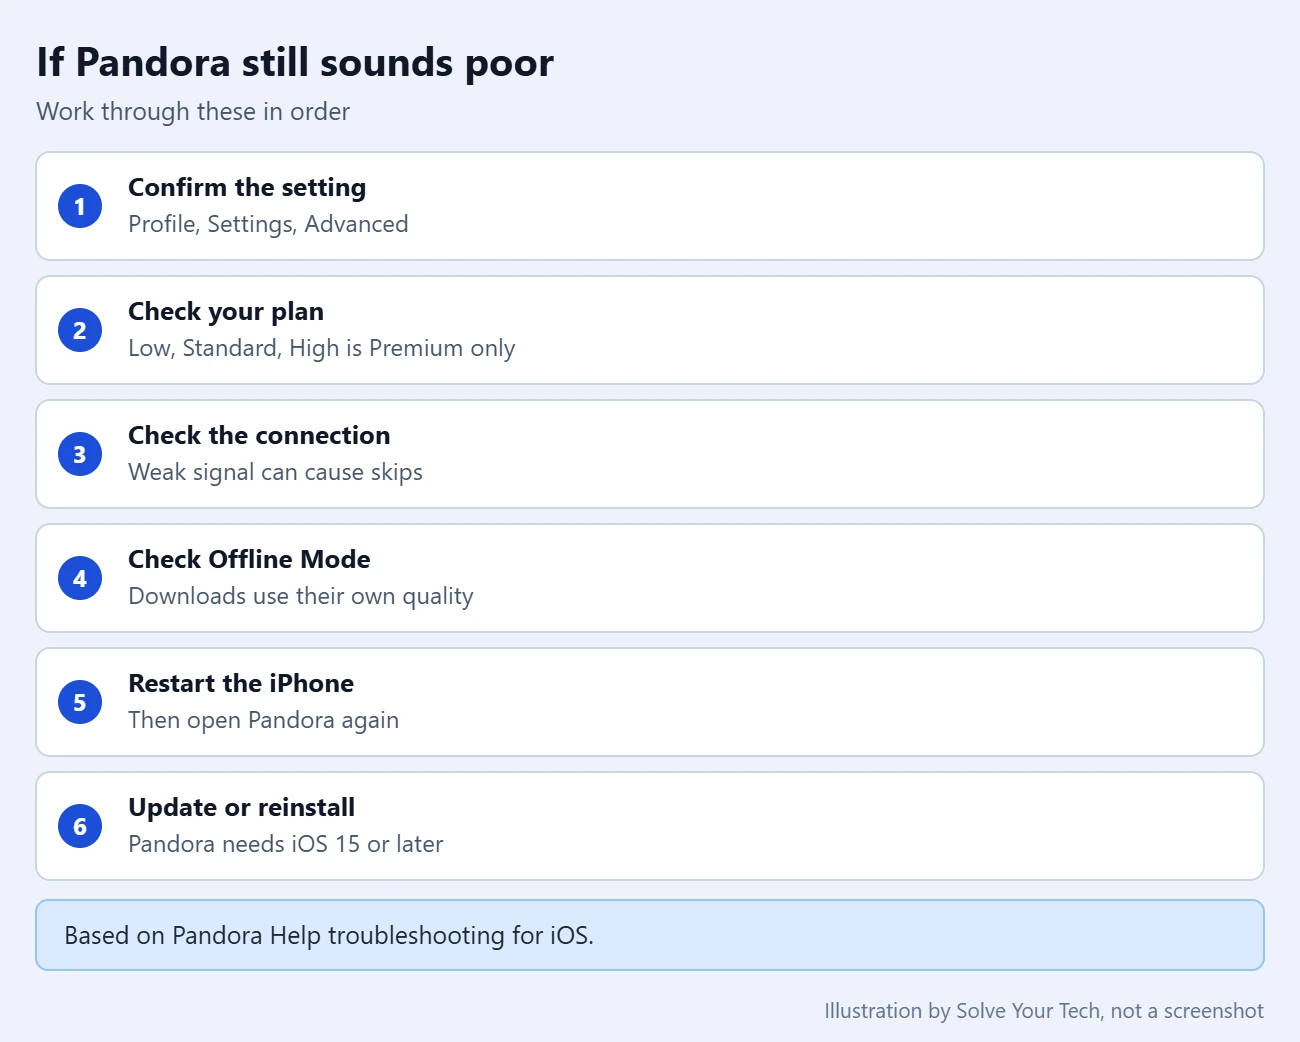
Pandora’s help pages describe the path two ways. The audio quality article goes through Advanced, while the downloads article sends Premium subscribers straight from Settings to Audio Quality and Downloads. If Advanced is missing in your version of the app, look for the audio option directly in the Settings list, and update Pandora from the App Store.
You don’t see Audio Quality and Downloads
That screen belongs to Premium. Free and Plus listeners see Cell Network Audio Quality instead.
The music skips or buffers after you raise the quality
A higher bit rate needs a faster, steadier connection. If songs stall on cellular, move to Wi-Fi or drop back to the lower setting until your signal improves. Also check whether your iPhone is in Low Data Mode. Apple says Low Data Mode can reduce the quality of streaming content, though how each third-party app responds is up to that app. You’ll find it in the iPhone Settings app under Cellular > Cellular Data Options.
Pandora still sounds flat or uneven
Pandora’s general fix for iPhone problems is to restart the phone, and if that fails, to uninstall and reinstall the app. Warning: Pandora’s iOS troubleshooting page says Premium and Premium Family listeners may need to download some offline content again after reinstalling. Keep in mind that speakers and headphones set a ceiling too. A small phone speaker will not reveal much difference between Standard and High.
You’re using too much data now
Turn the cellular setting back down and keep High for Wi-Fi. You can go further and stop Pandora from using cellular data on your iPhone, or work through our list of ways to reduce cellular data usage on an iPhone.
Frequently Asked Questions
What is Pandora’s highest audio quality?
Pandora’s help article lists 192 kbps as its top setting. In the mobile app that is the Premium High option, delivered as MP3. On the web, Plus and Premium subscribers get 192 kbps.
Does Pandora have lossless or hi-res audio?
Pandora’s audio quality article does not list a lossless or hi-res option. The highest level it documents is 192 kbps.
Does high quality audio use more data on Pandora?
Yes. A higher bit rate sends more data for every minute of music. That is why Pandora ties the Free and Plus switch to the cell network and lets Premium subscribers choose a lower level for cellular than for Wi-Fi.
Do I need Pandora Premium for better sound on an iPhone?
Not necessarily. Free and Plus listeners can turn on high quality audio for cellular listening. Premium is the only plan with the named Low, Standard and High choices and separate settings for Wi-Fi and downloads.
Does Pandora have an equalizer on iPhone?
Pandora’s help articles for audio quality and for using the iOS app do not describe an equalizer, so treat guides that mention one with caution. The documented sound control is the audio quality setting covered above.
Does the audio quality setting change my downloads?
Only on Premium, where downloads have their own quality option. Pandora’s audio quality article does not say whether songs you already downloaded are replaced after you change the level, so download an item again if you want to be sure it uses the new one.
Next Steps
Set the quality once, listen for a day, and check your cellular usage before deciding whether to keep it. If you use other services too, see how to change Spotify audio quality settings or turn on lossless audio in Apple Music on iPhone. For video, read about Netflix’s data options on iPhone.

Matthew Burleigh is the founder, head writer, and editor of Solve Your Tech, which he launched in 2012. He has written technology tutorials since 2008 and worked in IT since 2003, including small-business support, IT management, and consulting. He holds Bachelor’s and Master’s degrees in Computer Science from Arizona State University.
Matthew writes practical guides for Windows, iPhone and iPad, Microsoft Office, Outlook, Google apps, and Android. Solve Your Tech’s guides are tested on current devices or checked against official product documentation, with clear steps, sources, and update dates.
Read more about Matthew and how Solve Your Tech writes and updates its guides, or report a correction.