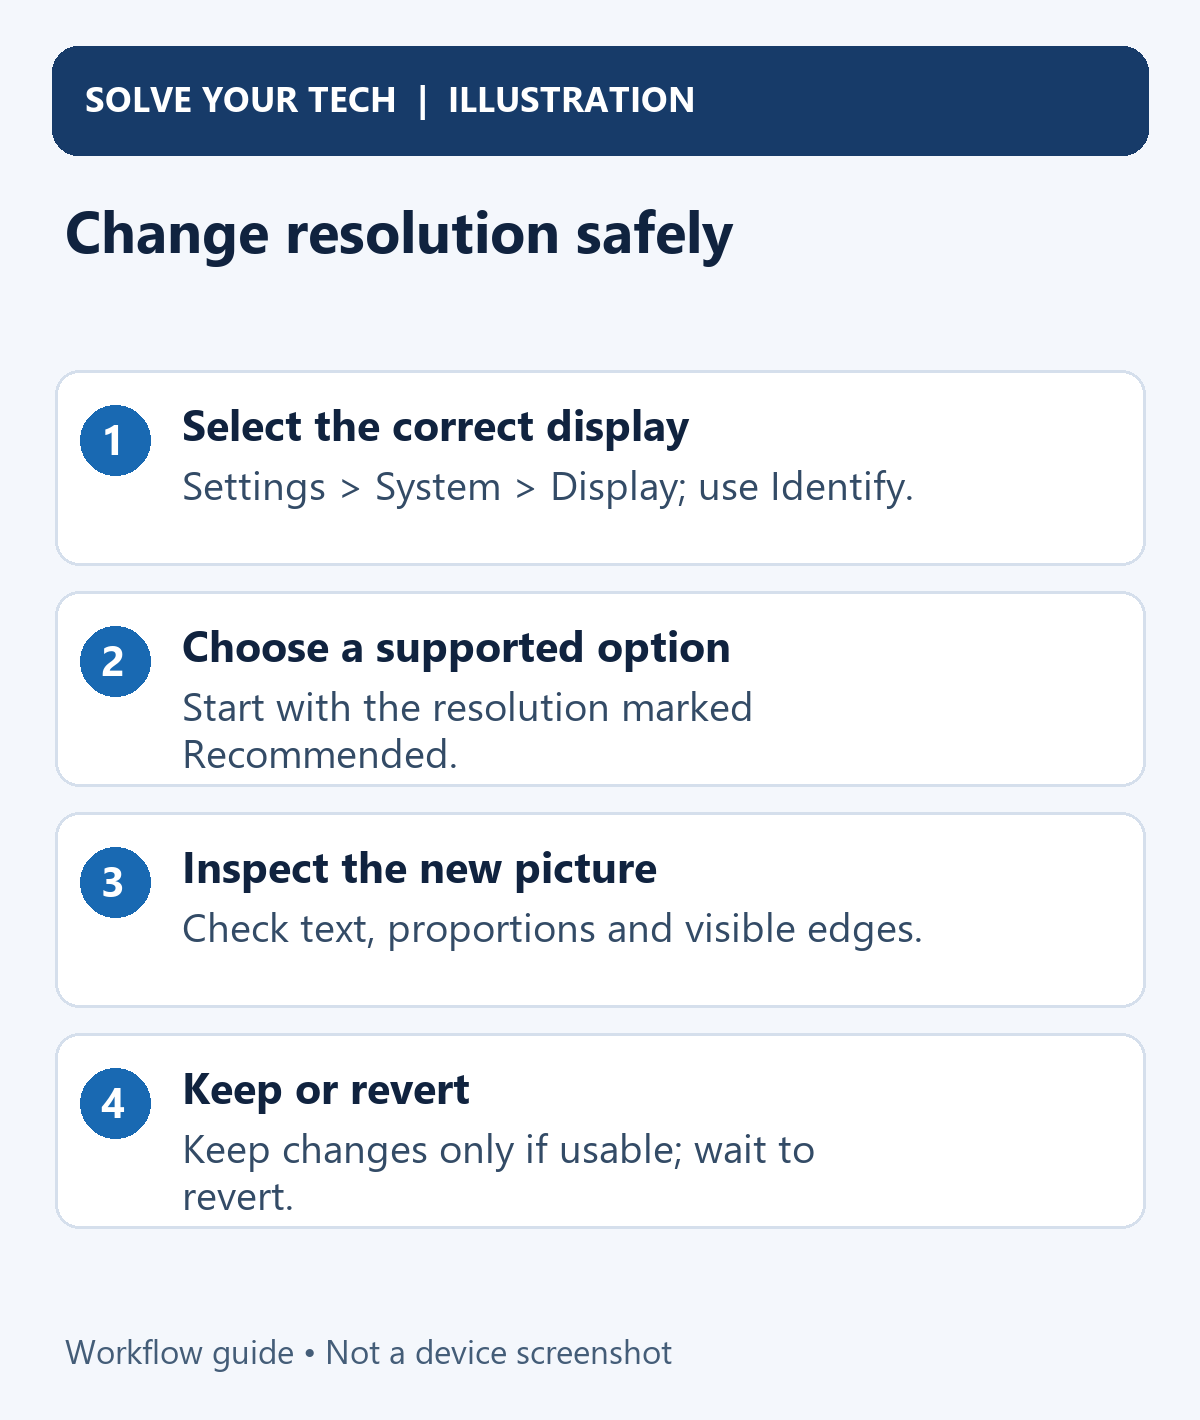
To change screen resolution in Windows 11 or Windows 10, open Start > Settings > System > Display, select the monitor you want to adjust, and choose an option under Display resolution. Start with the setting marked (Recommended). Select Keep changes only after checking that the picture is readable and fits the screen.
If everything is sharp but too small, adjust Scale instead. Resolution determines the number of pixels used for the desktop; scaling changes the size of text and apps. Lowering resolution just to enlarge text can leave the picture less clear.
The steps below cover both Windows versions, selecting the correct monitor, undoing an unsuitable change, and fixing missing options or a picture that does not fit. The Windows 10 menu differences are identified separately.
Before changing the resolution
Save your work and note your current resolution and scale. A short note such as “monitor 2, 1920 × 1080, 125%” makes it easier to restore a useful setting. Those numbers are examples, rather than settings that every screen should use.
For an external monitor, make sure it is switched on, connected securely, and showing the correct input. A dock or adapter is part of that connection. If Windows cannot detect the monitor, the resolution list for another screen will not fix it.
Choose one display setting to change first. Changing resolution, scaling, refresh rate, and the monitor's picture controls together makes it difficult to tell which adjustment helped.
Changing resolution does not edit your photos, delete files, or physically increase the monitor's size. It changes how the desktop is displayed. An app window can move or resize afterward, so keep any important work saved while comparing settings.
Change screen resolution in Windows 11
- Open Start > Settings. You can also press Windows key + I to open Settings.
- Select System > Display. Another route is to right-click an empty area of the desktop and choose Display settings.
- If numbered monitor boxes appear, select the screen you want to change. Use Identify when you are unsure which box corresponds to the physical monitor.
- Find Scale & layout and open the Display resolution list.
- Choose a supported resolution. The option marked (Recommended) is the usual starting point for a sharp picture.
- Allow the display to switch. A brief blank or flickering screen can occur during the change.
- Check the picture, then choose Keep changes if it is usable. Select Revert if the old setting was better. If you cannot read the screen, leave the confirmation alone and let its countdown expire.
The exact dialog wording can vary by Windows build or display software. The important check is whether you can see the complete desktop and read its controls before accepting the change. Lenovo's guide describes a confirmation interval of about 15 seconds; do not assume you have unlimited time to compare options.
After keeping the change, return to Display resolution and confirm that the selected value is the one you intended. If you have several monitors, also confirm that the correct monitor remains selected.
Change screen resolution in Windows 10
The same Settings > System > Display page is used, but some labels and surrounding menus differ:
- Open Start > Settings > System > Display, or right-click the desktop and select Display settings.
- Under Rearrange your displays, choose the monitor you want to adjust if more than one is connected.
- Scroll to Scale and layout.
- Open Display resolution and choose a supported option, preferably the one marked (Recommended).
- Inspect the picture and keep the change only when it looks right. Revert, or allow the confirmation to time out, when it does not.
Microsoft's screen resolution and layout guide includes separate Windows 11 and Windows 10 tabs. Use the tab matching your PC when the screenshot or menu name differs.
Windows 10's free support ended on October 14, 2025. These display settings still work, but an older PC should not be assumed to receive the same free updates and fixes as a currently supported Windows installation.
Pick the right setting for the problem
| What you see | What to check first |
|---|---|
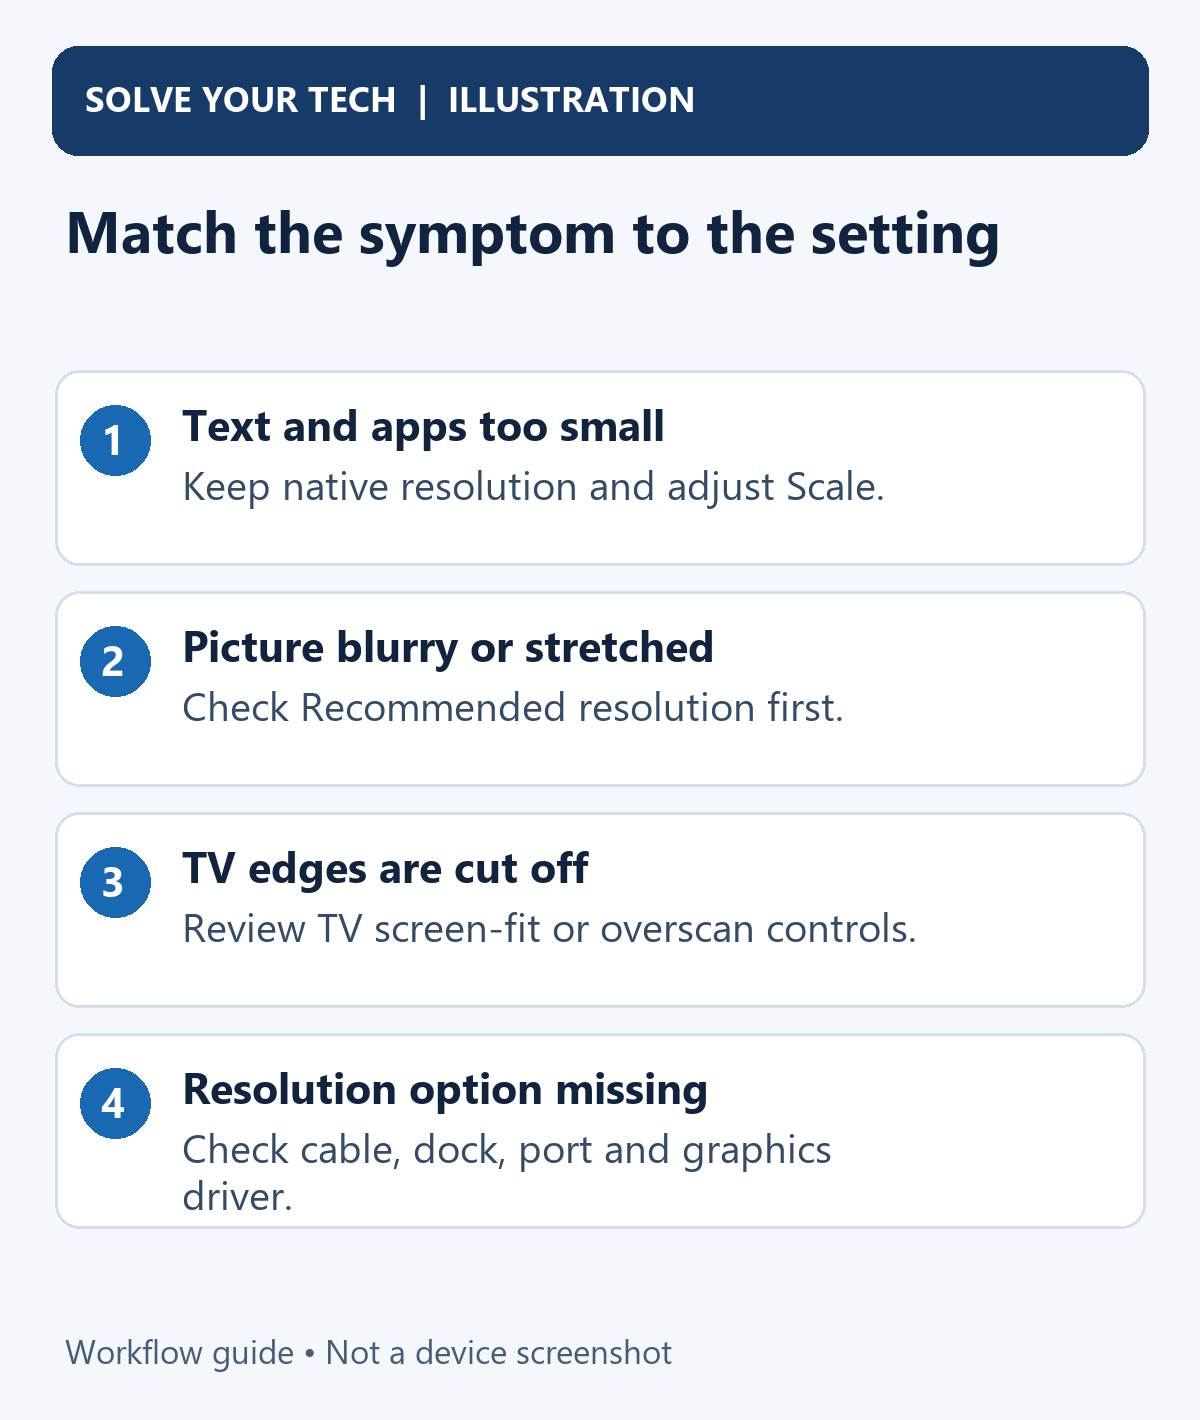
| Sharp text and icons that are too small | Keep the recommended resolution and increase Scale |
| Everything looks larger than you want | Check Scale before lowering or raising resolution |
| Blurry text across the desktop | Check the selected monitor's recommended resolution |
| Stretched shapes or an unexpected black border | Check resolution and the display's aspect-ratio controls |
| The taskbar or desktop edges are cut off on a TV | Check the TV's picture-size or overscan controls |
| A sideways desktop | Check Display orientation and the monitor's physical position |
| Motion is choppy while still images are sharp | Review refresh rate separately |
| Only one browser page is too large | Check that browser's zoom setting |
A resolution such as 1920 × 1080 describes the width and height in pixels. The monitor's native resolution is the pixel arrangement it is built to display. Using a lower setting can make items larger, but the display may need to stretch or center that smaller image.
(Recommended) is more useful than assuming the largest number in the list is always the best choice. If the recommended value seems wrong, check the monitor model, its supported modes, and the connection before forcing another value.
Compare a familiar text window and a round icon or photograph. Clear text and normal proportions are more useful checks than judging a setting from a colorful wallpaper alone.
Make text and apps larger with Scale
In Windows 11, stay on Settings > System > Display, select the appropriate monitor, and choose a preset under Scale in Scale & layout. A higher percentage makes text and interface elements larger; a lower percentage makes them smaller.
In Windows 10, find Change the size of text, apps, and other items under Scale and layout. Start with a recommended preset and compare it with the previous setting.
Keep the recommended resolution while doing this comparison. For example, if a high-resolution laptop has crisp but tiny menus, a larger scale can improve readability while preserving the screen's native pixel detail. You do not need to lower the resolution first.
If an app remains blurry after changing scale, close and reopen that app. Save your work before signing out if Windows asks you to do so. One older app failing to redraw cleanly does not necessarily mean the resolution is wrong for the entire screen.
If you can read the size of the text but struggle to distinguish it from the background, consider a separate Windows contrast theme. Contrast changes colors, while scale addresses size.
Adjust the correct monitor in a multiple-display setup
Use Identify on the Display page to match each numbered box to a physical screen. Then select that box before changing its resolution or scale. Repeat the check for each monitor you intend to adjust.
Press Windows key + P to inspect the projection mode. Duplicate shows the same picture on multiple screens; Extend provides a desktop across them. Use Extend when your goal is to work with separate displays, rather than show the same presentation on both.
Different monitors can need different supported resolutions and scale percentages. A laptop panel and an external monitor do not have to use matching numbers to look comfortable. Start with the recommended setting for each screen and compare them individually.
Dragging the numbered boxes changes their arrangement and how the pointer travels between screens. It does not change the pixel resolution. If the pointer crosses at an awkward height, adjust the layout separately after settling the picture settings.
If a monitor is absent from the diagram, check its cable and input, then use Multiple displays > Detect where available. Our multiple-monitor setup guide covers connecting and arranging the screens. For a Miracast display, start with the separate wireless-display connection instructions before adjusting its picture.
Troubleshoot missing or unsuitable resolution options
The recommended resolution is missing or the list is unavailable
First confirm that you selected the correct monitor. Record the options Windows does offer and check the display's model information. That separates a genuinely missing mode from a change made to the wrong screen.
Inspect the cable, adapter, dock, and port. A screen capable of a particular resolution still needs a compatible connection. Try a secure direct connection or another suitable cable when possible. Check the equipment's specifications for the desired resolution and refresh rate together, rather than treating either number as an independent guarantee.
Lenovo's resolution instructions also identify graphics or monitor drivers and the cable connection as possible causes when the setting cannot be changed. Get driver updates from Windows or the PC and graphics hardware manufacturer's official support channels.
On Windows 11, check Settings > Windows Update. On Windows 10, the route is Settings > Update & Security > Windows Update. Available updates depend on the Windows version, support status, and hardware.
The picture becomes blurry, stretched, or surrounded by black bars
Return to the recommended resolution for the selected monitor, then assess Scale separately. A lower-than-native resolution can look less sharp or leave a smaller image surrounded by unused space.
If shapes still look stretched, inspect the monitor's aspect-ratio settings. A display that stretches a narrower image to fill its panel can distort the proportions even when Windows is outputting a supported mode.
If only one app looks wrong, compare it with Settings or another app before changing the whole desktop again. Its own zoom, display, or scaling behavior may be the relevant setting.
The desktop edges are cut off on a TV
A TV can enlarge the incoming picture through overscan, hiding part of the desktop around its edges. Changing Windows resolution alone may therefore leave the taskbar or window controls clipped.
Look in the TV's picture-size or aspect controls for an appropriate fit setting. Names vary; examples include Screen Fit, Just Scan, Full Pixel, or 1:1. Use the TV's manual to find the corresponding option for that input.
NVIDIA's overscan guidance recommends starting with the display's hardware controls. On supported NVIDIA setups, desktop resizing can be a further option if those controls are insufficient or absent. That does not mean every PC has the same NVIDIA menu.
Check all four desktop edges after an adjustment. A visible taskbar at the bottom does not establish that the left or right side also fits.
The resolution changes again after you keep it
Note when the change happens: after reconnecting a dock, opening a game, changing refresh rate, or installing a driver update. That timing helps you investigate a specific cause.
In Windows 11, Settings > System > Display > Advanced display shows display information and supported refresh-rate choices. Microsoft's refresh-rate guide explains that an asterisk beside a rate indicates it does not support the current resolution. Choosing it can change the resolution as well.
Do not automatically select the highest refresh rate to fix a resolution problem. First preserve a supported resolution and choose a compatible rate. If the problem began immediately after a driver update, Microsoft's external-monitor troubleshooting guide includes driver rollback and later repair options. Use those instructions when basic connection and setting checks have not resolved the issue.
Recover from a black or unreadable picture
If the problem began during the resolution confirmation, wait for automatic reversion. Avoid confirming an unseen dialog. If the screen remains unusable, Windows key + Ctrl + Shift + B can reset the graphics driver and may help; it is not a guaranteed fix for an unsupported mode or faulty cable.
If another connected display remains usable, use it to restore a supported resolution on the affected screen. For a persistent problem, Microsoft documents Enable low-resolution video in Windows Startup Settings.
Save work first. If you can access the power menu, hold Shift while selecting Restart to enter recovery. In Windows Recovery Environment, choose Troubleshoot > Advanced options > Startup Settings > Restart, then select Enable low-resolution video. Restore the display setting after Windows starts.
An encrypted device can require its BitLocker recovery key. Consult Microsoft's recovery instructions or your organization's support team if you cannot access recovery normally. A factory reset is not the routine first step for a bad resolution.
Frequently asked questions
Can I set any resolution I want?
The standard Windows list provides supported choices reported for the display setup. Creating a custom mode is a separate hardware-specific task. A missing value is a reason to check the connection, driver, and equipment capabilities first.
Third-party resolution utilities, registry changes, and instructions for another graphics card are not interchangeable with selecting a supported Windows option. If you need an unusual mode for a specialist application, follow the documentation for your actual graphics hardware and display.
Does lowering resolution make the computer faster?
It can change the rendering workload in some applications, especially games, but it is not a general fix for a slow PC. A game's rendering resolution can also differ from the Windows desktop resolution. For desktop readability, try Scale before sacrificing sharpness.
Do I have to restart after changing resolution?
Ordinary resolution changes are previewed immediately and confirmed on screen. A restart is not normally the confirmation step. An app may need reopening after a scale change, and driver installation or repair can have its own restart requirement.
How do I undo a resolution I already kept?
Return to the same monitor's Display resolution list and select your previous supported value or (Recommended). Inspect the result before keeping it. Recording the original setting before experimenting makes this easier.
Will changing one monitor change all of them?
Select the monitor you intend to adjust and review the projection mode. An extended desktop supports separate display settings; duplicated output shows the same picture across screens. Check each screen afterward rather than assuming the selected values carried over correctly.
Start with the recommended resolution on the correct monitor, confirm the visible result, and then adjust Scale if the size needs work. Keeping those decisions separate gives you a clearer route to a sharp, readable desktop.

Matthew Burleigh is the founder, head writer, and editor of Solve Your Tech, which he launched in 2012. He has written technology tutorials since 2008 and worked in IT since 2003, including small-business support, IT management, and consulting. He holds Bachelor’s and Master’s degrees in Computer Science from Arizona State University.
Matthew writes practical guides for Windows, iPhone and iPad, Microsoft Office, Outlook, Google apps, and Android. Solve Your Tech’s guides are tested on current devices or checked against official product documentation, with clear steps, sources, and update dates.
Read more about Matthew and how Solve Your Tech writes and updates its guides, or report a correction.