Does it seem like all of the text in your text boxes is running together?
or is there so much space between your lines that it’s preventing you from adding other content?
Regardless of your situation, you might find yourself needing to change the amount of space between the lines in one of your text boxes.
Our tutorial below will show you how to change line spacing in Powerpoint with just a few quick steps.
How to Increase or Decrease Line Spacing in Powerpoint
- Open your slideshow.
- Choose the slide with the text to change.
- Select the text.
- Click the Home tab.
- Select the Line spacing button.
- Choose the desired amount of spacing.
Our guide continues below with additional information on how to change line spacing in Powerpoint, including pictures of these steps.
For more information on this topic, including a way to change the spacing for an entire presentation, visit our tutorial on how to change line spacing in Powerpoint.
Designing an effective Powerpoint 2010 presentation requires so much more than just compelling content.
You also need to apply certain artistry to the way that you design your slides if you want to engage your audience.
While you can take an important step towards this goal by including different themes found on the Design tab, the settings for each of these themes are often not completely suited for your purposes.
Therefore you need to take it upon yourself to make further adjustments to the information that you add to each of your slides.
This can be through the addition of your own visual content, such as images or videos, or it can be done by getting the most out of the text that you add to the slides.
For example, you can change the line spacing in Powerpoint 2010 for a block of text, ensuring that you are either fitting as much of the text in an area as possible or making the text take up as much space as possible.
How to Adjust the Line Spacing in Powerpoint 2010 (Guide with Pictures)
Like the rest of the productivity programs in the Microsoft Office 2010 suite, you have nearly complete control over the text that you add to documents.
Whether you want to change the font, size or color of your text, it can usually be accomplished by changing one value in the program, or clicking one button.
Fortunately, the process for modifying the line spacing in Powerpoint 2010 is nearly as simple as making a basic change to your text.
Step 1: Begin the process of changing the line spacing in Powerpoint 2010 by double-clicking your Powerpoint file to open it in the program.
Step 2: Navigate through the slides in your presentation using the column at the left side of the window, then click the slide with the line spacing that you want to adjust.
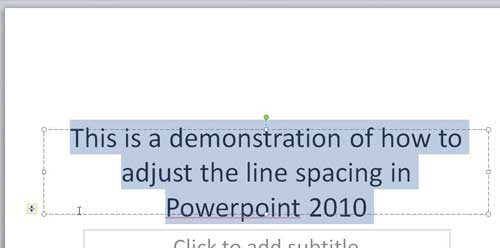
Step 3: Highlight the block of text for which you want to adjust the line spacing.
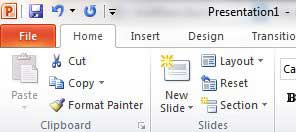
Step 4: Click the Home tab at the top of the window.
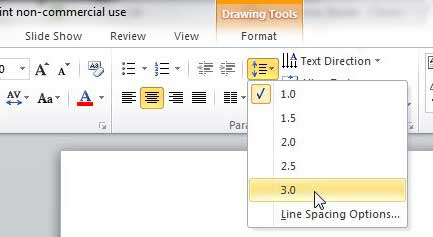
Step 5: Click the Line Spacing button, then click the value that you want to apply to your selected text.
The higher the number, the more space there will be between each line of text. You will notice that if you hover over one of the line spacing values, you can see a preview of how your text will look if you select that spacing option.
Now that you know how ot change line spacing in PowerPoint you will be able to fix any issues related to this setting that might be making it difficult for people to read the text in your slide text boxes.
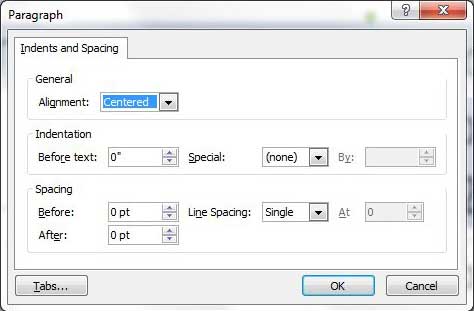
If the options available on this menu do not suit your needs, you can also click the Line Spacing Options button at the bottom of the menu.
This will open a new Line Spacing Options window, where you can further customize the spacing of your Powerpoint 2010 lines. After making any changes on this window, click the OK button.
Be sure to save any changes that you have made to your presentation by clicking the File tab at the top-left corner of the window, then clicking the Save option. You can also click the blue disc icon at the top of the window to save your slideshow as well.

Matthew Burleigh has been writing tech tutorials since 2008. His writing has appeared on dozens of different websites and been read over 50 million times.
After receiving his Bachelor’s and Master’s degrees in Computer Science he spent several years working in IT management for small businesses. However, he now works full time writing content online and creating websites.
His main writing topics include iPhones, Microsoft Office, Google Apps, Android, and Photoshop, but he has also written about many other tech topics as well.


