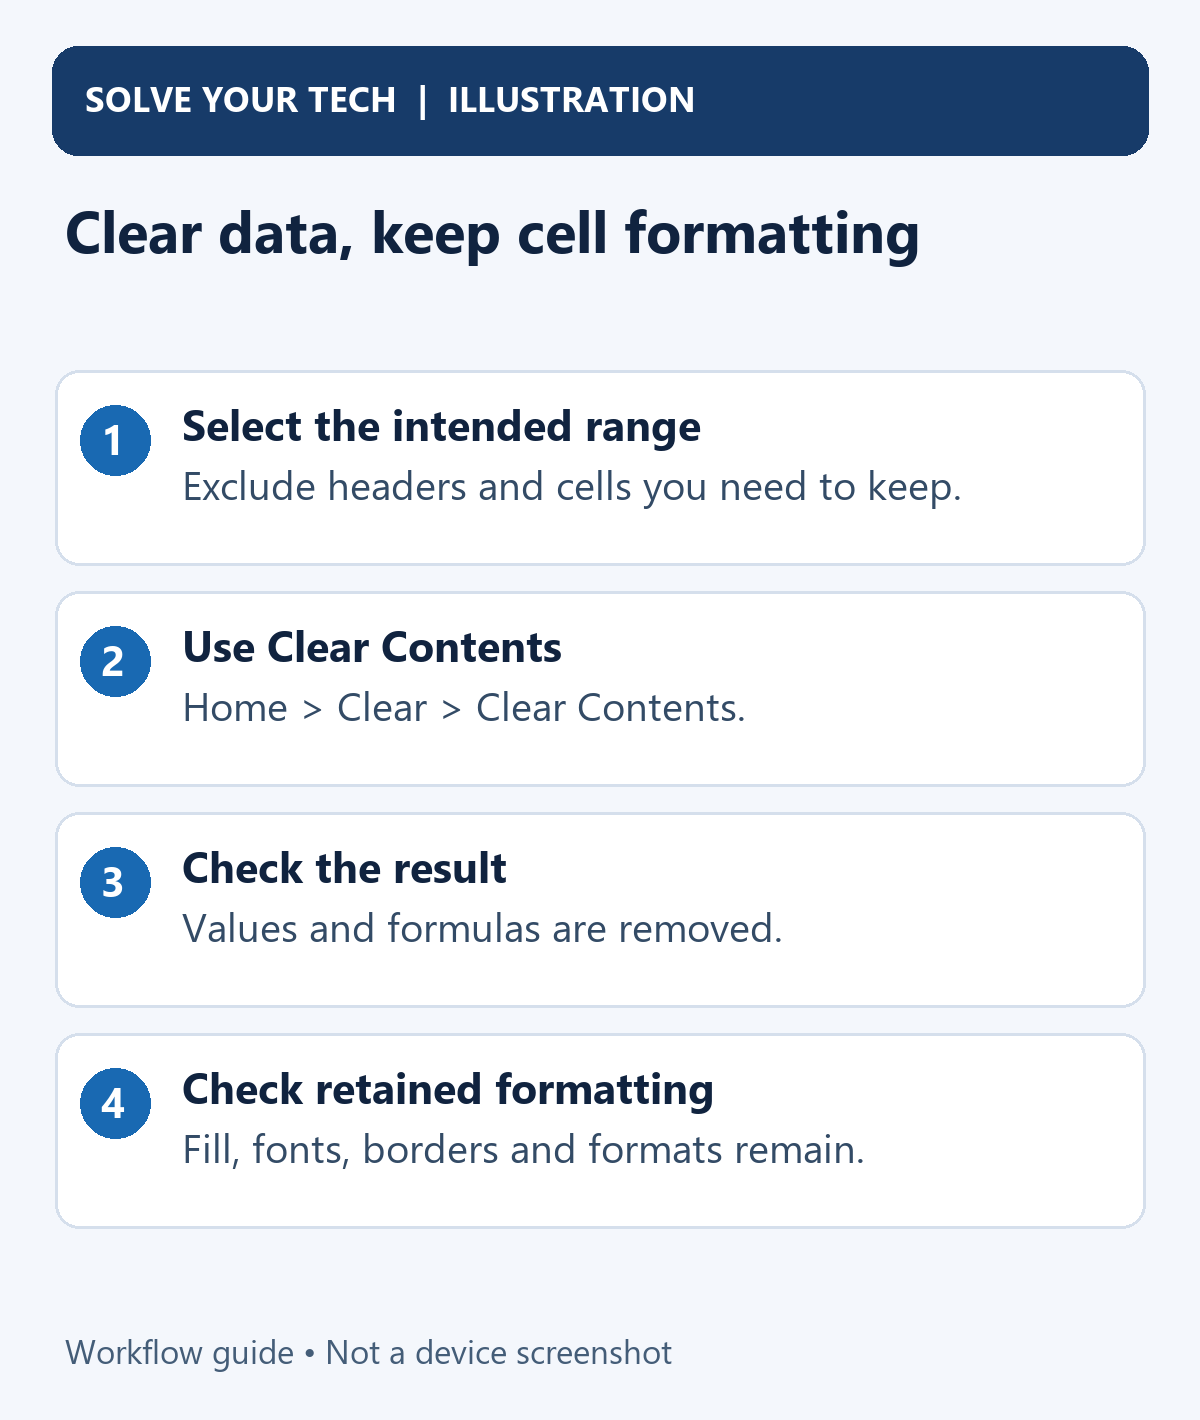
To delete data while keeping cell formatting in Excel, select the cells and choose Home > Clear > Clear Contents. In Excel for Windows, you can also press Delete while the cells are selected. The cells stay in the same positions, and their fill colors, fonts, borders, number formats, and comments remain.
Clear Contents removes formulas as well as typed values. If you want to reset a spreadsheet's input data while keeping its calculations, use the separate Constants method below or select only the input cells.
Choose what you want to remove
- Values and formulas, keeping formatting: use Clear Contents or the Windows Delete key.
- Typed inputs, keeping formulas: select the input cells or use Go To Special > Constants in Excel for Windows.
- Formatting, keeping data: use Clear Formats.
- Cells themselves, shifting the layout: use Delete Cells. This is a different operation from clearing contents.
To remove an entire sheet rather than reset its cells, see our guide to removing a worksheet tab in Excel Online. The ribbon steps below work in Excel for Microsoft 365 and Excel 2024, 2021 and 2019. The Constants method is for Excel for Windows; Mac and web notes are near the end.
Before clearing a range
Make a backup copy before a large reset, especially if the workbook contains formulas mixed with entered data. Work on that copy when you are preparing a blank form or a reusable worksheet. Make sure you're on the right worksheet tab.
A range is a group of cells, such as B2:D10. Select just the area you intend to empty. Include the last row of inputs, but leave headings, instructions, permanent identifiers, and formulas outside the selection when they should remain.
On Windows, drag from the first cell to the last, or select the first cell and hold Shift while clicking the last. You can add separate input areas by holding Ctrl while selecting the additional cells or ranges. Microsoft's cell-selection guide explains these methods.
Clicking a column letter selects its entire column; clicking a row number selects its entire row. Those selections can include headings or totals that are far from the current view. The Select All corner button selects the whole worksheet, so reserve it for a deliberate whole-sheet reset.
Clear contents and preserve formatting
- Select the cells to empty. Check the highlighted range before you continue. If you are editing text inside a cell, press Esc, then select the cells again.
- Open the Home tab on the ribbon.
- In the Editing group, open the arrow beside Clear, represented by an eraser.
- Choose Clear Contents. Avoid Clear All when you want to preserve formatting.
- Check that the selected data has disappeared and that the cells remain in their original positions.
- Check a cell's fill, font, border, and number format. Check any totals or other formulas that refer to the cleared range.
Microsoft’s Clear cells of contents or formats guide confirms that Clear Contents leaves formats and comments in place.
Faster Windows keyboard method
Select the range and press Delete. Microsoft's shortcut documentation says this removes data and formulas from the selected cells without affecting formats, threaded comments, or notes.
Use the Delete key, not Ctrl + minus, a ribbon Delete Cells command, or a context-menu command that offers to shift cells. Those commands remove cells from the worksheet and can change its layout.
Keep formulas while clearing entered values
For a reusable worksheet, the input cells and the formula cells often need different treatment. A formula is part of a cell's contents, not part of its formatting. Clearing a formula cell removes both its calculation and its displayed result.
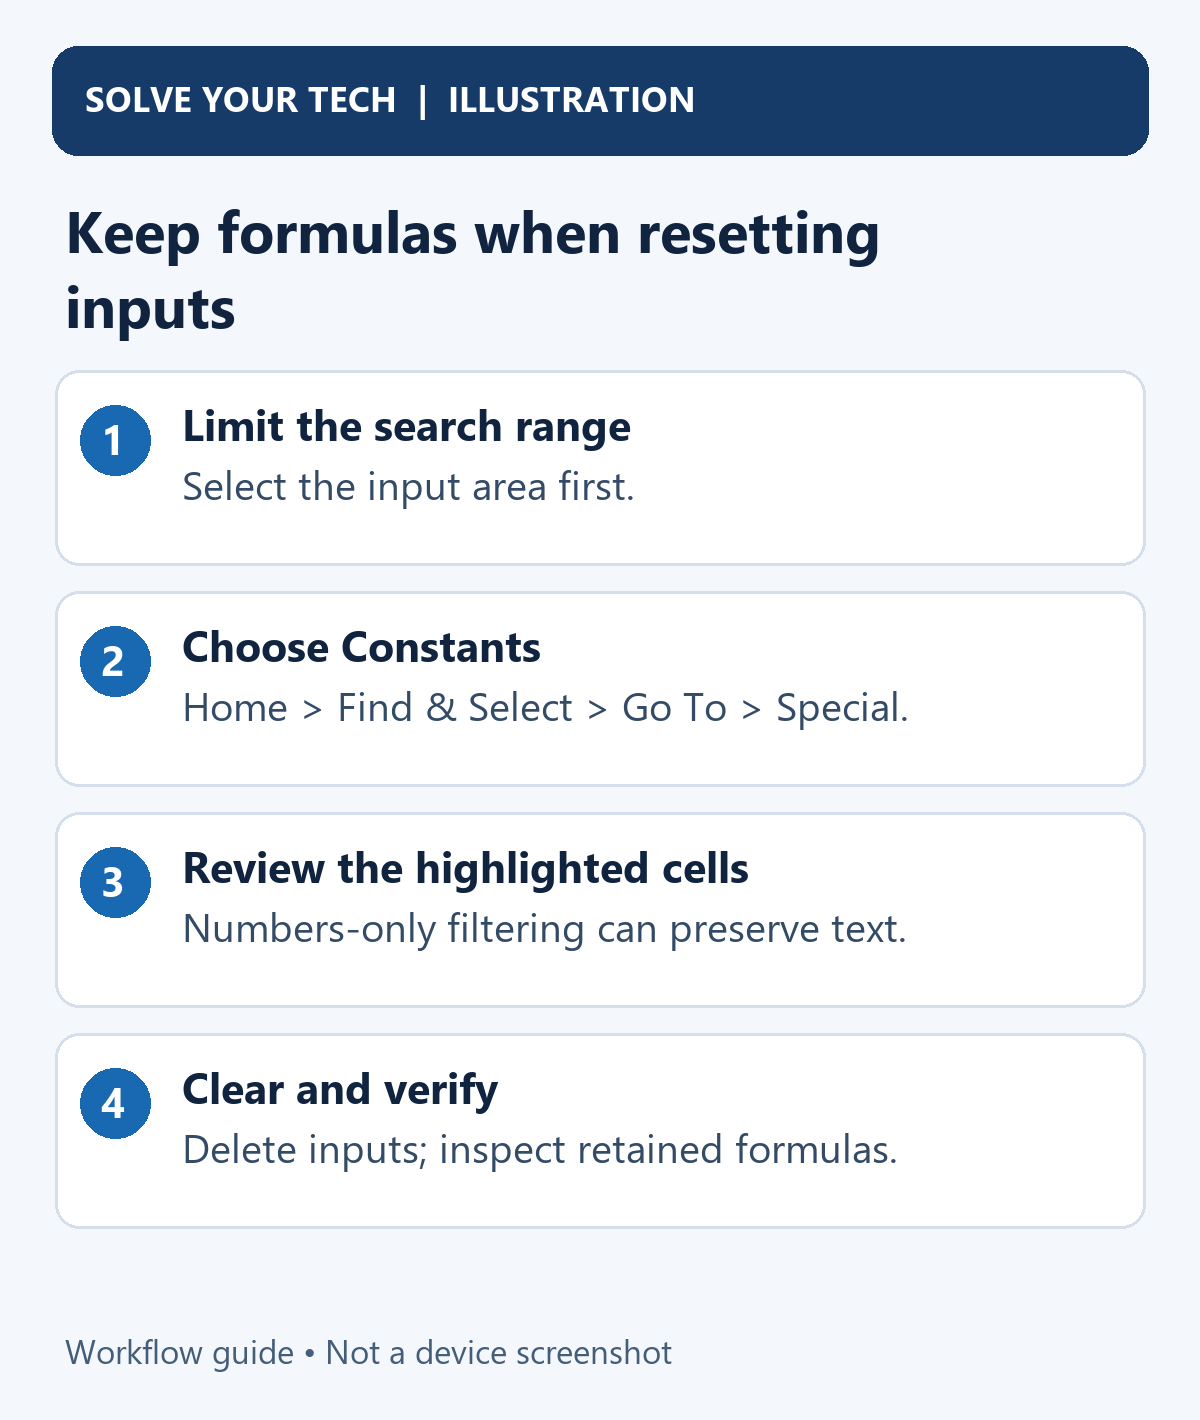
A constant is a value entered directly into a cell, such as a typed number or text label. Go To Special > Constants selects those values while leaving formula cells out of the selection.
Windows: select constants within the range
- Select the input area to search, such as B2:D10. Include formula cells only if you want Excel to identify and exclude them automatically. Keep permanent headings or identifiers outside this area where possible.
- Choose Home > Find & Select > Go To, then click Special. You can also press Ctrl+G, then click Special.
- In Go To Special, choose Constants.
- Review the type checkboxes. To clear only entered numbers, leave Numbers selected and clear Text, Logicals, and Errors. If your inputs include text that should also be erased, include Text deliberately.
- Click OK and look at the highlighted cells. Make sure the selection includes the inputs you want to remove and leaves out the formulas and labels you need.
- Press Delete, or choose Home > Clear > Clear Contents while that selection remains active.
- Click a formula cell you kept and look at its formula bar. Then type a small test value to make sure the calculation still updates. Undo the test entry if you want a blank starting copy.
Microsoft’s selection-conditions guide documents the Windows Go To > Special > Constants route.
Select the area before opening Go To Special. Microsoft says that starting from a single cell searches the entire worksheet. That can select permanent numbers in other parts of the sheet.
Numbers-only filtering does not know which numbers are inputs. A permanent numeric heading, a date stored as a number, or an identifier stored numerically can also qualify. Keeping Text unselected can preserve text labels, but it is not a substitute for reviewing the selected range.
Example: reset sales inputs and keep the total
Suppose B2:B4 contains entered sales amounts, and B5 contains =SUM(B2:B4). All four cells have a currency number format, and B5 has a border.
To keep the total formula, select B2:B4 and clear its contents. B5 remains a formula and ordinarily shows zero when the sum's inputs are blank. Its border and currency formatting remain. Adding a new amount in B2 lets that retained total calculate again.
If you instead select B2:B5 and press Delete, you also erase the formula in B5. Formatting can survive even though the calculation is gone. Use Constants when entered values and formulas are scattered throughout the input area.
What the other Clear commands do
The Clear menu has several choices with similar names. Check which command you're picking before applying it to a large range.
- Clear All: removes contents, formats, and comments. It is unsuitable when you want the same blank form design.
- Clear Formats: removes formatting while leaving the cell contents. It changes appearance rather than emptying the data.
- Clear Contents: removes entered values and formulas while retaining formats and comments.
- Clear Comments and Notes: removes the attached comments or notes rather than the data.
- Clear Hyperlinks: removes hyperlinks attached to the selected cells. To keep new ones from appearing, see how to turn off automatic hyperlinks in Excel.
Clear Contents keeps the fill color, so you don’t need to reapply it. To change a fill color later, see how to color cells in Excel.
Verify the result before saving
Don't stop at whether the cells look empty. Click a cleared input cell and check the formula bar to make sure its old content is gone. Then click a cell whose formula should remain and make sure the formula is still there.
Dependent formulas can change after their inputs are cleared. Microsoft's clearing guide explains that a reference to a cleared cell receives zero, but the final result depends on the formula. A sum can show zero; another calculation may show a blank, a different value, or an error. A changed result does not by itself prove the formula was deleted.
Conditional formatting can also change how a cell looks when the underlying data changes. Clear Contents keeps formatting, so a rule based on the old value may now show a different color. Check the rule or try a sample input before rebuilding the formatting.
If you are resetting a printed form, check print preview separately. Cell borders and printed gridlines are different features. Our Excel gridline printing guide explains how to check an empty grid and lines that still print.
Troubleshooting and recovery
Only one cell was cleared
On Windows, Backspace clears only the active cell, not the whole selection. Inside a cell, Backspace and Delete remove characters. Use Delete to clear a selected range.
Press Esc to leave editing, select the cells again, and use Delete or Clear Contents. Keep the selection active between Go To Special and the clearing command; clicking another cell changes the selection.
Go To Special finds no matching cells
Check the range and the boxes you checked. The numbers you see may be formula results, not typed values, and numbers stored as text count as Text, not Numbers. Don’t clear the whole range if you need to keep its formulas.
For a small form, manually selecting known input cells can be simpler than trying to classify every cell automatically.
A protected worksheet will not let me clear cells
Worksheet protection can prevent edits to locked cells. Select the input cells that the worksheet's owner has made editable. If you manage the workbook and are allowed to remove protection, Excel for Windows provides Review > Unprotect Sheet; enter the password if asked.
If you don't know the password, ask the owner for access to the input area. Microsoft's worksheet-protection guide explains how editable ranges and locked cells work.
The range includes hidden or filtered rows
A selection can include hidden or filtered rows. Choosing Constants in Go To Special doesn’t limit the selection to visible cells.
To clear only visible rows, select those input cells by hand, or unhide the rows in a copy and check them before you clear.
I cleared a formula or the wrong cells
Use Ctrl+Z on Windows or Command+Z on Mac immediately. Check the restored cells, then try again with the right inputs selected.
If the workbook has already been closed or the action is no longer undoable, go back to your saved copy or a recovery version. If the file saves automatically, closing without saving may not protect the original.
Mac and Excel for the web
In Excel for Mac, select the cells and press Delete, or choose Home > Clear > Clear Contents. Press Command+Z to undo. Microsoft lists these keys in its Excel keyboard guide.
In Excel for the web, click a cell in the sheet first, then select the cells and press Delete. Press Ctrl+Z to undo.
The Constants method above follows Microsoft’s Windows steps. If you can’t find Go To Special in your version, select the input cells by hand.
Frequently asked questions
Can I erase a formula's result while keeping its formula?
Clear Contents cannot do that: the formula itself is the content producing the result. Clear its input cells instead, or edit the formula if you need a different result. The formula bar shows whether a cell holds a calculated result or a typed value.
Can I keep the result and remove the formula?
That is the reverse task. Microsoft's formula-to-result guide explains converting a formula into a static value. Make a copy first because the original calculation is removed. It is not a method for resetting inputs while keeping calculations.
Do I need a macro to reset a worksheet?
No. For an ordinary reset, selecting the known input cells or using Constants is sufficient. For repeated use, keep a clean starting copy and make the editable input areas easy to identify. Check the range each time instead of clearing every cell on every worksheet.
Will my rows and columns move?
They remain in place when you clear contents. Delete Cells is the separate command that removes cells and shifts neighboring ones. If the layout moves, undo and check which command you used.
Choose the range carefully, use Clear Contents for a complete contents reset, and use the input-only method when you need to keep formulas. Before saving the reusable copy, check one cleared input and one formula you kept.

Matthew Burleigh is the founder, head writer, and editor of Solve Your Tech, which he launched in 2012. He has written technology tutorials since 2008 and worked in IT since 2003, including small-business support, IT management, and consulting. He holds Bachelor’s and Master’s degrees in Computer Science from Arizona State University.
Matthew writes practical guides for Windows, iPhone and iPad, Microsoft Office, Outlook, Google apps, and Android. Solve Your Tech’s guides are checked step by step against the device or app maker’s own documentation and tested on his own devices whenever he has the hardware or software, with clear steps, sources, and update dates.
Read more about Matthew and how Solve Your Tech writes and updates its guides, or report a correction.