To add a new watch face on Apple Watch, touch and hold the current watch face, swipe left all the way to the end, and tap the + button. Pick a face, tap Get, then Add. To delete one, touch and hold the watch face, swipe to the one you don’t want, swipe up, and tap Remove.
You can manage faces right on your wrist or from the Apple Watch app on your iPhone. This guide covers adding, switching, rearranging and removing faces both ways, following Apple’s guide to changing Apple Watch faces.
How to Add a New Watch Face on Apple Watch
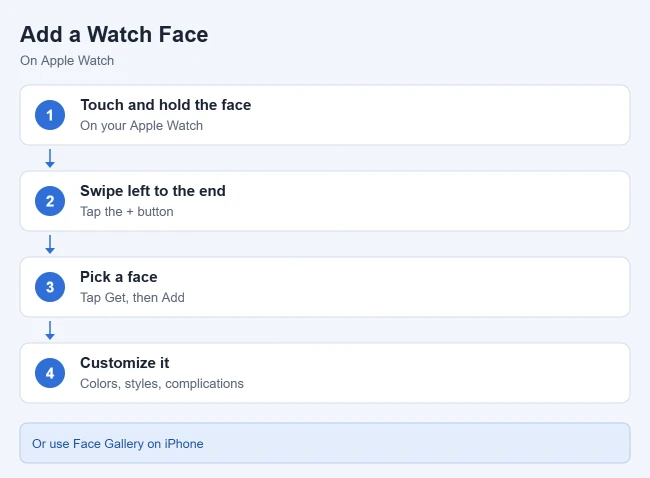
- With the current watch face showing, touch and hold the display.
- Swipe left all the way to the end, then tap the + button.
- Tap a collection, such as New Watch Faces or Data Rich, to browse. To see every face, scroll down and tap All Watch Faces.
- Tap Get next to the face you want, then tap Add.
Result: The face joins your collection, and you can customize it right away.
How to Add a Watch Face From Your iPhone
Apple calls the Face Gallery on your iPhone the easiest way to see every face and customize it before adding it.
- Open the Apple Watch app on your iPhone.
- Tap Face Gallery, then tap a category like Health and Fitness, Photos or Data Rich. To see all faces, scroll down and tap See All Watch Faces.
- Scroll to a face, tap Get, then tap an option.
- Customize it: tap a feature such as color or style, or tap a complication position (such as Top Left, Top Right or Bottom) and pick a complication. To leave a spot empty, scroll to the top of the list and tap Off.
- Tap Add to Watch.
Result: The face is added to your collection and becomes the current face on your watch.
How to Switch to a Different Watch Face
- With the current watch face showing, touch and hold the display.
- Swipe to the face you want, then tap it.
To switch faces with a simple swipe instead, go to Settings on your Apple Watch, tap Clock, and turn on Swipe to Switch Watch Face.
How to Rearrange Your Watch Faces
- On Apple Watch: Touch and hold the display, touch and hold again, then drag the selected face left or right.
- On iPhone: In the Apple Watch app, tap My Watch, tap Edit in My Faces, then drag the handle next to a face up or down.
How to Delete a Watch Face
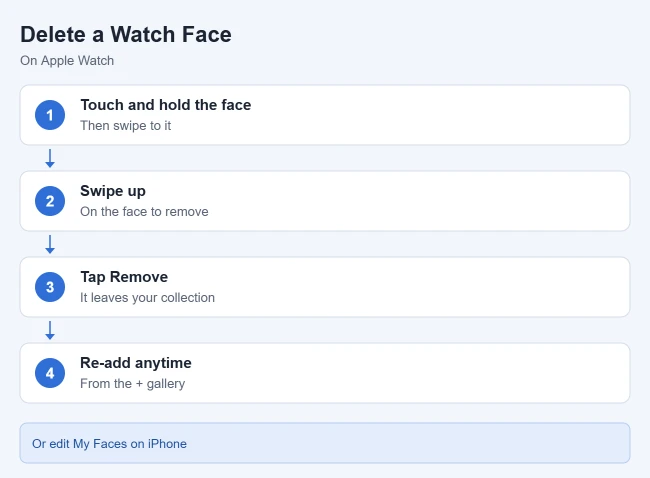
- With the current watch face showing, touch and hold the display.
- Swipe to the face you don’t want, swipe up, then tap Remove.
On your iPhone, open the Apple Watch app, tap My Watch, then tap Edit in the My Faces area. Tap the remove button next to the faces you want to delete, then tap Remove.
Result: The face leaves your collection. You can always add it again later.
Related Watch Face Settings
- Set the watch ahead: In Settings > Clock on your watch, tap +0 min and turn the Digital Crown to show a time up to 59 minutes ahead. Apple notes this only changes the time on the face, not alarms or notification times.
- Complications: To clean up a face, see how to delete a complication on Apple Watch.
- 24-hour time: See how to switch to a 24-hour clock on Apple Watch.
Frequently Asked Questions
Can I have the same face more than once?
Yes. Apple says you can build a collection of custom faces, even variations of the same design, such as one for work and one for workouts.
Why is my watch face hard to read?
Try a face with bigger numbers, or make your Apple Watch screen brighter.
Can I use my Apple Watch to take iPhone photos?
Yes. See how to control your iPhone camera from the Apple Watch.

Matthew Burleigh is the founder, head writer, and editor of Solve Your Tech, which he launched in 2012. He has written technology tutorials since 2008 and worked in IT since 2003, including small-business support, IT management, and consulting. He holds Bachelor’s and Master’s degrees in Computer Science from Arizona State University.
Matthew writes practical guides for Windows, iPhone and iPad, Microsoft Office, Outlook, Google apps, and Android. Solve Your Tech’s guides are tested on current devices or checked against official product documentation, with clear steps, sources, and update dates.
Read more about Matthew and how Solve Your Tech writes and updates its guides, or report a correction.