The iTunes Radio feature on your iPhone provides an easy-to-use method for listening to music on your device. It is simple to create customized stations based on a song, allowing you to specify the kind of music that you feel like listening to.
Once a station has been created, you can even customize it further by specifying other bands, songs, or styles of music that you would like to hear when listening to that station.
Unfortunately, the ease with which stations can be created can lead to an excessive amount of them.
One way to manage this problem is to simply delete stations that you no longer listen to or which were not playing the type of music that you were looking for.
Our guide below will walk you through the process of removing a station that you have created on iTunes Radio.
How to Delete a Station in iTunes Radio on an iPhone 6
The steps in this article were written using an iPhone 6 Plus in iOS 8. Note that you can not delete or hide the Featured Stations section at the top of the iTunes Radio page.
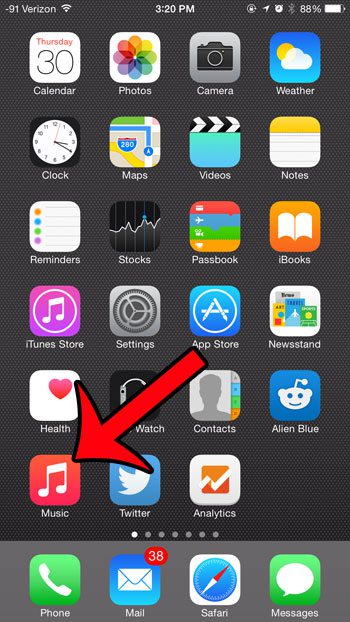
Step 1: Open the Music app.
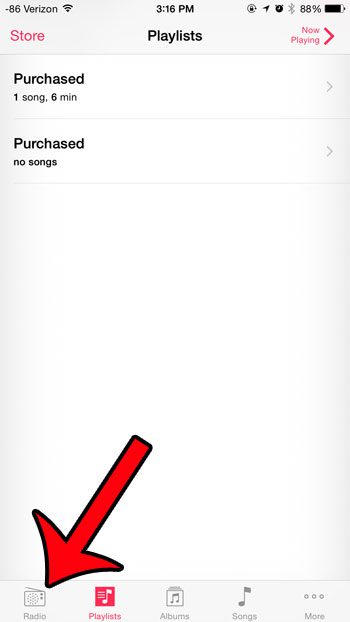
Step 2: Select the Radio option at the bottom of the screen.
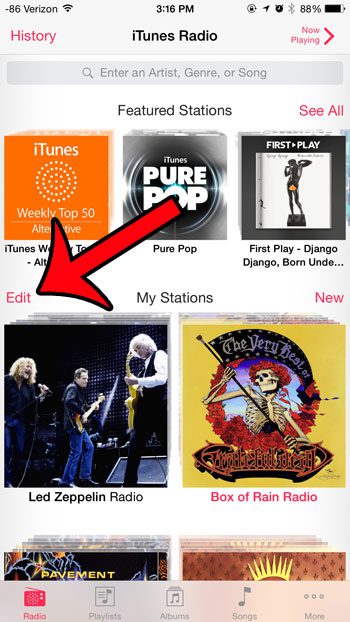
Step 3: Touch the Edit button to the left of My Stations.
Step 4: Swipe left on the station that you wish to delete.
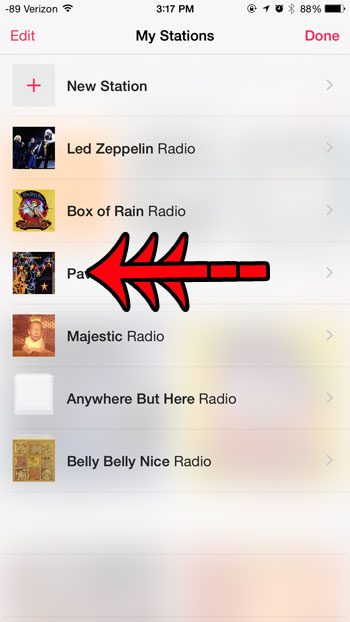
Step 5: Tap the Delete button.
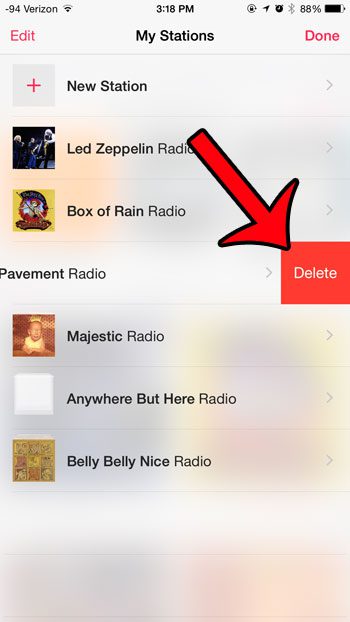
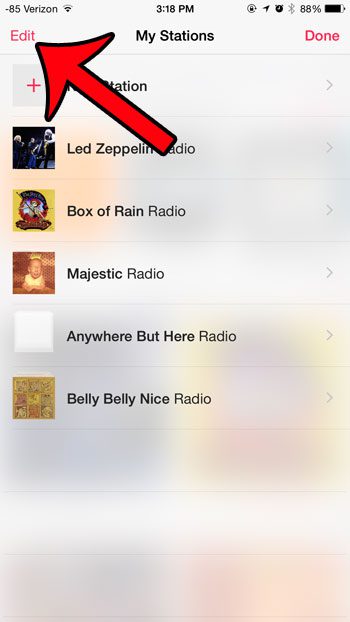
Note that you can also delete a station by touching the Edit button at the top-left of the My Stations screen
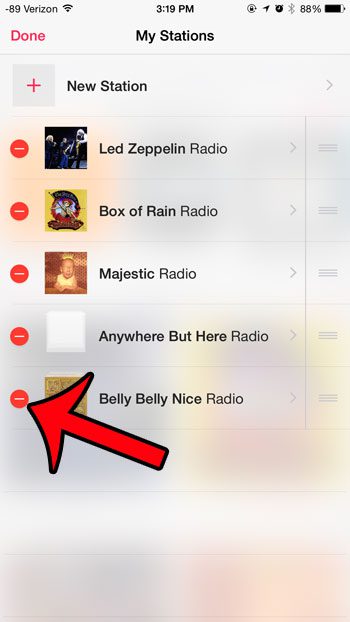
Then tap the red circle to the left of the station that you wish to delete
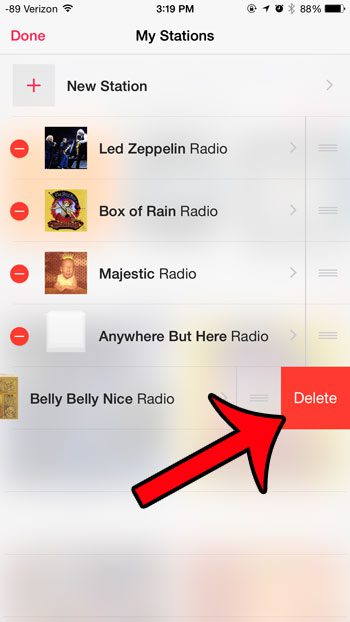
Then touch the Delete button to remove it.
Now that you know how to delete a station in iTunes Radio on your iPhone, you can clear up the menu so that it only displays the stations that you are still using.
Do you use iTunes Radio a lot while you are traveling or away from a Wi-Fi connection? Find out how much data iTunes Radio uses to help yourself avoid data overage charges.

Matthew Burleigh has been writing tech tutorials since 2008. His writing has appeared on dozens of different websites and been read over 50 million times.
After receiving his Bachelor’s and Master’s degrees in Computer Science he spent several years working in IT management for small businesses. However, he now works full time writing content online and creating websites.
His main writing topics include iPhones, Microsoft Office, Google Apps, Android, and Photoshop, but he has also written about many other tech topics as well.