To email a Word document, save the file, start a new email, choose the attachment control, and select your .docx file. Wait for it to attach, check the recipient and filename, then send. A cloud sharing link is a different option: it gives access to a shared file instead of sending a separate copy.
This guide covers Gmail on a computer, Outlook on Windows or the web, and Word’s desktop and mobile sharing options. You need access to your email account and the document’s saved location.
Prepare the Document Before Attaching It
Save your latest changes in Word and give the file a recognizable name, such as Project-summary.docx. Note the folder where you saved it. Open that saved file once to confirm it contains the version you intend to send.
Use a Word file when the recipient needs to edit it. A PDF may suit a read-only handoff better, but check the exported file before sending. Do not simply rename a .docx extension to .pdf; changing a filename does not convert the document.
For example, your Downloads folder might contain an older copy while your current draft is in Documents. Attach the file you checked rather than picking the first familiar-looking name.
Send a Word Attachment in Gmail on a Computer
Google’s Gmail attachment guide documents the file-picker route:
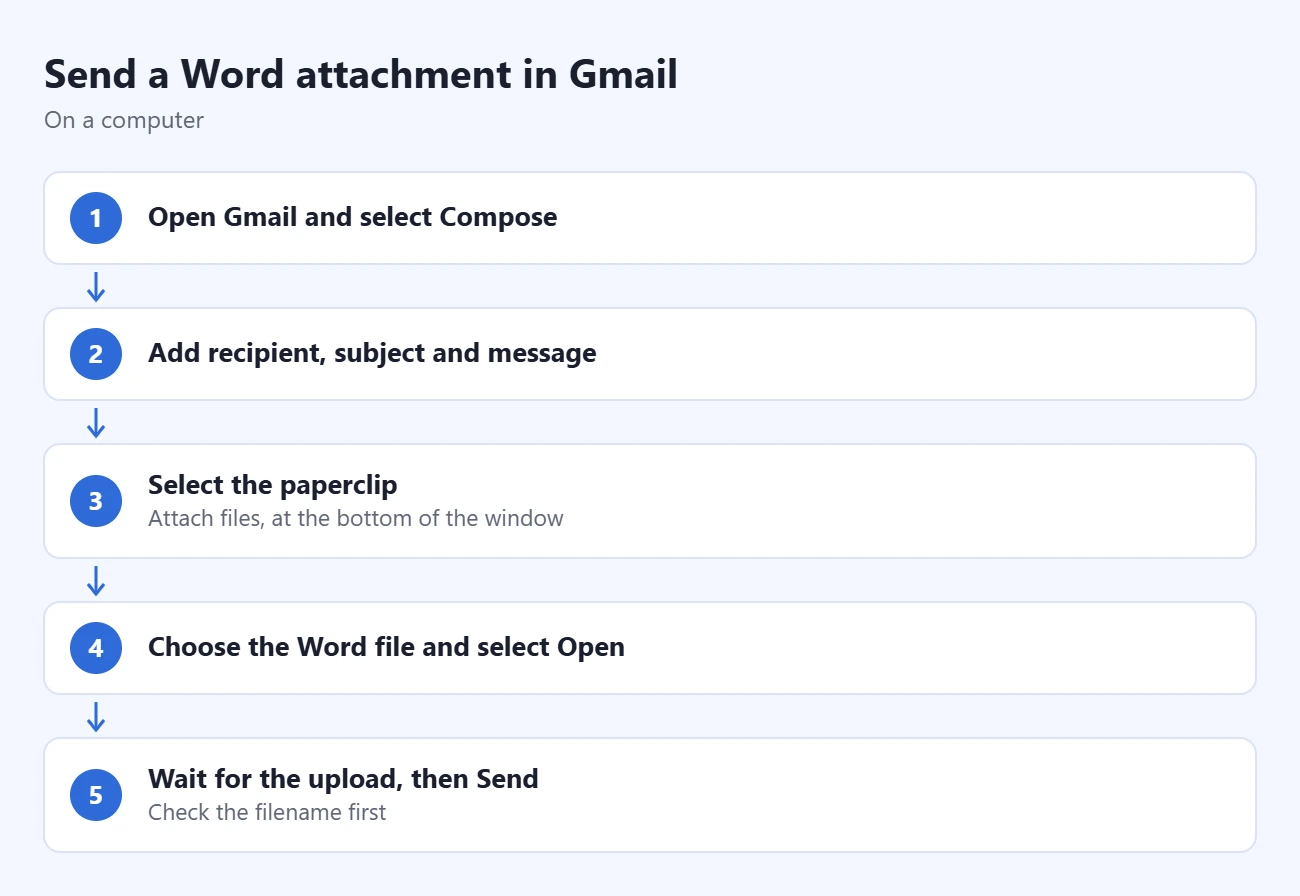
- Open Gmail and select Compose.
- Enter the recipient’s address, a descriptive subject and a short message explaining the attachment.
- At the bottom of the compose window, select the paperclip Attach control.
- Find your saved Word file, select it and choose Open.
- Wait for the attachment upload to finish. Check that the draft shows the intended filename, then select Send.
If you selected the wrong file, remove it using the close control beside its name and attach the correct one before sending.
Send a Word Attachment in Outlook
Microsoft’s Outlook attachment instructions distinguish these versions:
New Outlook for Windows
- Select New mail and enter the address, subject and message.
- On the message’s Message tab, select Attach File in the Insert group.
- Select Browse > This Computer, choose your Word document and open it.
- Check the attached filename and send when the file is ready.
Classic Outlook for Windows
- Start a new email and address it.
- Select Message > Attach File in the Include group, then Browse This PC.
- Choose the Word document and insert it. Review the message and attachment before sending.
Outlook.com or Outlook on the Web
- Create a message and fill in its recipients and text.
- Select Attach > Browse this computer.
- Choose the document and select Open. Wait for the upload, check the file and send.
A local attachment is a copy. Selecting a cloud file can instead produce a link with sharing permissions, so inspect that choice before sending.
Send Directly From Word
Word for Windows
Microsoft’s email-from-Office guide describes File > Share > Attach a copy instead, with a choice of the original file or a PDF. This route requires Outlook installed and set as the default email app. The available choices vary by Office program and version.
If that route is missing or opens an email app you do not use, save the document and attach it from Gmail or Outlook using the sections above. You do not need to change your default email app just to send a saved file.
Word for Mac
Microsoft’s Word sharing guide describes Share > Send a Copy, choosing Word Document or PDF, then Email as Attachment. Choose the mail provider and complete the message. Sign in to that provider if necessary.
For collaboration, save the document in OneDrive and use Word’s Share control. Enter the intended people’s addresses, choose their permissions, add a message if useful, then send. The recipients receive a link. On a tablet, you can email a OneDrive file from an iPad in a similar way. This lets collaborators work with the same document rather than exchanging separate attachment versions. If someone needs different access later, you can change the sharing permissions in OneDrive.
Microsoft’s sharing-access guide explains Can view and Can edit, and how Manage Access shows people, groups and links. Check that the intended recipient has access. An organization-only link may not work for someone outside your workplace; disabled controls can reflect administrator restrictions.
If you send a copy and later edit the original, that old attachment remains the version you sent. Tell the recipient clearly whether you are providing a fixed copy or a shared working file.
Send From Word on a Phone or Tablet
Microsoft’s mobile file-sharing guide separates the platforms:
- iPhone or iPad: open the file, use the three-dot menu and select Send a Copy, then choose the email app.
- Android: with the file open, select Share, then the three-dot menu, Send a copy, and Word document or PDF. Choose the email app.
Complete the email draft and inspect the attachment before sending. A menu for copying a link serves a different purpose from Send a Copy.
If the File Is Too Large or Will Not Send
Personal Gmail accounts have a 25 MB attachment limit; work and school limits are set by the Google Workspace administrator. Google says files above the applicable limit are replaced with a Google Drive link. Check its access before sending.
Outlook limits vary with the app and connected service. Microsoft’s large-attachment guidance recommends a sharing link or compression. A ZIP is an option, but it may not shrink the document enough. Our Outlook ZIP guide explains packaging, sending and size limits.
- Upload fails: check your connection and the error message. Google recommends a supported browser or trying another browser for desktop upload problems. Storage limits can also prevent attachments from sending.
- The email stays in Outbox: check connectivity and the displayed error before sending another copy.
- The link denies access: review the shared file’s permissions for the intended recipient. Repeating the same restricted link does not grant access.
- The wrong version was attached: reopen the saved document, confirm the filename and replace the attachment in your draft.
Protect a Sensitive Document Before Sending
Use your workplace’s approved sharing method and double-check the recipient. If password encryption is appropriate, Microsoft’s Word password guide gives the Windows route File > Info > Protect Document > Encrypt with Password. Confirm the password and save the file. Keep it safely: Word cannot recover a forgotten password for you. Send the password through a separate agreed channel.
Frequently Asked Questions
Does Sent Items prove the recipient opened the file?
No. Microsoft’s Sent Items guide explains how to inspect your sent message and check Outbox when it has not sent. For an important handoff, ask the recipient to confirm that they can open the document. A sent copy alone does not demonstrate successful access.
Can the recipient edit an attached Word document?
They can work on their copy if they have a compatible app and the file allows editing. Their edits do not automatically update your original. Use a shared document when you want one place for everyone’s changes.
Is pasting the text into the email the same as attaching Word?
No. Pasted text becomes message content. Attach the saved file when the recipient needs the actual document, and inspect the attachment name before sending.
Choose a copy or a sharing link first, then check the file, recipient and access settings before sending.

Matthew Burleigh is the founder, head writer, and editor of Solve Your Tech, which he launched in 2012. He has written technology tutorials since 2008 and worked in IT since 2003, including small-business support, IT management, and consulting. He holds Bachelor’s and Master’s degrees in Computer Science from Arizona State University.
Matthew writes practical guides for Windows, iPhone and iPad, Microsoft Office, Outlook, Google apps, and Android. Solve Your Tech’s guides are tested on current devices or checked against official product documentation, with clear steps, sources, and update dates.
Read more about Matthew and how Solve Your Tech writes and updates its guides, or report a correction.