When you connect to a wireless network on your Windows 10 computer, you will be able to connect to that network in the future whenever it’s in range.
This makes getting online in common locations much easier, as it prevents you from needing to enter your wireless network password every time you want to connect.
But occasionally, you will connect to a network that you only need to connect to once, or you will inadvertently connect to the wrong network.
In these cases, you may find that Windows 10 will continue connecting to that network when you are in range, which may not be the desired behavior. Fortunately, it’s possible to forget a network in Windows 10 so that your computer stops connecting to it.
How to Remove a Stored Network in Windows 10
The steps in this article will assume that you have previously connected to at least one network that you would like to forget. If you decide later that you would like to reconnect to that network, you will need to re-enter the wireless password to do so.
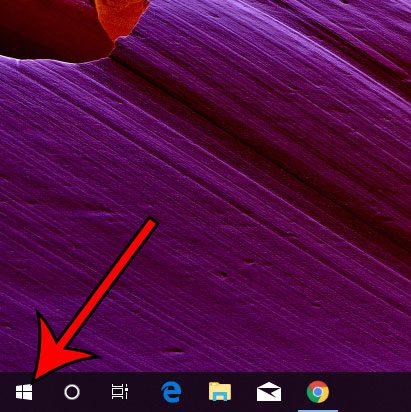
Step 1: Click the Start button at the bottom-left corner of the screen.
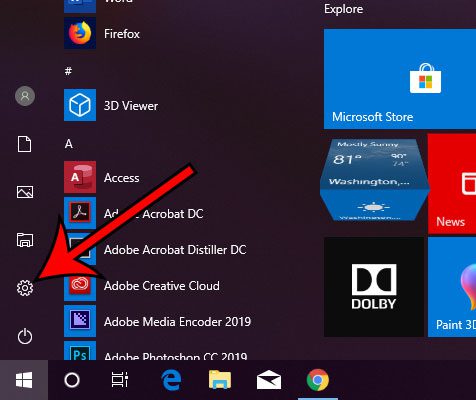
Step 2: Click the gear icon.
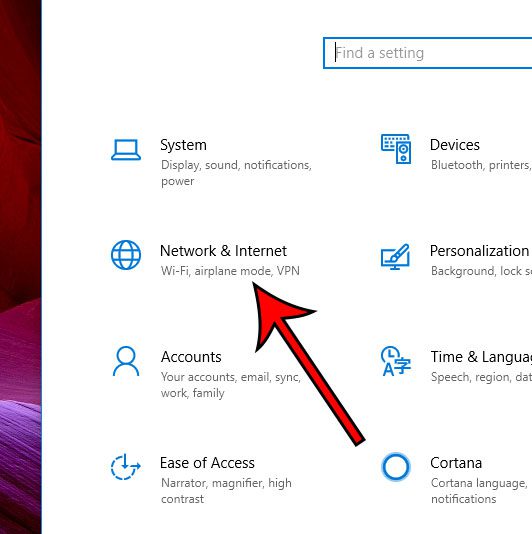
Step 3: Choose the Network & Internet option.
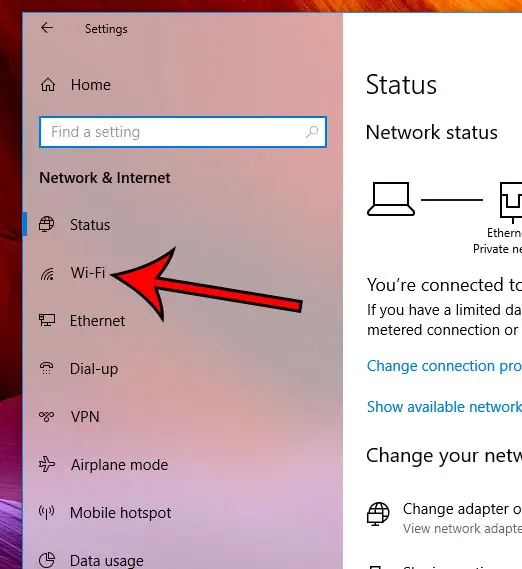
Step 4: Click the Wi-Fi tab at the left side of the window.
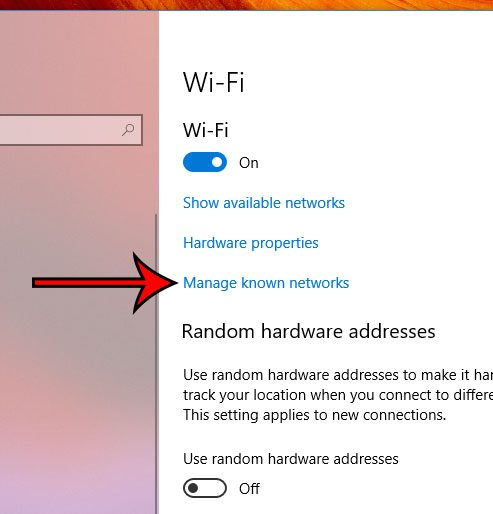
Step 5: Select the Manage known networks option.
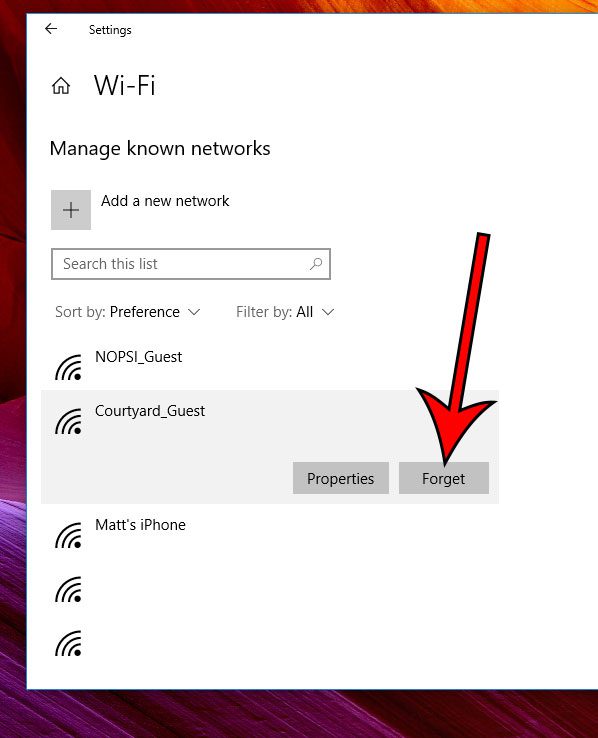
Step 6: Click on the network you want to forget, then click the Forget button.
Now that you know how to forget a network in Windows 10, you can prevent your laptop or desktop computer from trying to connect to that network whenever it’s in range.
Is a lot of the space on your computer’s hard drive being taken up by files that are in your recycle bin? Find out how to empty the Windows 10 recycle bin and get that space back.

Matthew Burleigh has been writing tech tutorials since 2008. His writing has appeared on dozens of different websites and been read over 50 million times.
After receiving his Bachelor’s and Master’s degrees in Computer Science he spent several years working in IT management for small businesses. However, he now works full time writing content online and creating websites.
His main writing topics include iPhones, Microsoft Office, Google Apps, Android, and Photoshop, but he has also written about many other tech topics as well.