Printers have always been a hassle for anyone in IT.
They often don’t work correctly, and many older models only had an option for wired setup.
But newer printers can connect to networks wirelessly, which gives them a lot more flexibility.
Our tutorial below will show you how to connect Canon MX340 to WiFi so that you can start printing to it from other devices on your wireless network.
How to Connect the Canon MX340 to a Wireless Network
- Turn on the printer.
- Press the Menu button three times.
- Choose LAN Settings and press OK.
- Select Wireless LAN Setup and touch OK.
- Choose Easy Setup and press OK.
- Select your network and press OK.
- Press OK to confirm the network.
- Enter the password and press OK.
Our guide continues below with additional information on how to connect Canon MX340 to WiFi, including pictures of these steps.
The Canon MX340 is an affordable wireless printer that is great to use in a home or small office. The ability to connect it to your wireless network means that it can be connected to many computers at one time, limiting the number of printers that you need to buy, thereby saving you some money.
But it can be a little difficult to set up the Canon MX340 on a wireless network so that you can connect it to your computers, so check out our tutorial below to learn how to use it wirelessly.
SolveYourTech.com is a participant in the Amazon Services LLC Associates Program, an affiliate advertising program designed to provide a means for sites to earn advertising fees by advertising and linking to Amazon.com.
Related Topic: Our tutorial on how to scan on iPhone will show you how to use one of the default apps to scan your documents.
How to Complete Wireless Setup for the Canon MX340 (Guide with Pictures)
This tutorial is going to require you to know the name of the wireless network to which you want to connect, as well as the security password for that network.
If you do not know this information, then you will need to contact your wireless network administrator to get it.
Order ink for the MX340 from Amazon today so that you have it at home the next time you run out.
Step 1: Turn on the Canon MX340.
Step 2: Press the Menu button 3 times to get to the Device settings option.
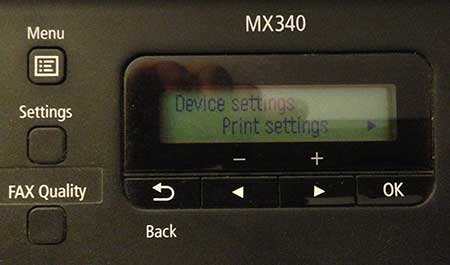
Step 3: Press the right arrow one time to get to the LAN settings option, then press the OK button.
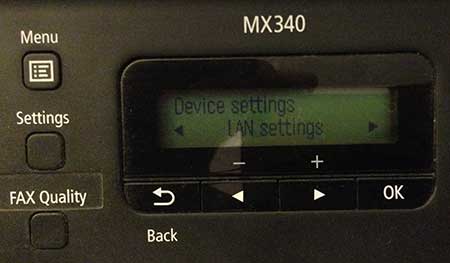
Step 4: Press the right arrow one time to get to the Wireless LAN setup option, then press the OK button.
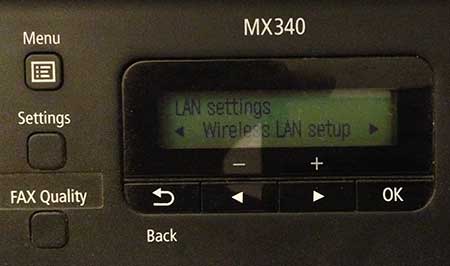
Step 5: Press the OK button to select the Easy setup option.
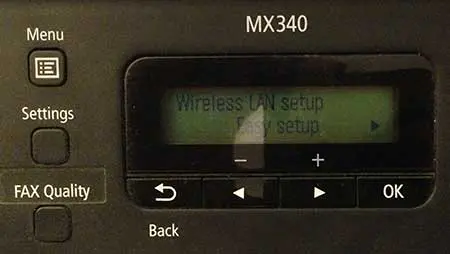
Step 6: Press the right arrow until you find your wireless network, then press the OK button.
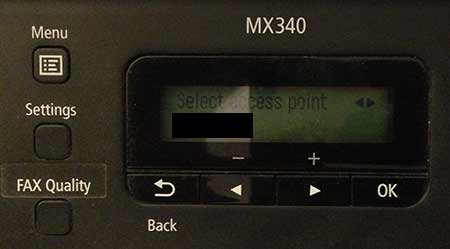
Step 7: Press the OK button again to confirm that this is the correct wireless network.
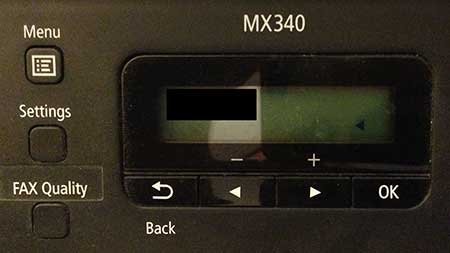
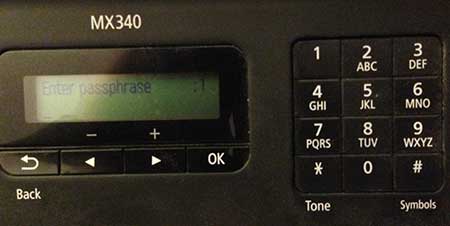
Step 8: Use the number and letter keys to the right of the screen to enter the password for your wireless network.
You can switch between numbers (1), capital letters (A), and lowercase letters (a) by pressing the * key.
You can enter special characters by pressing the # key.
You can delete a character by positioning the cursor under that character, then press the Back button.
Press the OK button once the password has been entered correctly.
After a couple of seconds you will get a message that says that the Canon MX340 is now connected to the wireless network. You can then go about installing the printer on your networked computers.
Now that you know how to Connect Canon MX340 to WiFi, you will be able to complete this action if you switch wireless networks, or if the device disconnects from the network and you need to get it back online.
You can read this article to learn how to scan from your MX340 once you have setup your MX340 on your wireless network and connected it to your computer.

Matthew Burleigh has been writing tech tutorials since 2008. His writing has appeared on dozens of different websites and been read over 50 million times.
After receiving his Bachelor’s and Master’s degrees in Computer Science he spent several years working in IT management for small businesses. However, he now works full time writing content online and creating websites.
His main writing topics include iPhones, Microsoft Office, Google Apps, Android, and Photoshop, but he has also written about many other tech topics as well.