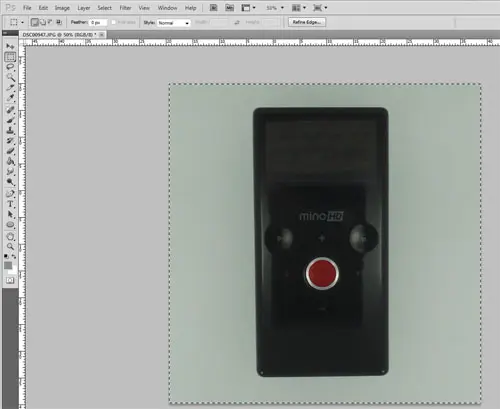
Getting a good picture of a product that you want to sell is one of the most useful marketing actions you can take.
But hiring someone to photograph and edit those images can be expensive, and you might not currently have the budget for it.
Our tutorial below will show you a quick way to create good product pictures using some tools in Adobe Photoshop.
How to Quickly Edit a Product Picture with Photoshop
- Open your image in Photoshop.
- Press Ctrl + L to open the Levels window.
- Select the Dropper tool.
- Click a white point in the picture.
- Click OK.
Our guide continues below with additional information on how to create a good product picture fast, including pictures of these steps.
If you need to take product pictures frequently, whether for selling on eBay or your personal site, then you know how time consuming it can be to edit your pictures.
You can expedite this process considerably, however, by using the “Levels” tool in Adobe Photoshop CS5.
Simply take your picture on a white background, such as a piece of paper, then use the dropper on the Levels pop-up window to select a white area.
Related Topic: if the color is wrong in one of your images, then our guide on changing the color of a selection in Photoshop can help you fix it.
How to Take a Picture of a Product and Edit it in Photoshop (Guide with Pictures)
The steps in this article were performed in Adobe photoshop. Note that you will be able to complete these steps using almost any version of the Adobe photoshop software.
Step 1: Open your product image in Adobe Photoshop.

Step 2: Press “Ctrl + L” on your keyboard to open the “Levels” tool.
Step 3: Click the white dropper tool at the right side of the window.
This tool will set the white point for the image based on the pixel that you select.
Step 4: Click on a white point in the image.
Some products, depending on their size, may cast a shadow on the white background.
In many cases, setting the white point in the shadow can produce the best result.
If the point you pick does not yield your desired results, press “Ctrl + Z” on your keyboard to undo the selection, then click a different point until you find one that you prefer.
Step 5: Click the “OK” button to close the “Levels” window, then save your image.
Now that you know how to use Photoshop to edit pictures of products you will be able to create images that make your products look good so that you can share them on your website or social media accounts.

Matthew Burleigh has been writing tech tutorials since 2008. His writing has appeared on dozens of different websites and been read over 50 million times.
After receiving his Bachelor’s and Master’s degrees in Computer Science he spent several years working in IT management for small businesses. However, he now works full time writing content online and creating websites.
His main writing topics include iPhones, Microsoft Office, Google Apps, Android, and Photoshop, but he has also written about many other tech topics as well.