When you add a new text box in Google Slides, you can draw the text box to determine its initial size.
While this can be helpful if you have a general idea of how large you want the box to be, it can be difficult to work with when you need it to be an exact size.
Fortunately, Google Slides lets you format your text boxes in a couple of ways, including the width and height scale of the box.
Our guide below will show you how to select a text box in Google Slides and change its scale so that you can make it the exact desired size relative to the entire slide.
Do you need to add some words to one of your pictures? Our Google Docs text box over image tutorial will show you how to do this with the Google word processing application.
How to Change the Width or Height Scale of a Text Box in Google Slides
The steps in this article were performed in the desktop version of the Google Chrome Web browser, but will work in other desktop browsers like Safari and Firefox.
Step 1: Sign into Google Drive and open your Slides presentation.
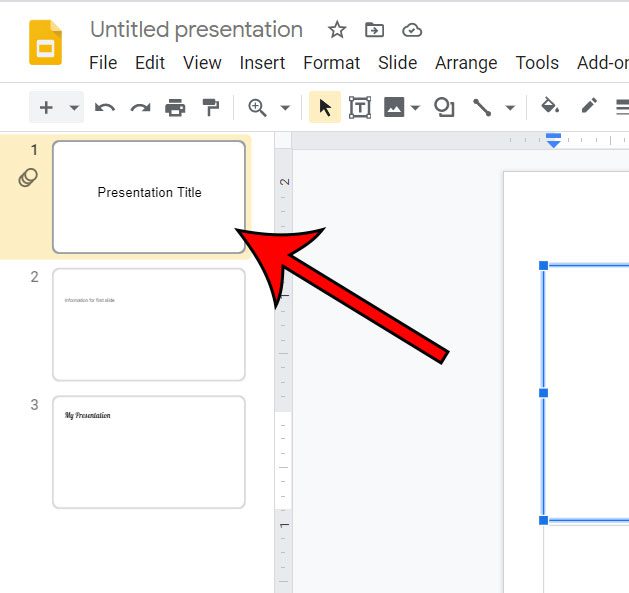
Step 2: Choose the slide at the left side of the window that has the text box you wish to scale.
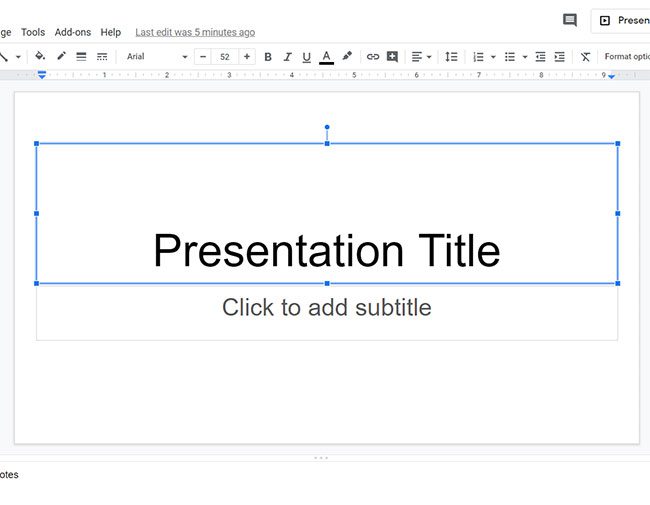
Step 3: Click inside the text box.
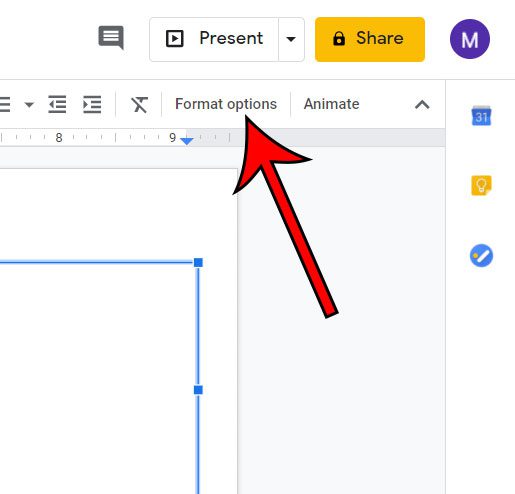
Step 4: Select the Format options button in the toolbar above the slide.
Step 5: Click the Size & Rotation tab.
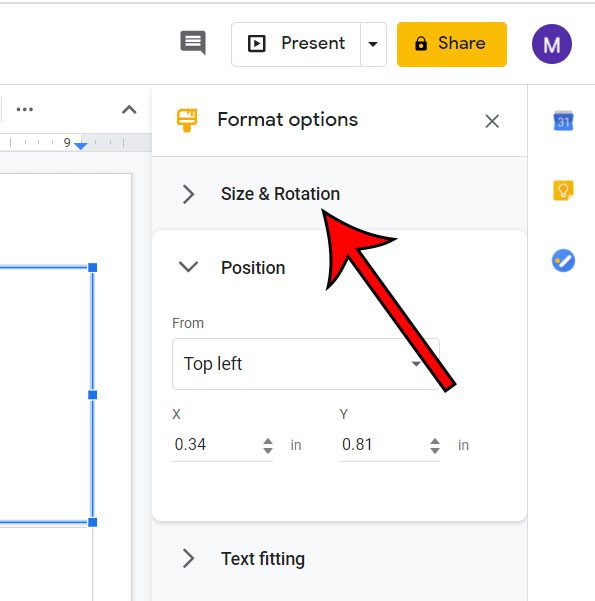
Step 6: Click inside the Width Scale or Height Scale fields and enter the desired value. You may wish to click the Lock aspect ratio box if you would like the width and height to scale together.
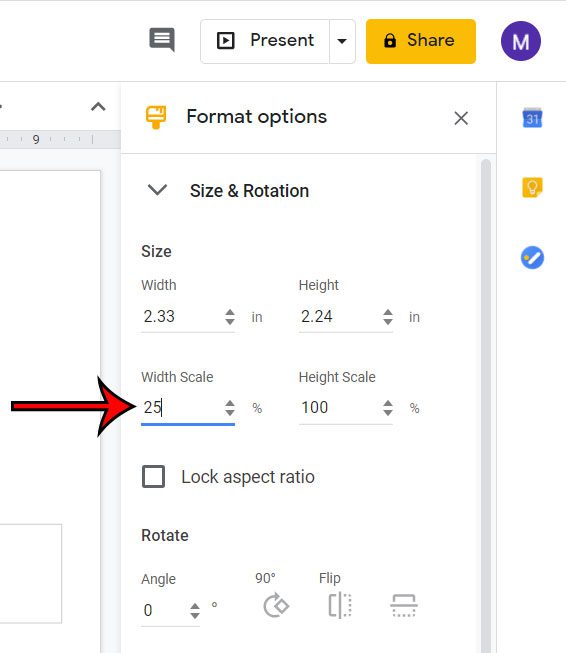
Now that you know how to change the scale of a text box in Google Slides, you can make that text box as big or small as you need it to be.
If you already have content inside a text box and you make the box smaller, then you may need to adjust the size of the text in that box, as it won’t scale with the box size.
Continue Reading
- How to add an arrow in Google Slides
- How to add bullet points in Google Slides
- How to convert Google Slides to a PDF
- How to delete a text box in Google Slides
- How to print multiple slides on one page in Google Slides

Matthew Burleigh has been writing tech tutorials since 2008. His writing has appeared on dozens of different websites and been read over 50 million times.
After receiving his Bachelor’s and Master’s degrees in Computer Science he spent several years working in IT management for small businesses. However, he now works full time writing content online and creating websites.
His main writing topics include iPhones, Microsoft Office, Google Apps, Android, and Photoshop, but he has also written about many other tech topics as well.