It’s a lot easier for most people to remember a name than a phone number.
Over the past few years, as the popularity of smartphones has increased, the need to actually remember real phone numbers has diminished significantly.
Simply create a contact in your phone, enter the person’s phone number once, and then you can search for their name when you want to send a text message or make a phone call.
But if you are new to the iPhone, or if you haven’t had a reason to create a new contact yet, then you might be struggling to set one up. Our tutorial below will walk you through the process of creating a new contact on your iPhone SE.
Creating a New Contact On Your iPhone SE
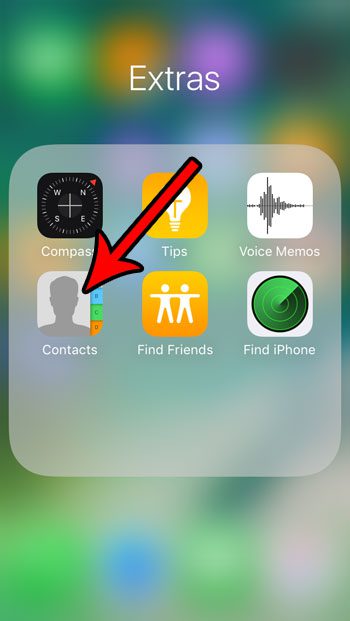
The steps in this article were performed on an iPhone SE in iOS 10.3.2. We will be opening the contact list through the dedicated Contacts app. This article can show you how to find the Contacts app if you don’t know where it is. Alternatively, you can open the Phone app and then select the Contacts tab.
Step 1: Open the Contacts app. As mentioned earlier, you can also get to the same location by opening the Phone app and then selecting Contacts at the bottom of the screen.

Step 2: Tap the + button at the top-right corner of the screen.

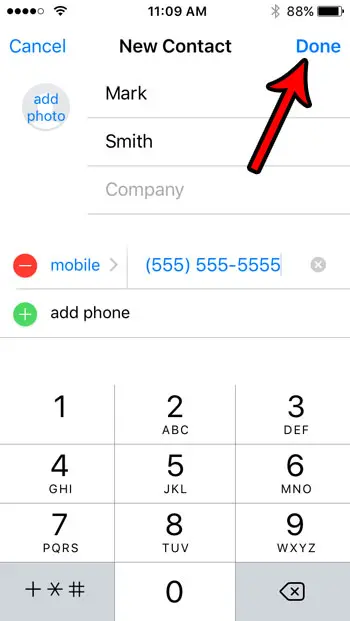
Step 3: Enter the information about the contact that you want to be able to access later. Typically the most important information will be their name and their phone number. Once you have entered the necessary information, tap the Save button at the top-right corner of the screen.

Now that you know how to create a new contact on an iPhone SE, you can make it much easier to store information like phone numbers and email addresses.
Eventually, you might need to know how to get rid of a contact that you’ve created, too. Learn about 6 ways that you can delete an iPhone contact once you have decided that you no longer need to keep that person’s information in your phone.
Continue Reading

Matthew Burleigh has been writing tech tutorials since 2008. His writing has appeared on dozens of different websites and been read over 50 million times.
After receiving his Bachelor’s and Master’s degrees in Computer Science he spent several years working in IT management for small businesses. However, he now works full time writing content online and creating websites.
His main writing topics include iPhones, Microsoft Office, Google Apps, Android, and Photoshop, but he has also written about many other tech topics as well.