This is the fourth in a four part series about building your own blog or website using Hostgator and WordPress. Each of the four parts of the series is linked below, so you can skip to the one that is most relevant to your current needs.
- Part 1 – Getting a domain name
- Part 2 – Setting up a hosting account
- Part 3 – Changing name servers
- Part 4 – Installing WordPress (this article)
The Hostgator WordPress setup process can be a little intimidating the first time you do it, but once you become familiar with how everything works, it makes much more sense, and is easier to replicate.
How to Launch a Hostgator WordPress Site
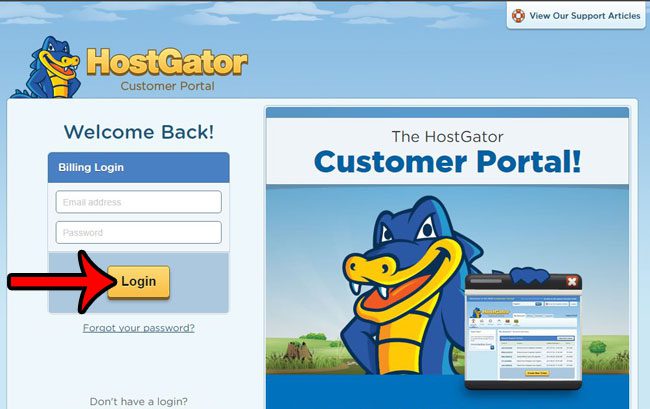
- Sign in to the Hostgator customer portal.
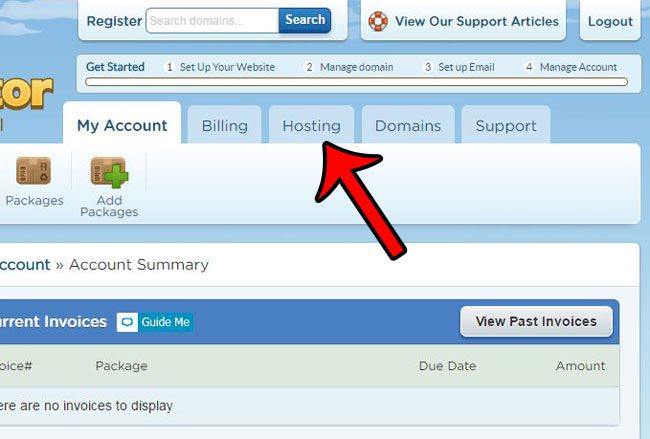
- Select the Hosting tab.
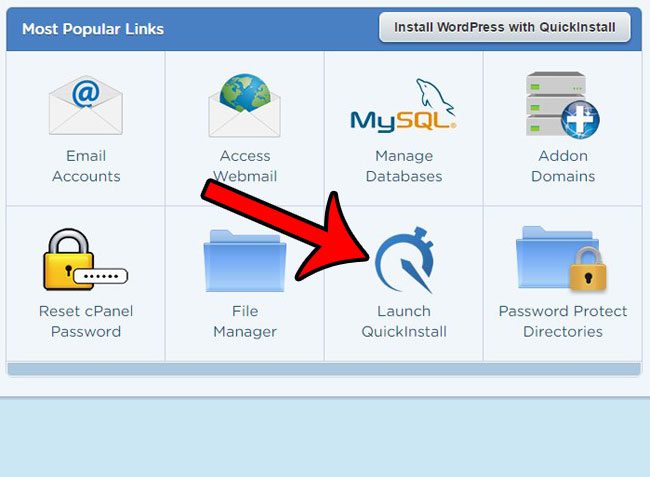
- Click on Launch Quick Install.
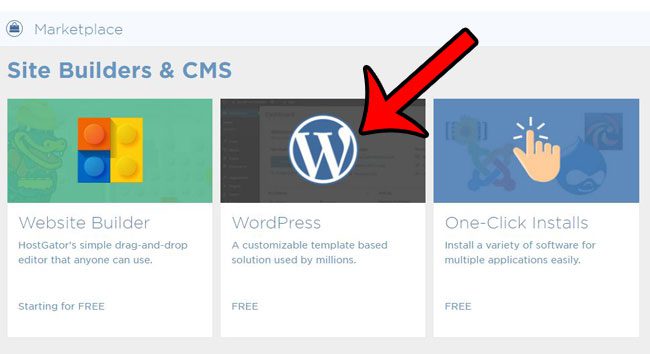
- Choose WordPress.
- Select your domain and click Next.
- Fill in all of the fields and click Install Now.
- Note your username and password, then click My Installs.
- Select Admin Login.
- Enter the username password from earlier, then click Log In.
Our guide continues below with additional information on the Hostgator WordPress set up process, including pictures of these steps.
Once you have acquired your domain, set up your hosting account and pointed the domain to the hosting account, you are getting really close to having a live, functioning website set up. The last step is to put some content on the site.
There are a lot of different ways to do this, but the most common is to install WordPress.
WordPress is a content management system where you can create web pages and add content to those pages.
You can theoretically do this without knowing any HTML or CSS at all, plus WordPress is structured in such a way that your menus and site navigation are easily added to all of your pages, and you can switch between different “themes” until you find the right one for your purposes.
Our guide below will show you how to install WordPress onto your existing Hostgator hosting account in just a few steps.
Our create website Google Workspace article provides an alternate way to set up your own website if you aren’t sure that you want to spend money on a site just yet.
Installing WordPress on Your Domain with Hostgator Web Hosting (Guide with Pictures)
The steps below will assume that you have a domain name and hosting account setup at Hostgator. If not, you can read the articles below –
How to register a domain name at Hostgator
How to set up a hosting account at Hostgator
How to point your domain’s name servers to your Hostgator hosting account
Once you have a domain and hosting account at Hostgator, then continue with the steps below.
Step 1: Head over to the customer portal at Hostgator, enter your Hostgator account email and password, then click the Login button.
Step 2: Click the Hosting tab at the top of the window.
Step 3: Scroll down and click the Launch QuickInstall button.
Step 4: Click the WordPress button.
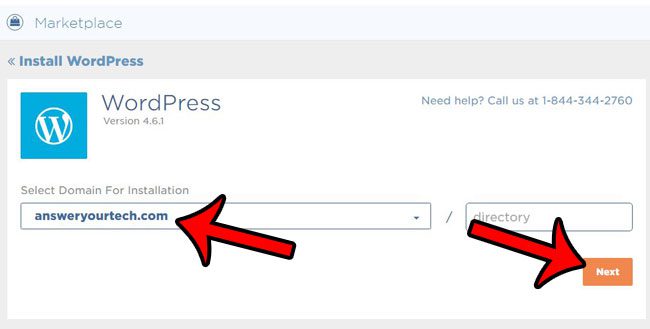
Step 5: Click the Select your domain drop-down menu, select the domain name, then click the orange Next button.
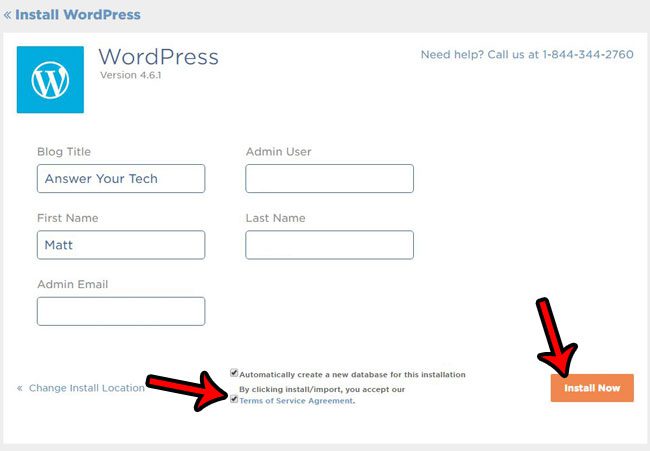
Step 6: Fill in the Blog Title field, create a username (the Admin User field) for your WordPress install, enter your name and email address, check the box to the left of Terms of Service Agreement, then click the Install Now button.
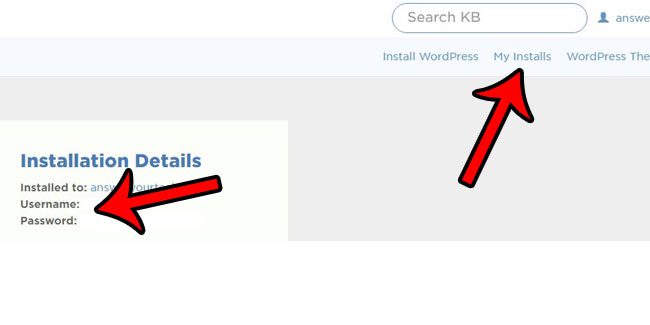
Step 7: Take note of your username and password, then click the My Installs button at the top-right corner of the screen.
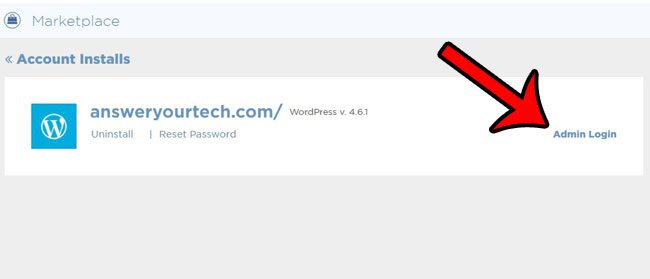
Step 8: Click the Admin Login button to go to the admin section of your WordPress site.
For future reference, this location is http://yourwebsite/wp-admin
Step 9: Enter your Admin username and password, then click the Log In button.
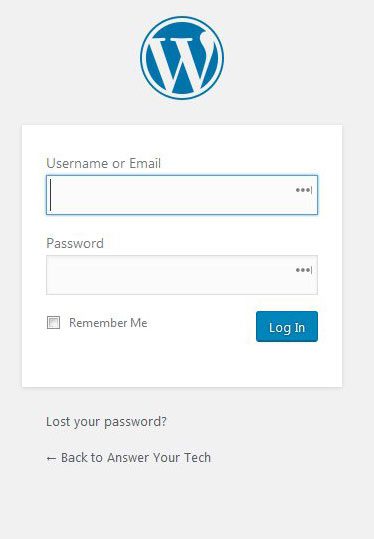
You are now in the admin section of your WordPress site, and you can begin creating posts, creating pages, and creating your site.
Now that you have finished the Hostgator WordPress setup process you are ready to start customizing your site and adding content.
If you want to improve the look of your site with a custom theme, then learn about installing the Genesis framework in WordPress to find a number of excellent options.
Additional Sources

Matthew Burleigh has been writing tech tutorials since 2008. His writing has appeared on dozens of different websites and been read over 50 million times.
After receiving his Bachelor’s and Master’s degrees in Computer Science he spent several years working in IT management for small businesses. However, he now works full time writing content online and creating websites.
His main writing topics include iPhones, Microsoft Office, Google Apps, Android, and Photoshop, but he has also written about many other tech topics as well.