Adding a picture to a spreadsheet in Excel 2010 is something that most Excel users will need to do at one time or another, but pictures can be difficult to manage within the program.
If you have discovered that a picture you have added to your Excel worksheet is not rotated correctly, then you might be looking for a simple way to adjust its orientation.
Fortunately, you do not need to edit the picture in an image-editing program, but rather you can rotate the picture directly within the Excel program itself.
Our short tutorial below will show you the steps that you need to follow to rotate your Excel picture.
Rotating an Inserted Picture in Excel 2010
These steps are for an image that has been added to your spreadsheet via the Pictures button on the Insert tab. These steps will not work to rotate an image that has been added to your spreadsheet as a background image.
Step 1: Open your spreadsheet in Excel 2010.
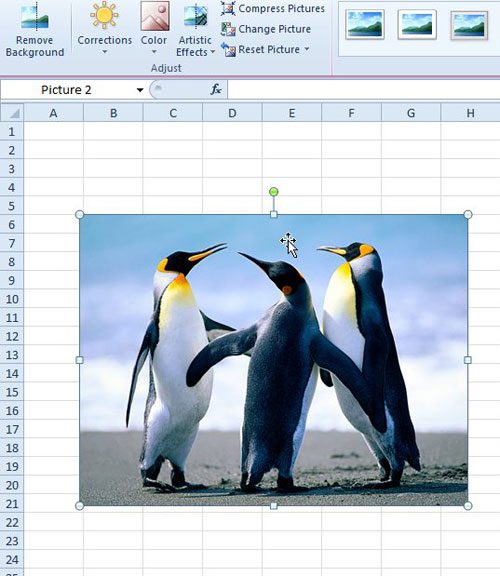
Step 2: Click the picture that you want to rotate.
If you have not yet inserted your picture into Excel, then you can do so by clicking the Insert tab, clicking the Picture button, then selecting your image. For additional help with inserting images into an Excel 2010 spreadsheet, click here.

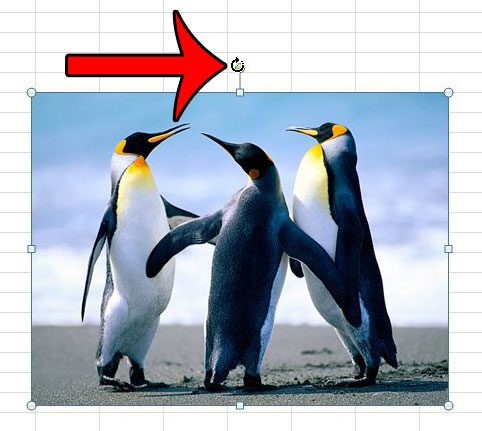
Step 3: Position your mouse on the green handle above the image. You will know that your mouse is positioned correctly when the cursor switches to a circular arrow, as in the image below.

Step 4: Click and hold the left mouse button, then drag the mouse to the left or right, depending on how you want to rotate the image. Once the image has been rotated to meet your needs, release the mouse button.

Now that you know how to rotate a picture in Excel 2010, you can use this feature to easily fix pictures that are facing the wrong way in your spreadsheet.
Do you want your picture to be locked to a cell so that it moves along with the rest of the cells in its row or column? Learn how to lock a picture to a cell in Excel 2010 to achieve that result.

Matthew Burleigh has been writing tech tutorials since 2008. His writing has appeared on dozens of different websites and been read over 50 million times.
After receiving his Bachelor’s and Master’s degrees in Computer Science he spent several years working in IT management for small businesses. However, he now works full time writing content online and creating websites.
His main writing topics include iPhones, Microsoft Office, Google Apps, Android, and Photoshop, but he has also written about many other tech topics as well.