After you’ve finished removing all of the unwanted programs, icons, and settings from your new Dell computer, you might realize that you have inadvertently removed a feature that you really liked, such as the Dell Dock.
This is an easy mistake to make, particularly because you can get over-zealous when consecutively uninstalling a lot of programs.
However, because you installed and uninstalled so many programs within such a short amount of time, performing a system restore is probably an unrealistic option.
Additionally, system restores can take a while, and reinstalling the Dell Dock is a pretty painless process.
Reinstallation Steps
Step 1: Open a Web browser window, then navigate to the Dell Dock download page.

Step 2: Click the blue “Download” link at the center of the window.

Step 3: Click the “Reinstalling on a Dell Computer” option, then click the blue “Download” button.

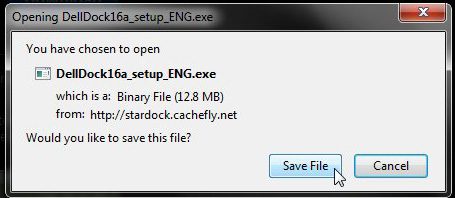
Step 4: Save the file to your computer, then double-click the downloaded file.

Step 5: Follow the prompts to complete the installation. restart your computer if you are prompted to do so. The Dell Dock will be displayed on your Desktop once the computer restarts.
Now that you know how to reinstall the Dell Dock on your Windows computer, you will be able to restore that application in case you had accidentally deleted it before.
Conclusion
Knowing how to remove or reinstall the Dell Dock can give you a very powerful tool when trying to troubleshoot the application.
many computer problems can be resolved by simply uninstalling and reinstalling, and the Dell Dokc is no exception.

Matthew Burleigh has been writing tech tutorials since 2008. His writing has appeared on dozens of different websites and been read over 50 million times.
After receiving his Bachelor’s and Master’s degrees in Computer Science he spent several years working in IT management for small businesses. However, he now works full time writing content online and creating websites.
His main writing topics include iPhones, Microsoft Office, Google Apps, Android, and Photoshop, but he has also written about many other tech topics as well.