When you have some extra information that you want to include in a document, the natural inclination is to type it as a paragraph in the document body.
but that’s not always the ideal solution, as the information may not fit with the main content.
A footnote is a good solution to this problem, and Microsoft Word has a way for you to add one.
Our tutorial below will show you how to create a footnote in Microsoft Word.
Summary – How to Insert a Footnote in a Word Document
- Open your document.
- Select a spot for the reference number.
- Choose the References tab.
- Click Insert Footnote.
- Enter the footnote information.
Our guide continues below with additional information on how to make a footnote in Microsoft Word 2016, including pictures of these steps.
Footnotes are a useful way to provide clarification or additional information about something you have referenced. Therefore it can be useful for many writers to know how to make a footnote in Microsoft Word 2016.
Luckily it’s a relatively common feature for a number of different document types, so Microsoft has made the process for creating footnotes fairly straightforward.
Our guide below is going to show you how to select a location in your document where you want the footnote to appear, insert the footnote, then enter the text for it.
Related Topic: There are several ways to add symbols to a document. You can find out more with our how to insert square root symbol in Word article.
How to Add a Footnote to a Document in Word (Guide with Pictures)
The steps in this article were performed in Microsoft Word for Office 365, but will work in most other recent versions of Word as well.
Use these steps to make a footnote in Microsoft Word.
Step 1: Open the document.
Select the document to which you want to add the footnote.
Step 2: Click at the point in the document where the footnote reference number should go.
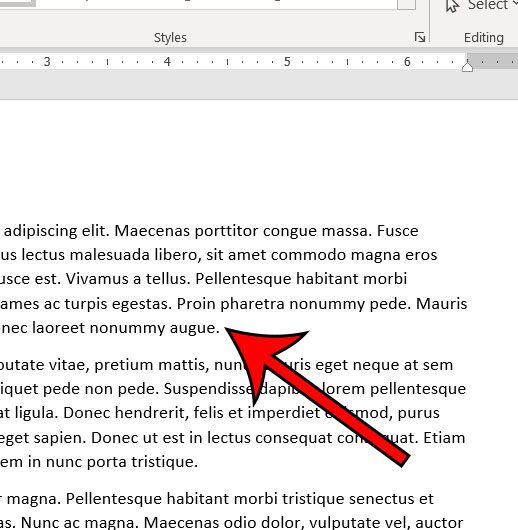
Select the footnote location.
Step 3: Select the “References” tab at the top of the window.
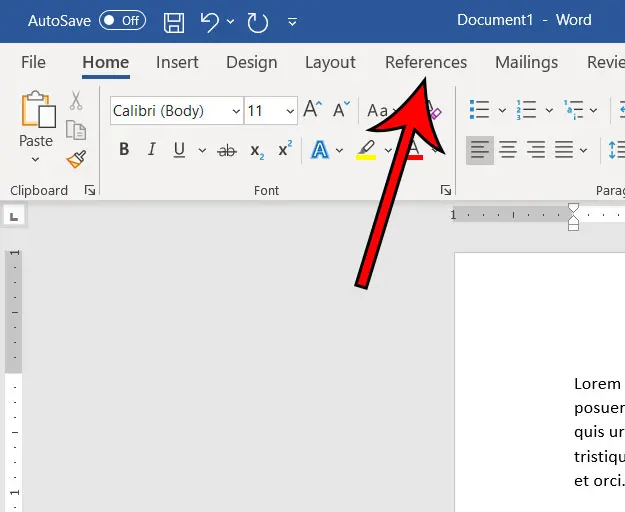
Choose the References menu.
Step 4: Click the “Insert Footnote” button.
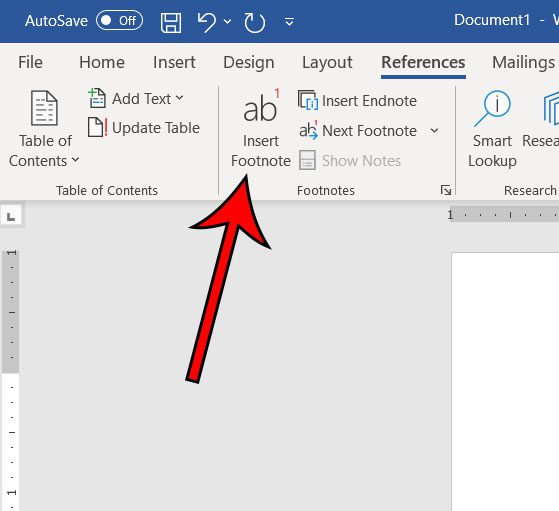
Choose the Insert Footnote option.
Step 5: Type the footnote text to appear at the bottom of the page.
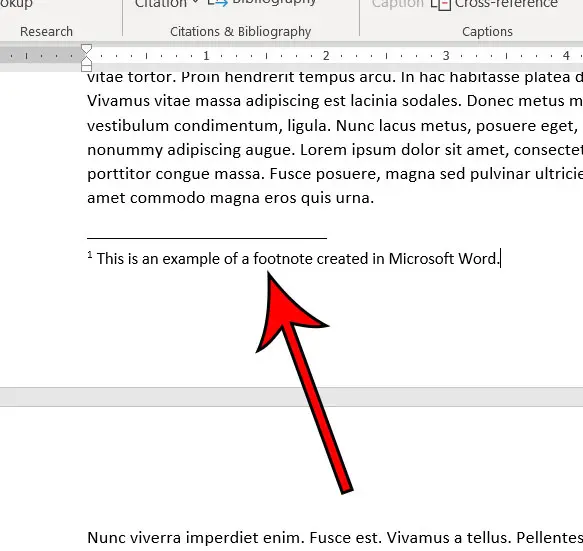
Type the footnote content.
The steps above were performed in Microsoft Word for Office 365, but also work in most other versions of Microsoft Word, including Word 2010, Word 2013 and Word 2016.
You can also insert a footnote by pressing Alt + Ctrl + F on your keyboard.
Footnotes can be deleted by selecting the footnote reference number in the document, then pressing the Delete key on your keyboard.
You can use the Show Notes button on the References tab to view your footnotes on your pages.
There is a small Footnote & Endnote button at the bottom-right of the Footnotes section on the References tab. If you click that button it will open the menu below, where you can make changes to your footnote settings.
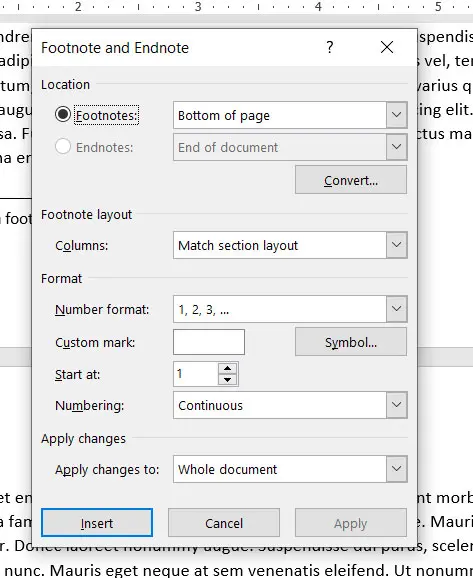
An endnote is similar to a footnote, with the differences being that the endnotes are placed at the end of the document instead of the bottom of the page, and that endnotes are indicated by roman numerals instead of regular numbers.
You can insert most types of objects or characters, like a square root symbol, in a footnote section. It doesn’t just need to be page numbers or regular letters.

Matthew Burleigh has been writing tech tutorials since 2008. His writing has appeared on dozens of different websites and been read over 50 million times.
After receiving his Bachelor’s and Master’s degrees in Computer Science he spent several years working in IT management for small businesses. However, he now works full time writing content online and creating websites.
His main writing topics include iPhones, Microsoft Office, Google Apps, Android, and Photoshop, but he has also written about many other tech topics as well.