The iPad 2 is a good device to give to a child that is old enough to be able to handle it.
There are a lot of entertaining games and learning activities that can be freely downloaded to the iPad, and the device is sturdy enough to stand some short drops and assorted minor bumps and bruises that children’s devices tend to incur.
But you can also access some decidedly adult content through the Web browser and the iTunes Store, so you may decide to enable restrictions on your iPad 2 and restrict access to certain apps and content.
You can also set up a passcode on your iPad 2 to block access to everything.
As an Amazon affiliate, I earn from qualifying purchases.
Turning On iPad 2 Restrictions
Once you have enabled restrictions on the iPad 2, you can freely add or remove access to different apps by entering the password.
But you are going to need to remember that password to access the restricted content yourself, so make sure to set a password that is easily remembered. With that in mind, follow the steps below to enable restrictions on the iPad 2.
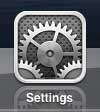
Step 1: Tap the Settings icon.
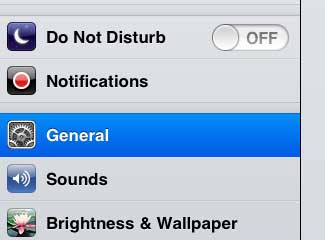
Step 2: Select the General option at the left side of the screen.
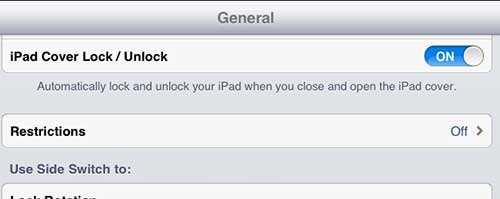
Step 3: Tap the Restrictions option at the right side of the screen.
Step 4: Touch the Enable Restrictions button at the top of the screen.
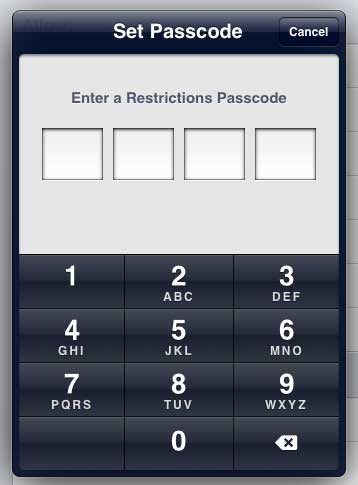
Step 5: Enter the passcode that you want to use to set your restrictions.
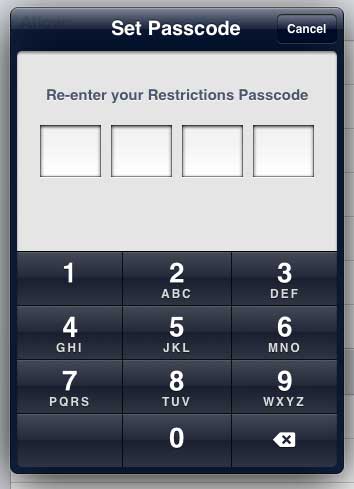
Step 6: Re-enter the passcode.
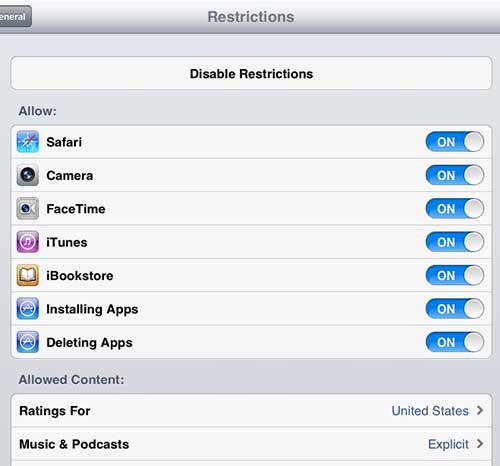
Step 7: Configure the options on this screen to set your preferred restrictions.
Note that if you restrict access to an app or content, it will not be displayed on the iPad. If you need to access it again in the future, you will need to come back to the Restrictions menu, log in with your passcode, and re-enable the restricted content.
Now that you know how to enable restrictions on the iPad 2, you can use this feature of the device to block certain apps and features from being used.
If you are thinking about upgrading to a newer iPad, or if you need to get one for another member of your family, consider the iPad Mini. It is more affordable, while offering a smaller form factor and the same functionality.

Matthew Burleigh has been writing tech tutorials since 2008. His writing has appeared on dozens of different websites and been read over 50 million times.
After receiving his Bachelor’s and Master’s degrees in Computer Science he spent several years working in IT management for small businesses. However, he now works full time writing content online and creating websites.
His main writing topics include iPhones, Microsoft Office, Google Apps, Android, and Photoshop, but he has also written about many other tech topics as well.
