To burn an ISO file to a disc with ImgBurn, open ImgBurn, click Write image file to disc, insert a blank disc, click Browse for file to choose the ISO, and click the big Write button. ImgBurn writes the image to the disc and, if Verify is checked, reads the disc back to confirm the copy is good.
These steps follow the image-writing guide posted by ImgBurn’s developer and the guides listed on the official ImgBurn website. They apply to ImgBurn 2.5.8.0, which the official site still lists as the current version.
What You Need Before You Burn
An ISO file is a disc image: a single file that holds the full contents of a CD, DVD, or Blu-ray disc. Burning it as an image recreates that disc. Copying the ISO onto a disc as an ordinary file does not, and a bootable disc made that way will not start a computer. To save a home-made disc to your computer first, back up the DVD.
- ImgBurn from the official site: Download it from the ImgBurn download page. The page lists version 2.5.8.0, released on June 16, 2013, and describes the program as free. During setup, read each screen and decline any extra offer you do not want.
- A Windows PC: The official site lists support from Windows 95 through Windows 10, including 64-bit versions. Windows 11 is not on that list.
- A drive that can write discs: A drive that only reads discs cannot burn. The drive also has to support the disc type you plan to use.
- A blank disc that is big enough: The developer says to insert a blank CD, DVD, or BD depending on the image size. As a general rule, a CD holds about 700 MB and a single-layer DVD about 4.7 GB, so check the size of the ISO file first.
Warning: A write-once disc such as a CD-R or DVD-R cannot be erased after it is burned. If you are not sure the ISO is the right one, use a rewritable disc or run a test first, as described below.
How to Burn an ISO File With ImgBurn
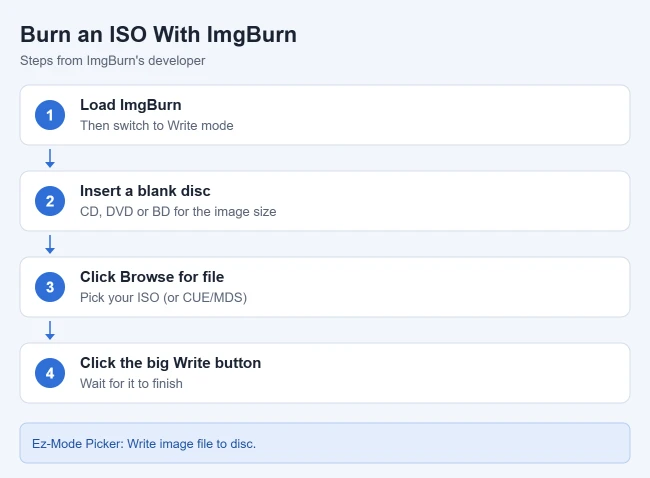
- Open ImgBurn. It starts on a screen called the Ez-Mode Picker, which shows one button for each main task.
- Click Write image file to disc. This switches ImgBurn to Write mode, the mode that writes an image file to a disc.
- Insert a blank disc in your burner. ImgBurn shows details about the disc once the drive has read it.
- In the Source area, click Browse for file, find the ISO file, select it, and click Open. The file name now appears in the Source area.
- In the Destination area, make sure your disc burner is the selected drive. This matters when the computer has more than one optical drive.
- Leave Verify checked so ImgBurn checks the disc after writing.
- Click the big Write button at the bottom of the window.
- Wait. ImgBurn shows its progress and tells you when the operation has finished. How long that takes depends on the size of the image and the write speed.
The disc is ready when ImgBurn reports that the operation completed successfully. Do not open the drive or shut down the computer while the burn is running.
Other Ways to Open Write Mode
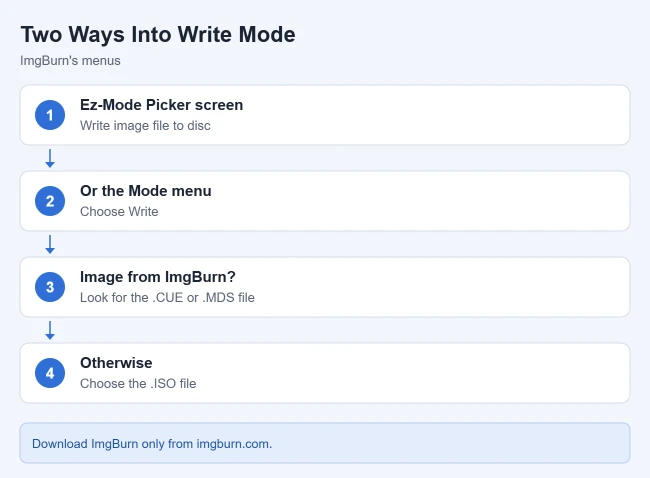
If ImgBurn opens in a different mode, or you already left the Ez-Mode Picker, click the Mode menu at the top of the window and choose Write. The developer’s guide lists both routes, and they lead to the same screen.
Which File to Select
If you downloaded a single ISO file, select that file. If you created the image with ImgBurn, the developer says to look for a .CUE or .MDS file first. These small companion files describe the layout of the disc. If you cannot find one with the name you expect, pick what is left, which is probably the .ISO file.
ImgBurn is not limited to ISO. The official site lists support for BIN, CCD, CDI, CUE, DI, DVD, GI, IMG, ISO, MDS, NRG, and PDI image files, and you load any of them the same way.
Need only the files inside a BIN image and not a disc? You can open a BIN file in Windows instead.
Settings to Check Before You Click Write
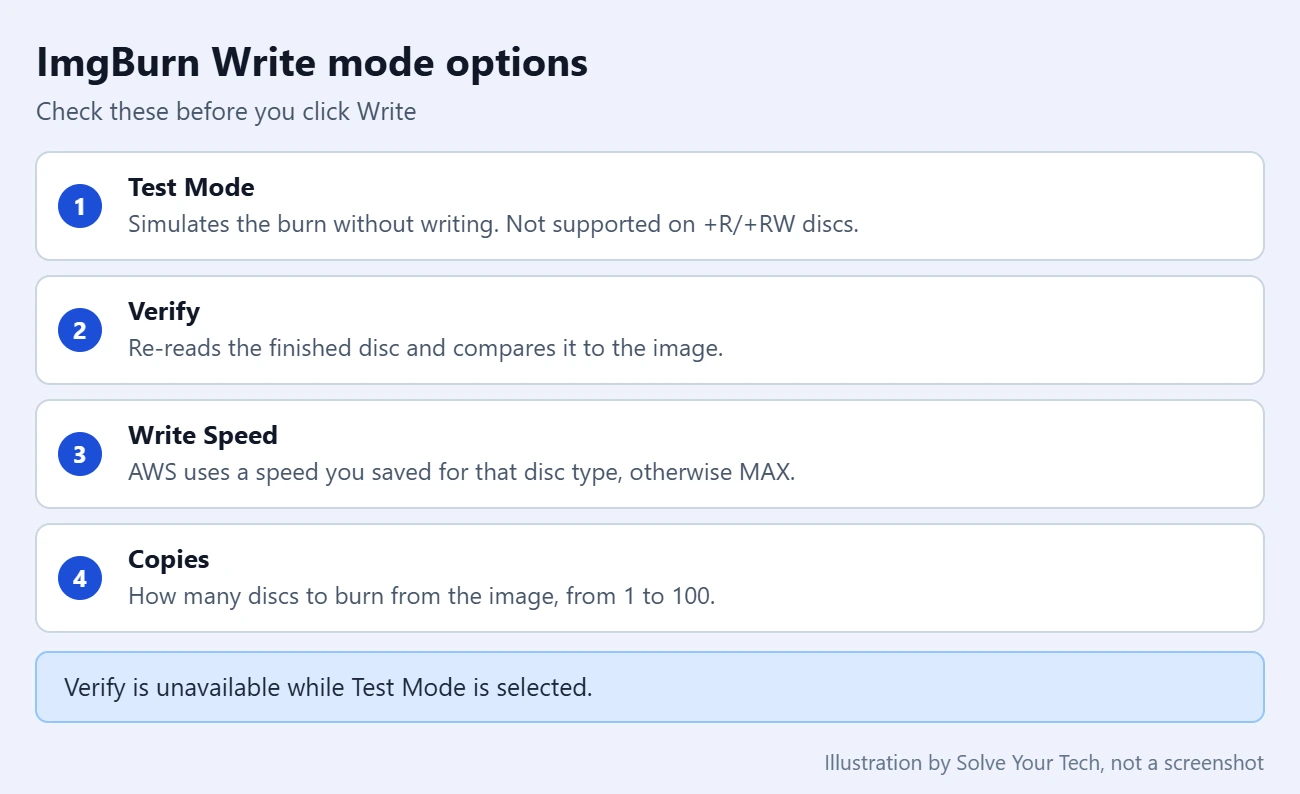
Write mode has a few options that change how the burn runs. ImgBurn’s functions guide describes them this way:
- Test Mode: Runs every step of a burn except turning on the laser, so nothing is written. It is a safe way to rehearse. The guide notes that Test Mode is not supported for +R and +RW discs.
- Verify: Re-reads the burned disc and compares it to the image you used. Verify is disabled while Test Mode is selected.
- Write Speed: Sets how fast the drive writes. The AWS choice (Automatic Write Speed) uses a speed you saved earlier for that kind of disc. If you never saved one, it uses MAX.
- Copies: Sets how many discs to burn from the same image, from 1 to 100. ImgBurn asks for the next blank disc after each one.
- Delete Image: Deletes the image file after a burn that finished without errors. Leave it unchecked unless you no longer need the ISO.
If you need several discs from one source disc rather than from an ISO, you can burn multiple disc copies for free.
How to Confirm the Disc Worked
The simplest check is the Verify step. If Verify was checked, ImgBurn compares the disc to the ISO right after writing and reports any problem.
You can also check a disc later. Click Mode, choose Verify, insert the disc, and start the check. Verify mode confirms that the disc is fully readable. With Verify Against Image File turned on, it also compares the disc to the image file you select.
For a bootable ISO, the real test is starting a computer from the disc. That computer must be set to boot from its optical drive, which is a setting in the computer’s own startup menu or firmware, not in ImgBurn.
Can You Undo a Burn?
Not on a write-once disc. A CD-R, DVD-R, DVD+R, or BD-R keeps whatever was written to it. A rewritable disc can be reused: ImgBurn has an erase button that asks which type of erase to perform. Its guide says a -RW disc always needs at least a quick erase before it is written again, while a properly formatted +RW disc can be overwritten without erasing.
- The Write button cannot be clicked: Check that an image is loaded in the Source area, that the right drive is chosen under Destination, and that the disc in it is blank. Erase the disc first if it is rewritable.
- The image is too big for the disc: Use a larger disc type. A DVD-sized ISO will not fit on a CD, and a very large ISO may need a double-layer DVD or a Blu-ray disc.
- Verify is grayed out: Uncheck Test Mode. The two options cannot be used together.
- Test Mode does nothing useful: It is not supported on +R or +RW discs.
- The burn or the verify step reports errors: Common fixes are to burn again on a new disc at a lower write speed, or to try a different brand of blank disc.
- You cannot find a setting named here: Make sure ImgBurn is in Write mode. Other modes, such as Read and Build, show different options.
Frequently Asked Questions
Is ImgBurn free?
Yes. The official ImgBurn website describes the program as 100% free and has a Donate link for people who want to support the developer. The site also asks people not to use it to make illegal copies of copyrighted discs.
Does ImgBurn work on Windows 11?
The official site lists Windows versions up to Windows 10 and does not mention Windows 11, and the current version dates from 2013. If you use it on Windows 11, try Test Mode or a rewritable disc first so a problem does not cost you a blank disc.
Can I burn an ISO to a USB drive with ImgBurn?
No. ImgBurn’s guides cover writing images to CD, DVD, HD DVD, and Blu-ray discs. For a Windows 11 installer on a flash drive, Microsoft’s Windows 11 download page offers the Media Creation Tool, which makes a bootable USB or DVD. For the rest of that process, read about installing Windows 11.
Can I burn several ISO files in a row?
Yes. ImgBurn has a Write Queue that holds several images and burns them one after another. For each image you can set the number of copies, the drive, and the write speed. It cannot write to several drives at the same time.
Next Step
Label the finished disc and keep the ISO file until you have confirmed the disc works. If the disc holds a movie rather than software, play the DVD on Windows 11 to check it.

Matthew Burleigh is the founder, head writer, and editor of Solve Your Tech, which he launched in 2012. He has written technology tutorials since 2008 and worked in IT since 2003, including small-business support, IT management, and consulting. He holds Bachelor’s and Master’s degrees in Computer Science from Arizona State University.
Matthew writes practical guides for Windows, iPhone and iPad, Microsoft Office, Outlook, Google apps, and Android. Solve Your Tech’s guides are checked step by step against the device or app maker’s own documentation and tested on his own devices whenever he has the hardware or software, with clear steps, sources, and update dates.
Read more about Matthew and how Solve Your Tech writes and updates its guides, or report a correction.