To set 24-hour time in Windows 11, open Settings, go to Time & language > Language & region, click Regional format, then Date & time format (Change formats on older versions), and pick a Short time option without AM or PM. Your taskbar clock will then show times like 21:30 instead of 9:30 PM.
This is sometimes called military time. It only changes how the time looks, not the time itself. The Control Panel steps follow Microsoft’s 12-hour and 24-hour clock instructions, and the clock display options come from Microsoft’s time and date settings page.
How to Change to 24-Hour Time in Settings
- Press Windows + I to open Settings.
- Click Time & language.
- Click Language & region.
- Click Regional format to expand it, then click Date & time format. On older versions of Windows 11, this button is called Change formats.
- Open the Short time menu and pick an option without AM or PM, such as 21:30.
- Open the Long time menu and pick the matching 24-hour option, such as 21:30:45.
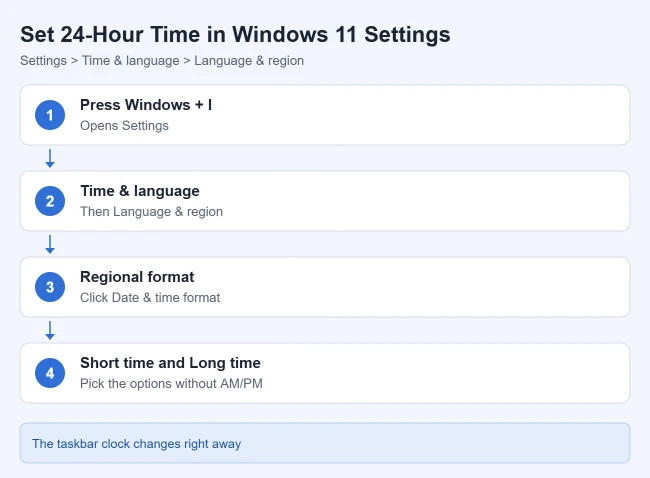
Result: The taskbar clock switches to 24-hour time right away. Short time is what you see in the taskbar, and Long time is used in places that show seconds.
How to Change to 24-Hour Time in Control Panel
This method lets you choose the exact format codes. Microsoft’s steps for Windows 11 are:
- Open Control Panel. If you’re not sure how, see how to open Control Panel in Windows 11.
- Under Clock and Region, click Change date, time, or number formats.
- On the Formats tab, under Date and time formats, set Short time to HH:mm.
- Set Long time to HH:mm:ss.
- Click Apply, then OK.

Result: Windows uses the 24-hour format everywhere that follows your regional settings.
What the format codes mean
| Code | Meaning | Example |
|---|---|---|
| HH | Hour, 24-hour clock, with leading zero | 09, 21 |
| H | Hour, 24-hour clock, no leading zero | 9, 21 |
| h or hh | Hour, 12-hour clock | 9 or 09 |
| mm | Minutes | 05 |
| ss | Seconds | 45 |
| tt | AM or PM | PM |
An uppercase HH means a 24-hour clock. A lowercase h means a 12-hour clock, and tt adds AM or PM. To switch back to a 12-hour clock, choose Short time and Long time formats that include tt.
Show Seconds in the Taskbar Clock
Microsoft’s time settings page notes that the taskbar clock normally doesn’t show seconds. To add them, go to Settings > Time & language > Date & time and turn on Show seconds in system tray clock. Microsoft notes this uses more power.
What If an App Still Shows AM and PM?
- Close the app and open it again so it picks up the new setting.
- Some apps have their own time setting and don’t follow Windows. Microsoft notes that Outlook uses your computer’s region settings, so the steps above change Outlook’s calendar too.
- Websites and web apps may use your account settings on that site instead of Windows.
Frequently Asked Questions
How do I go back to 12-hour time?
Use the same steps and pick a Short time option with AM or PM. See how to set a 12-hour clock in Windows 11.
What if the time itself is wrong?
Changing the format won’t fix a wrong time. Here’s how to change the date and time in Windows 11.
Can I change the date format too?
Yes, on the same screen. See how to change the date format in Windows 11.
If you also use an Android phone, see how to use military time on the Google Pixel 4a to match your PC’s 24-hour clock. Some older devices take their clock from the computer, so see how to set the time and 24-hour format on the Nike GPS watch if you own one.
Want a cleaner taskbar too? Here’s how to turn off the news feed in Windows 11.

Matthew Burleigh has been writing tech tutorials since 2008. His writing has appeared on dozens of different websites and been read hundreds of millions of times.
After receiving his Bachelor’s and Master’s degrees in Computer Science he spent several years working in IT management for small businesses. However, he now works full time writing content online and creating websites.
His main writing topics include iPhones, Microsoft Office, Google Apps, Android, and Photoshop, but he has also written about many other tech topics as well.