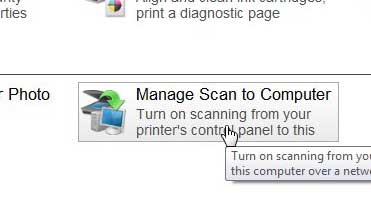
Starting a scan directly from the HP Photosmart 6510 makes sense. You are at the printer to insert the document to be scanned, and you can select your printer from the touch screen to start the scan.
But occasionally, you may not see your computer listed on the touch screen, which is a result of the Manage Scan to Computer option being disabled on your Windows 7 computer.
Fortunately, this can be enabled from your computer, allowing you to start scans directly from the printer.
Start a Scan from the HP Photosmart 6510
This tutorial will cover both the steps required to enable the Manage Scan to Computer option, as well as the steps required to actually scan a document to that computer. It will also assume that the HP Photosmart 6510 has already been installed on that computer.
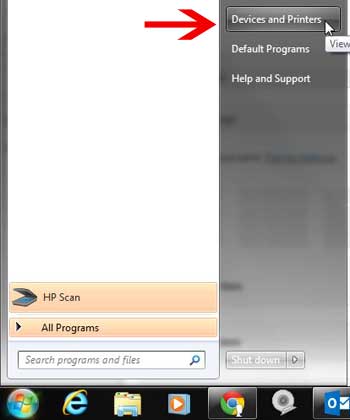
Step 1: Click the Start button at the bottom-left corner of your screen, then click Devices and Printers.
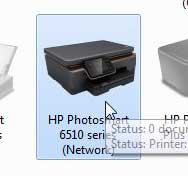
Step 2: Double-click the HP Photosmart 6510 icon.
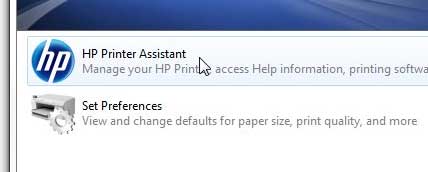
Step 3: Double-click the HP Printer Assistant option.
Step 4: Click the Manage Scan to Computer option.
Step 5: Click the Enable button to turn on the Manage Scan to Computer option.
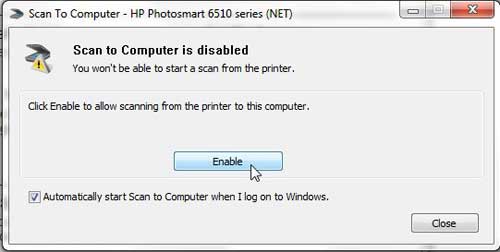
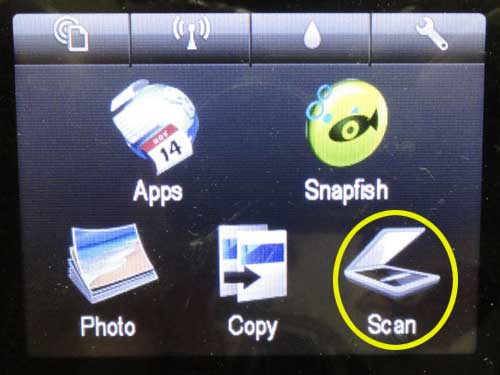
Step 6: Place the document to be scanned on the glass scanner bed, then touch the Scan icon on the Photosmart 6510 touch screen.
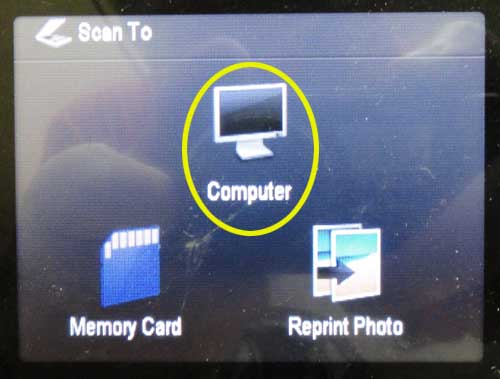
Step 7: Select the Computer option.
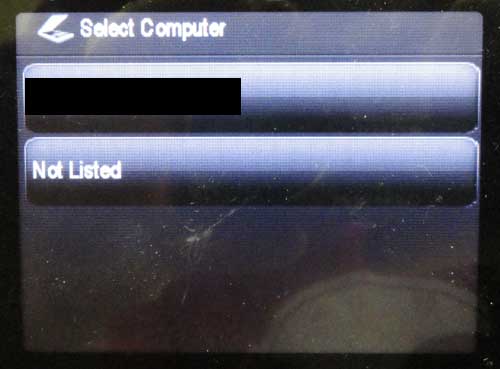
Step 8: Select your computer name from the list.
Step 9: Select one of the “To File” scan types from the options on the screen. Note that the Photo option will create a JPEG file and the Document option will create a PDF file.
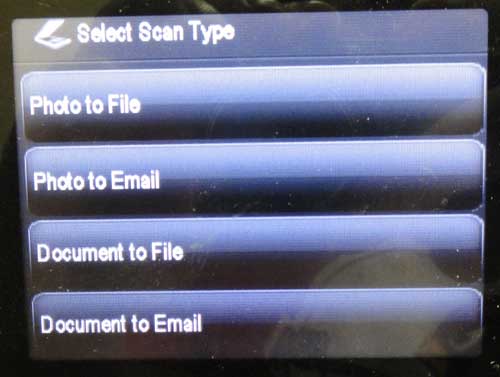
Step 10: Tap the No option on the screen if that is the only item you need to scan, or tap Yes if you want to scan another item. Once you are done, your My Documents folder will open on your computer, and the scanned document will be highlighted. It will also be given a file name like Scan001.
Now that you know how to scan to a computer from the Photosmart 6510 printer, you can start creating digital copies of your documents.
If you are still unable to start a scan from the printer, then the issue may be related to your antivirus program. Try disabling your antivirus program temporarily to see if that allows the scanning feature to work. If that does not work, then consider uninstalling and re-installing the Photosmart 6510 to see if that resolves the issue.
Click here to learn how to install the Photosmart 6510 on a wireless network.

Matthew Burleigh has been writing tech tutorials since 2008. His writing has appeared on dozens of different websites and been read over 50 million times.
After receiving his Bachelor’s and Master’s degrees in Computer Science he spent several years working in IT management for small businesses. However, he now works full time writing content online and creating websites.
His main writing topics include iPhones, Microsoft Office, Google Apps, Android, and Photoshop, but he has also written about many other tech topics as well.
