The fastest way to make a calendar in Word is to use a template: select File > New, search for “calendar,” pick one, and select Create. To design your own, insert a table with 7 columns for the days of the week, then add the month name and dates.
These steps cover Word for Microsoft 365, Word 2024, Word 2021 and Word 2019 on Windows, Word for Mac, and Word for the web. Quick Tables is a Word for Windows feature.
Which Method Should You Use?
| Method | Best for | Where it works |
|---|---|---|
| Calendar template | A finished, good-looking calendar in a minute | Windows, Mac, web |
| Quick Tables calendar | Dropping a small month grid into an existing document | Word for Windows |
| Table you build yourself | Full control over size, colors and layout | Windows, Mac, web |
If you only need a printable calendar, start with a template. Build your own table when you want a specific layout, such as a Monday start, extra room for notes, or your school or company colors.
How to Use a Calendar Template in Word
Follow these steps in the Word desktop app on Windows. You need an internet connection, because the calendar templates download from Microsoft.
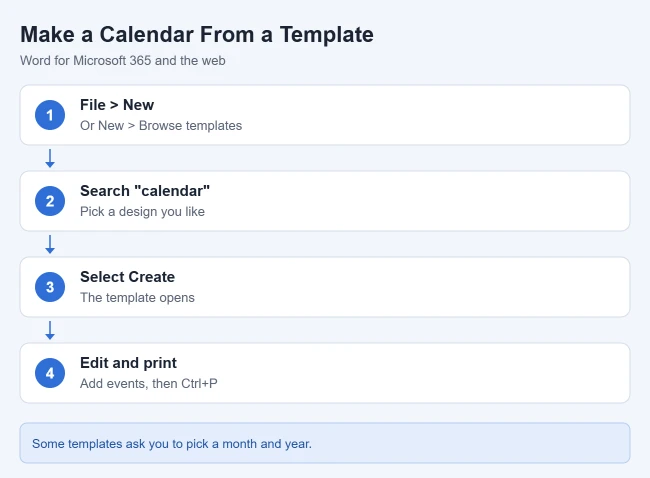
- Open Word and select File > New.
- Type calendar in the template search box and press Enter.
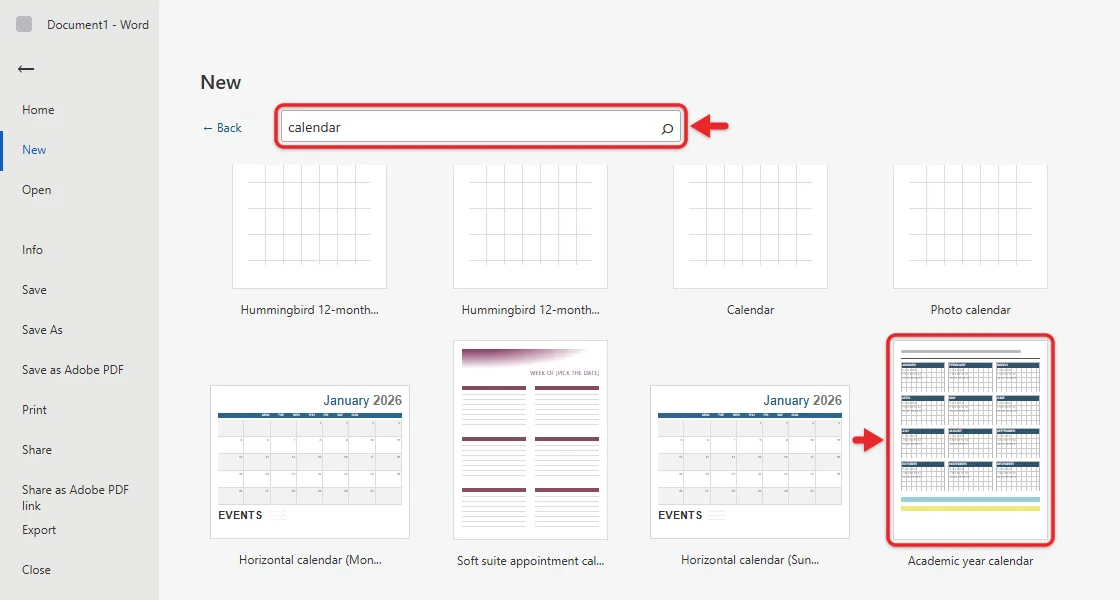
- Click a template to see a preview and description.
- Select Create.
- If the template asks, choose the month and year, then click OK.
Word opens the calendar as a new document. Some templates prompt you to pick a month and year so the dates are filled in for you. Template types include monthly, academic, photo, and yearly calendars. Add the year to your search, such as 2027 calendar, to see templates already set up for that year.
From there, click any text to change it, add events and notes, or change fonts and colors. If the template includes placeholder pictures, Microsoft suggests deleting them and inserting your own with Insert > Pictures.
If your new photo pushes the calendar text out of place, wrap text around the picture so it sits where you want it.
On a Mac
- Open Word and select File > New from Template.
- Type calendar in the search box at the top of the template gallery.

- Select a template, then select Create.
The calendar opens as a new document that you edit the same way as on Windows.
How to Make a Calendar in Word for the Web
These steps come from Microsoft’s guide to creating a calendar in Word for the web:
- Open Word for the web and select File.
- Select New > Browse templates.
- Below the thumbnails, select Explore all templates.
- Type Calendars in the search box, or select Calendars under Popular categories.
- Choose a calendar template.
The template opens in Word for the web, ready to edit, and is saved for you automatically. Because it’s stored in OneDrive, you can open the same file later in the desktop app.
How to Insert a Quick Tables Calendar (Windows)
Word for Windows includes a few ready-made calendar tables that you can drop into any document, such as a newsletter or a class handout.
- Click where you want the calendar to go.
- Select Insert > Table > Quick Tables.
- Scroll the gallery and choose one of the entries named Calendar.
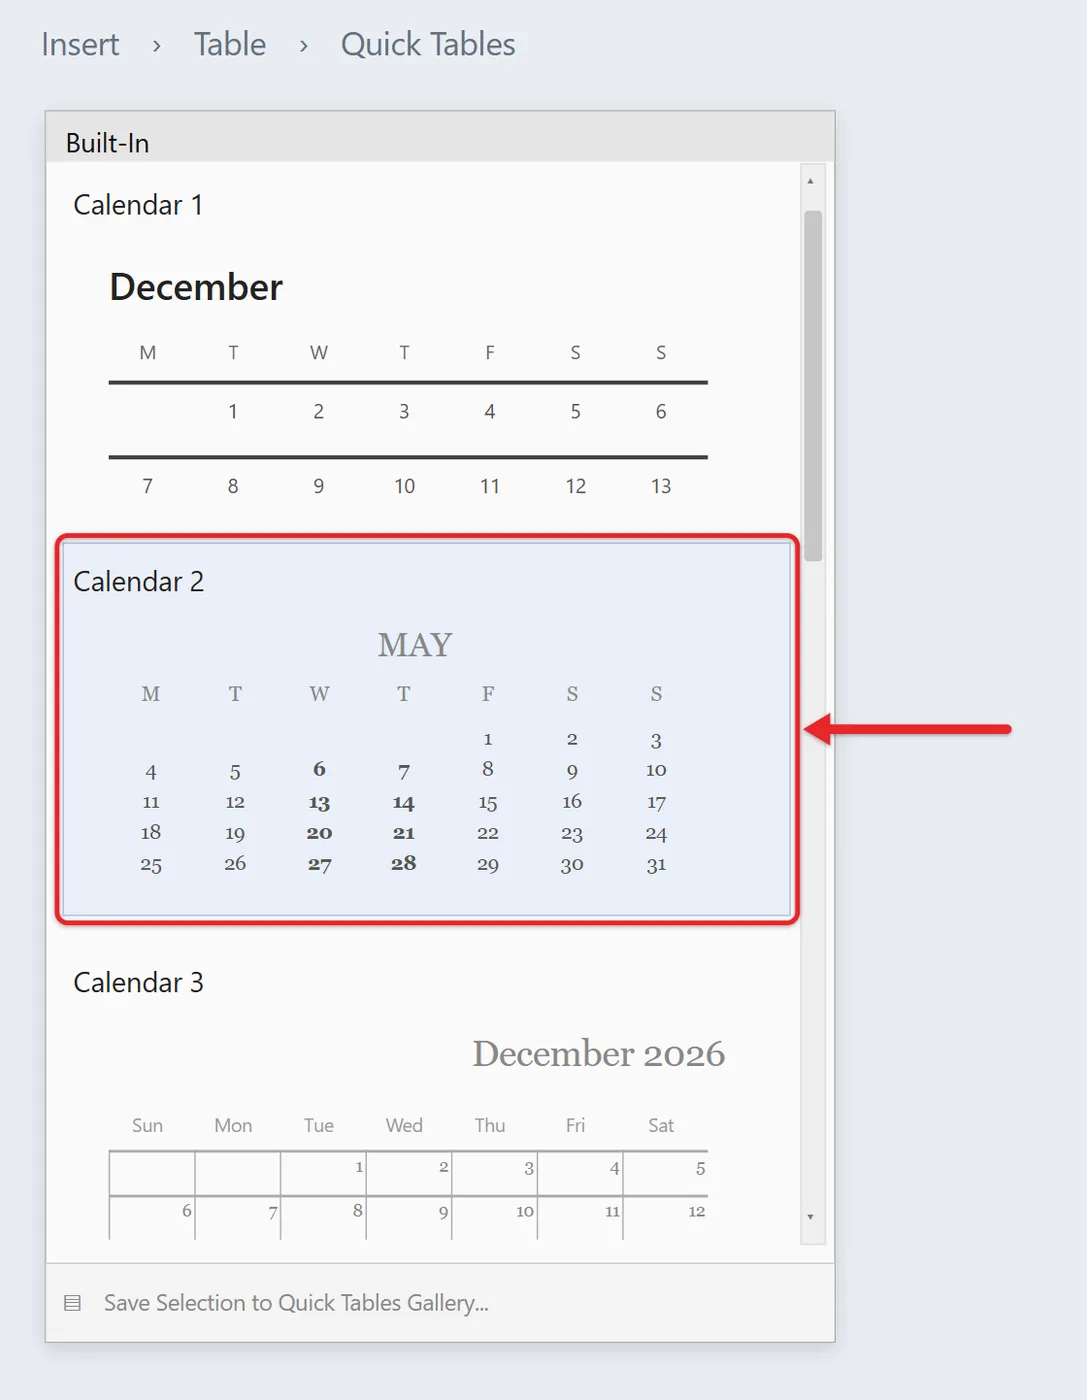
The calendar appears as an ordinary table. It shows a sample month, so replace the month name and renumber the dates for the month you need. If you don’t see Quick Tables, you’re likely using Word for Mac or Word for the web, where a template is the quicker option.
How to Make a Calendar From a Table
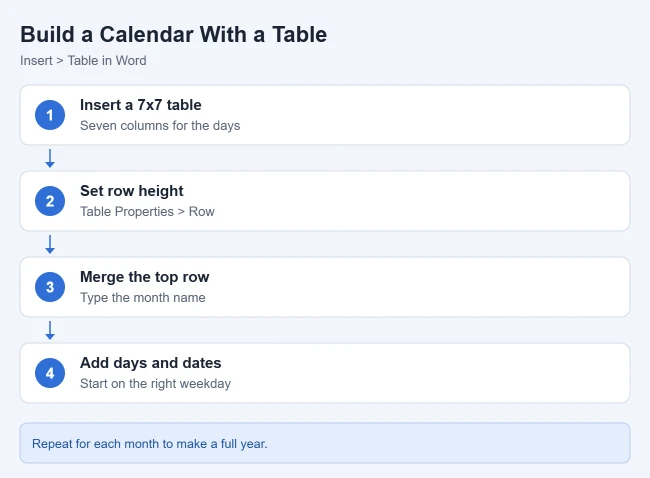
If you want to design it yourself, build a calendar from a 7×7 table: one row for the month name, one for the weekdays, and five rows for dates.
Before you start, decide on the page layout. A wall-style calendar usually looks better sideways, so select Layout > Orientation > Landscape. You can also select Layout > Margins > Narrow to give the grid more room.
- Select Insert > Table, then hover over the grid and click to insert a 7×7 table.
- Right-click the table handle in the top-left corner and select Table Properties. On the Row tab, check Specify height and enter a height. Use about 1 inch (2.5 cm) for the date boxes.

Exactly as an example; it fixes the height, so extra text will not make the row grow. Use At least when you want the row to expand.- Make the top two rows shorter the same way. Use about 0.6 inch (1.5 cm).
- Select the cells in the top row, right-click, and choose Merge Cells. Type the month name there.
- Type the days of the week in the second row.
- Enter the dates, starting under the correct weekday.
You have a one-month calendar you can style however you like. Repeat these steps for each month to make a full year. If a month runs into a sixth week, click in the last row and select Insert Below on the table Layout tab (called Table Layout in some versions) to add another row. For more on combining cells, read about merging cells in Word tables.
To style it quickly, click inside the table, open the Table Design tab, and pick a style from the gallery. To put each date in the top corner of its box, select the date rows, open the Layout tab next to Table Design, and choose Align Top Right. Typing the dates goes faster if you press Tab to move to the next cell.
To frame the whole printed calendar, add a page border in Word from the Design tab.
Finishing Touches for a Table Calendar
- Even columns: select the table, then select Layout > Distribute Columns so every day is the same width.
- Weekend shading: select the Saturday and Sunday columns, then pick a light color from Table Design > Shading.
- Borders: select the table and choose Table Design > Borders > All Borders if your style hides the grid lines.
- Monday start: type Monday in the first weekday cell and Sunday in the last. Then count the dates from that layout.
- Keep boxes from growing: in Table Properties > Row, change Row height is from At least to Exactly. The grid stays fixed when you type, but text that doesn’t fit is hidden, so keep event notes short.
How to Add Events, Holidays, and Pictures
Click inside a date box and type the event. Press Enter to put a second event on its own line. For holidays, check an official list for your country and year, then type each one into its date box. Making holidays bold or a different color helps them stand out from personal events.
A consistent system makes a busy calendar easier to read. For example, use one color for work deadlines and another for family events, and add a short key at the bottom of the page with Insert > Text Box. To add a photo or logo above the grid, click above the table and select Insert > Pictures.
How to Save Your Design as a Reusable Template
If you’ll make the same calendar every month or year, save your layout as a template so you never rebuild the grid. Microsoft’s create a template steps for Windows:
- Select File > Save As, then double-click This PC.
- Type a name, such as Monthly calendar.
- In Save as type, choose Word Template.
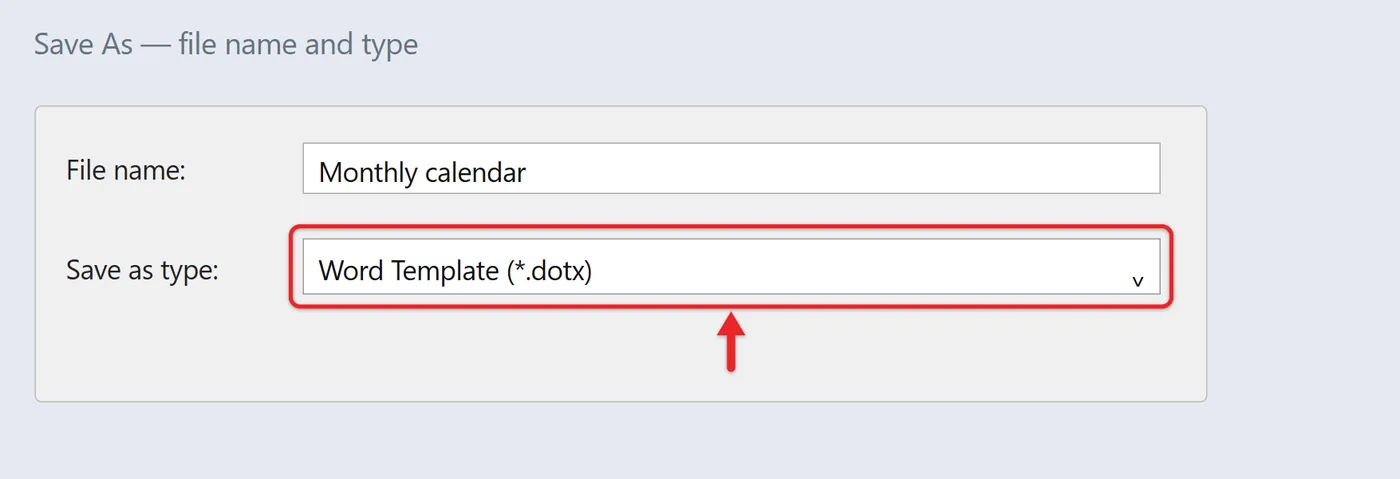
Monthly calendar and choose Word Template (*.dotx) before saving it. This recreation enlarges the two relevant Save As fields from Microsoft’s documented dialog; the folder list and other controls are outside the detail.- Select Save. Word stores it in the Custom Office Templates folder.
Next time, select File > New > Personal (or Custom) and choose your template. Word opens a copy, so the original stays blank. Change the month name and dates, but keep the rows and columns so the layout stays intact.
- Print it: press Ctrl+P (or Command+P on a Mac), check the preview, and confirm the orientation matches your layout. In Word for the web, if no Print dialog appears, open the PDF version it offers and print from there.
- Share it: in Word for the web, select Share > Share, enter names or email addresses, and select Send, or select Copy Link.
- Save a copy: Use File > Save As to save the calendar as a .docx file or a PDF. A PDF keeps the layout exact on any device and is the safest file to send to a print shop.
Troubleshooting
- No templates appear when you search: online templates need an internet connection, and some workplaces turn them off. Check your connection, try a different word such as planner, or build the calendar from a table.
- You can’t edit the template: if a yellow bar says the file is in Protected View, select Enable Editing.
- The calendar spills onto a second page: Word always adds an empty paragraph after a table at the end of a document. Click in that blank line below the table and set its font size to 1, or reduce the row heights or margins.
- Rows have different heights: select the date rows and choose Layout > Distribute Rows.
- Dates start on the wrong day: check which weekday the 1st falls on, clear the date rows, and type them again from the right column.
- Edges are cut off when printing: switch to Narrow margins or check that the paper size in Layout > Size matches the paper in your printer.
Frequently Asked Questions
Can I print a calendar for a whole year?
Yes. Word’s calendar templates include yearly planners, so search the templates for a yearly calendar. You can also repeat the table steps for each month. Need a clickable calendar inside a spreadsheet instead? Excel can add a pop-up calendar to a cell.
How do I make it fillable?
For form controls, you can create a drop-down list in Word or make the whole Word document fillable.
Will a Word calendar send me reminders?
No. A Word calendar is a document, so it can’t sync with your phone or send alerts. Use Outlook or another calendar app for reminders, and share the calendar in Outlook if other people need to see your schedule.
Can I put a one-month calendar on a single landscape page in a longer document?
Yes. Put the calendar in its own section and change only that section’s orientation. These steps for making only one page landscape in Word show how.
Related Guides

Matthew Burleigh is the founder, head writer, and editor of Solve Your Tech, which he launched in 2012. He has written technology tutorials since 2008 and worked in IT since 2003, including small-business support, IT management, and consulting. He holds Bachelor’s and Master’s degrees in Computer Science from Arizona State University.
Matthew writes practical guides for Windows, iPhone and iPad, Microsoft Office, Outlook, Google apps, and Android. Solve Your Tech’s guides are checked step by step against the device or app maker’s own documentation and tested on his own devices whenever he has the hardware or software, with clear steps, sources, and update dates.
Read more about Matthew and how Solve Your Tech writes and updates its guides, or report a correction.