To edit permissions on a Word document, first identify the control you need. Use Manage access for a file shared through OneDrive or SharePoint, Review > Restrict Editing for limits inside a Windows desktop document, or the file’s rights-management settings for organization-protected content.
These are separate controls. Making text read-only does not establish who is allowed to open the file. Microsoft’s Word access overview distinguishes cloud sharing from local document protection.
This guide focuses on current Word for Microsoft 365 and Word 2024 on Windows, plus OneDrive and Word for the web. Business rights-management options depend on your account and organization’s policies. Change only documents you own or are authorized to manage.
Working with a spreadsheet instead? Our guide to making an Excel workbook read-only for others separates view-only sharing from desktop opening preferences and explains why Mark as Final is not an enforced edit restriction.
Choose the correct permission setting
- Someone needs view or edit access to a shared file: review its cloud sharing permissions.
- Only certain parts should be editable: use Restrict Editing and its exceptions. For a form where only the fields can change, see how to make a fillable form in Word.
- The document should open in reading mode by default: use Always Open Read-Only; this is not an access barrier.
- A business file has a sensitivity label or permissions policy: inspect rights management with its owner or administrator.
- Word displays a Protected View warning: check the file’s trustworthiness before enabling editing.
For example, a shared team report can need both view-only cloud access for one colleague and document restrictions for its fixed instructions. Applying one setting does not automatically configure the other.
Change cloud sharing permissions
Use the owner’s OneDrive or SharePoint account. A Teams file is stored in SharePoint, so the underlying file’s access matters.
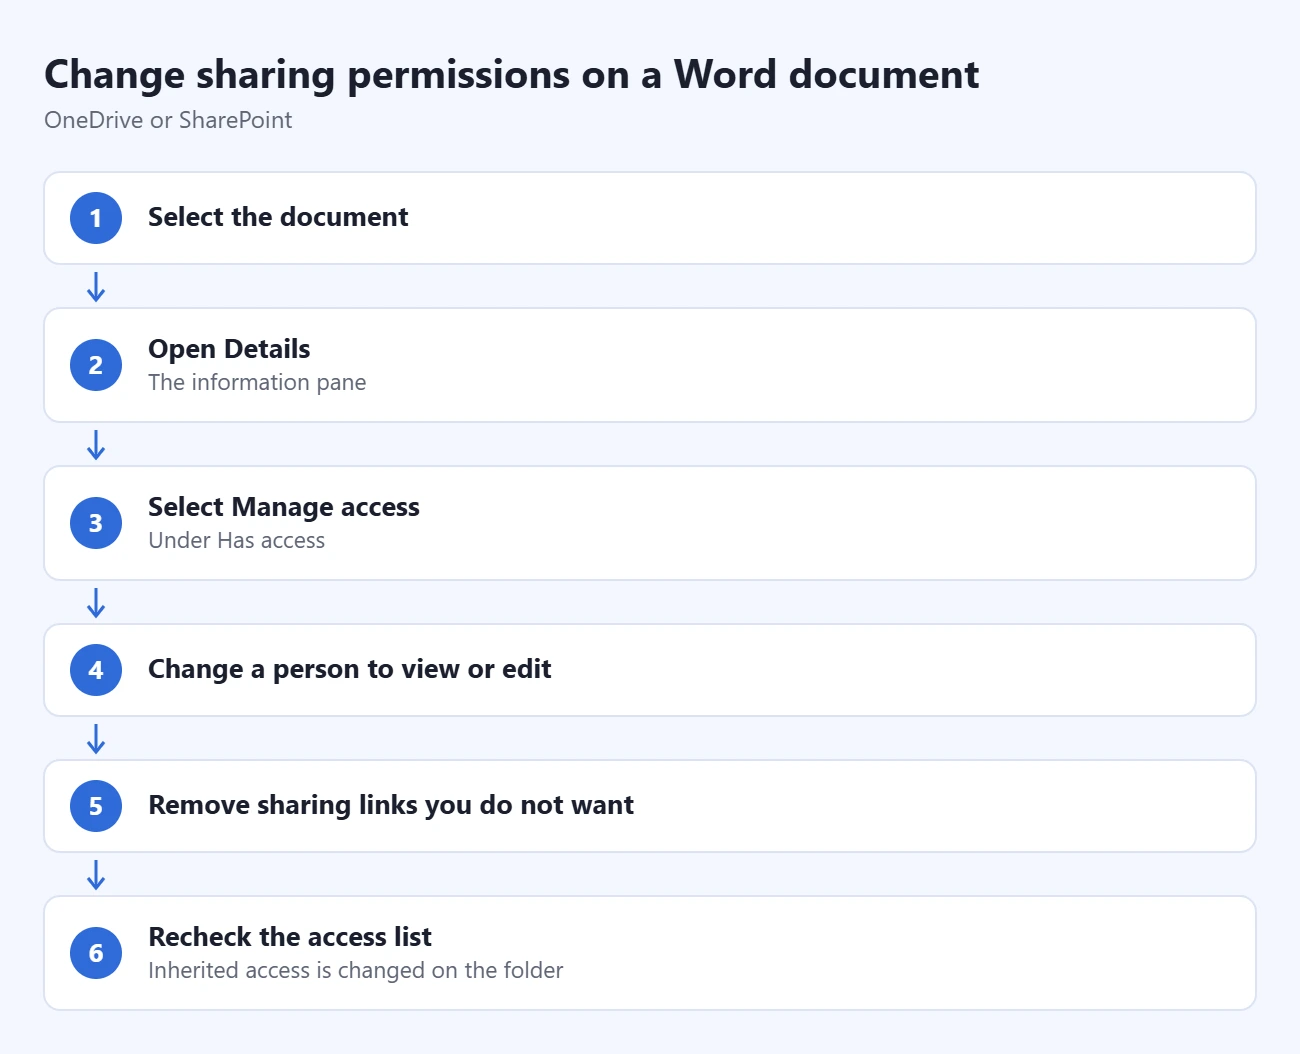
- Select the document in OneDrive or SharePoint.
- Open Details or the information pane with that single file selected.
- Under Has access, select Manage access.
- Inspect people, sharing links, and any inherited access. For direct access, select the person, choose the available view or edit permission, and apply it.
- To stop a sharing link from working, remove that link and confirm. To replace an edit link with a view link, remove the old link and create the replacement with the intended permission.
- Recheck the access list. Access inherited from a parent folder or site must be addressed there; removing one link may leave another access route.
Follow Microsoft’s cloud permission instructions for your account type, or our OneDrive sharing permissions guide. Read the scope before choosing Stop sharing, which affects the file’s sharing more broadly.
Restrict editing inside a Windows Word document
Open the document in desktop Word. These controls limit changes to its content; they do not replace cloud access management.
- Open Review > Restrict Editing. Depending on the ribbon layout, find it in the Protect group.
- Under Editing restrictions, select Allow only this type of editing in the document.
- Choose the restriction you need. For a read-only document, select No changes (Read only).
- Select Yes, Start Enforcing Protection.
- Set and confirm a protection password if you want one, storing it securely. Without a password, another person can stop this protection.
- Save the document, reopen it, and check that the intended areas cannot be changed.
Microsoft’s read-only document guide explains these settings. Keep the restriction password available to the authorized owner; forgetting it can prevent legitimate changes.
Allow editing in selected areas, or change an existing restriction
Before enforcing read-only protection, select the text that should remain editable. Under Exceptions, select Everyone for that selection, or use More users to specify individuals and select their names. Repeat for other editable areas, then enforce protection.
To revise protection already applied, open Review > Restrict Editing, select Stop Protection, and enter the protection password when asked. Authenticated ownership may be required for protection using user authentication. Adjust the rules, enforce them again if appropriate, and save.
If you are a recipient, the pane’s Find Next Region I Can Edit or Show All Regions I Can Edit controls identify permitted areas. A locked-selection message does not mean you can change the entire document. Microsoft’s protected-area instructions cover both owner and recipient actions.
Change organization-managed rights
Information Rights Management, or IRM, protects document content using authenticated permissions. Older Windows interfaces use File > Info > Protect Document > Restrict Permission by People > Restricted Access. The rights-managed message bar offers Change Permission to an authorized owner. Administrator policies can limit the choices; see Microsoft’s IRM documentation.
Current Microsoft 365 custom-permission interfaces may instead use Restrict Access > Restricted Access under Protect Document, or open a permission dialog through a sensitivity label. Microsoft’s custom permissions guide lists Windows roles such as Viewer, Restricted Editor, Editor, and Owner. Only an Owner can change those permissions.
Choose the permitted role for each intended person and review the resulting list. Do not use a whole organization domain when you intend to grant access to one individual. If a label or policy governs the document, ask the owner or administrator to make the appropriate change.
If you only need to edit the document yourself
For an ordinary read-only opening preference, clear File > Info > Protect Document > Always Open Read-Only. In Word for the web, use the upper-right mode menu to switch from Viewing to Editing. If the toolbar looks compact once you are editing, you can switch to the full ribbon in Word Online. If Editing is unavailable, request edit access. Microsoft’s enable-editing guide explains why a viewing preference cannot override document restrictions.
Protected View is a separate safety feature. If you trust both the file’s source and its contents and need to edit, the yellow message bar’s Enable Editing button leaves that mode. For an unexpected or suspicious file, keep it in Protected View and check with the sender. An administrator may prevent leaving it. See Microsoft’s Protected View explanation; disabling the feature globally is unnecessary for managing one document.
Frequently asked questions
Are restrictions removed when someone makes a copy?
Do not assume that. An ordinary read-only file can be copied, while rights-managed permissions are stored in the document and can protect its content wherever it is sent. Cloud sharing and document protection behave differently.
Is the password to open a document the same as its editing protection?
No. If an authorized owner wants to remove a known opening password, Microsoft’s password removal instructions use File > Info > Protect Document > Encrypt with Password, then clearing the password box. Stop Protection addresses editing restrictions instead.
Can I manage these permissions in Word on a phone?
Do not assume the desktop options are available. Microsoft says current custom permissions can be applied in Microsoft 365 on Windows, Mac, and the web; mobile platforms can view protected content but cannot view or modify those custom permissions. Cloud sharing is a separate workflow.
Finish by checking the intended person’s access and the document’s editing behavior separately. Keep a short record of what you changed so a later access problem can be traced to the appropriate setting.

Matthew Burleigh is the founder, head writer, and editor of Solve Your Tech, which he launched in 2012. He has written technology tutorials since 2008 and worked in IT since 2003, including small-business support, IT management, and consulting. He holds Bachelor’s and Master’s degrees in Computer Science from Arizona State University.
Matthew writes practical guides for Windows, iPhone and iPad, Microsoft Office, Outlook, Google apps, and Android. Solve Your Tech’s guides are tested on current devices or checked against official product documentation, with clear steps, sources, and update dates.
Read more about Matthew and how Solve Your Tech writes and updates its guides, or report a correction.