To change the camera you use in Windows 11, select the desired webcam in the app’s video or device settings. In Teams, use Settings > Devices > Camera; in Google Meet, use Settings > Video > Camera. Check the preview before joining a call.
Windows camera settings and an app’s preferred camera solve different problems. Microsoft’s Windows 11 Cameras instructions describe settings for each camera, such as brightness and contrast. They do not describe a universal Set as Default button that chooses one webcam for every app.
Connect the external webcam first if that is the camera you want. Open its shutter, if present, and note its name so you can distinguish it from the built-in camera. The app-specific steps below apply to Windows desktop Teams, Google Meet in a browser, and the Windows Camera app.
Choose Your Camera in Microsoft Teams
- Open the Teams desktop app and sign in.
- Select Settings and more, then Settings > Devices.
- Under the video settings, open the Camera dropdown.
- Choose the webcam you want Teams to use.
- Check the video preview to confirm that the intended camera supplies the picture.
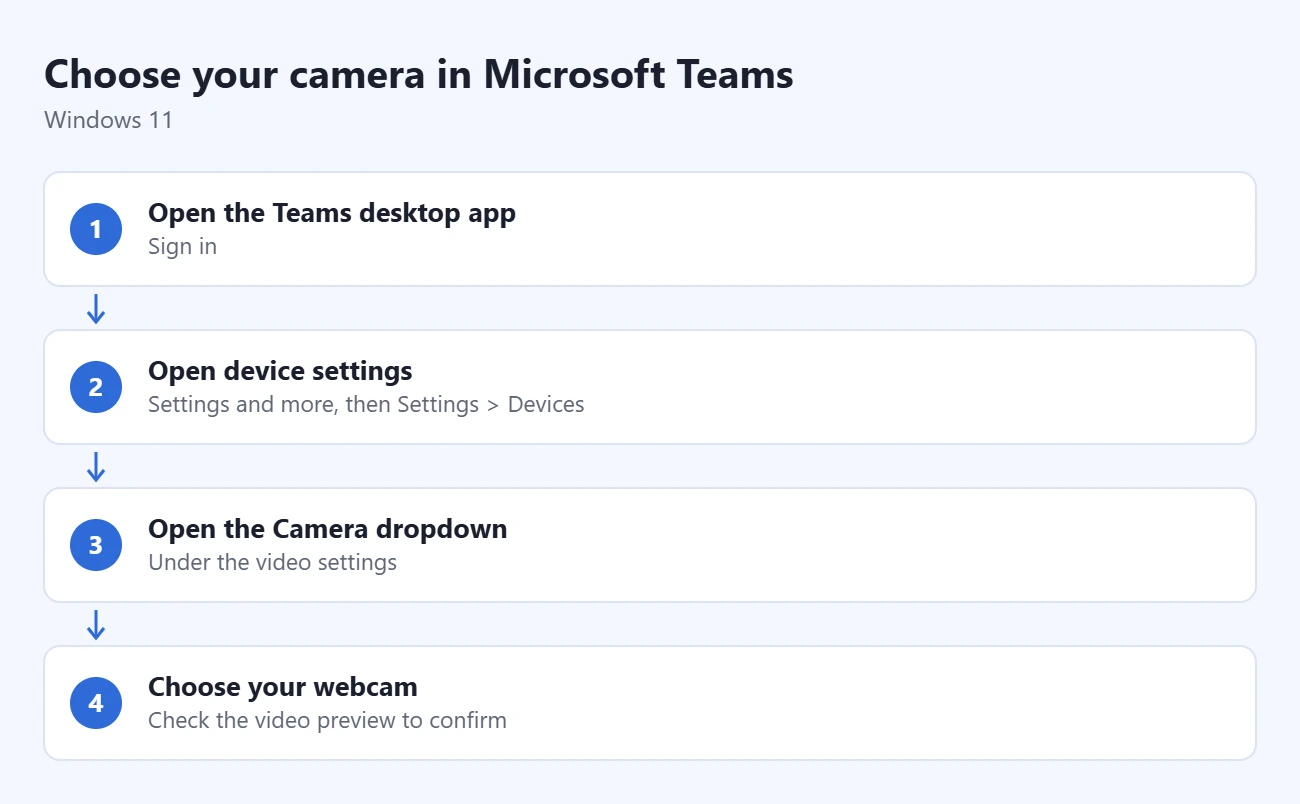
Microsoft documents these controls in its Teams device settings guide. This selects the camera for Teams. Repeat the selection in another app if that app still uses your laptop’s built-in camera.
Choose Your Camera in Google Meet
- Open Google Meet in your web browser.
- Open Settings, then Video.
- In Camera, select the desired device.
- Check the video feed and select Done when finished.
These are Google’s computer camera-selection instructions. A website also needs browser camera permission; choosing a device does not grant that permission. Use the meeting preview to verify your choice before sharing video.
Switch Cameras in the Windows Camera App
Open Start, type Camera, and open the Camera app. If Windows detects multiple cameras, select the Change camera icon at the top right to switch between them. Microsoft describes this in its Camera app guide.
Watch the preview change. For example, your external webcam might show a wider desk view while the built-in camera shows your face from above the laptop screen. Testing in Camera confirms which feed you are viewing; it does not change Teams or Meet’s own selection.
How to Mirror or Flip Your Camera Preview
First distinguish a mirrored self-preview from an upside-down picture. A mirrored preview reverses left and right; it does not necessarily mean other people see reversed text. Windows does not provide one universal flip switch that every webcam app uses.
In Microsoft Teams for personal use, open Settings > Devices and change Mirror my video. Microsoft’s device-settings guide says this changes only your own view. Compare a page of text in the preview, and ask a participant what they see if the transmitted orientation matters.
For other meeting apps, use that app’s documented mirror setting when available. If the image is rotated or upside down in several apps, check the webcam or PC maker’s supported camera utility and driver instructions for your exact model. A Windows Camera Change camera button switches devices; it does not flip the image. Avoid instructions that promise every Camera app has an Invert or Video Rotation toggle.
What Bluetooth & Devices > Cameras Changes
Open Settings > Bluetooth & devices > Cameras and select a device under Connected cameras. Windows shows its preview and available image controls. Adjustments are saved as defaults for that camera and user account; apps can override them.
Available controls depend on the hardware and Windows version. Do not confuse adjusting a device’s brightness with selecting it as the preferred webcam in a meeting app. Also, some cameras do not appear here, including infrared cameras used for Windows Hello and some cameras using other technologies.
If the Desired Webcam Is Missing or the Preview Is Black
Check the physical connection and shutter, then close another app that may be using the webcam. Reopen the app’s device list. If the wrong feed appears, select the webcam again and compare the preview rather than relying only on similar device names.
In Settings > Privacy & security > Camera, review Camera access and the permission for the app you intend to use. Microsoft Store apps have individual controls under Let apps access your camera. Desktop apps, including browsers, use Let desktop apps access your camera. An administrator may need to change a locked Camera access setting.
Microsoft’s camera permission guide explains those differences. Allow access only for the app or website you intend to use. For connection, shutter, disabled-device, and driver checks, see how to turn on a Windows 11 laptop camera.
Should You Disable the Built-In Camera?
Choose the desired camera inside the app first. Disabling a device affects its availability to other apps, and Microsoft notes that disabling one camera can disable multiple cameras on some systems. It is a device change, not an app preference.
To change back without disabling anything, return to the app’s Camera selector and choose the previous device. Check the preview again; there is no need to reinstall a working webcam simply to switch your meeting camera.

Matthew Burleigh is the founder, head writer, and editor of Solve Your Tech, which he launched in 2012. He has written technology tutorials since 2008 and worked in IT since 2003, including small-business support, IT management, and consulting. He holds Bachelor’s and Master’s degrees in Computer Science from Arizona State University.
Matthew writes practical guides for Windows, iPhone and iPad, Microsoft Office, Outlook, Google apps, and Android. Solve Your Tech’s guides are tested on current devices or checked against official product documentation, with clear steps, sources, and update dates.
Read more about Matthew and how Solve Your Tech writes and updates its guides, or report a correction.