If you’ve stumbled across this page, then it is likely that you have a bunch of video files on your computer and you want to get them into an iPod-friendly format.
I recommend using Handbrake as an iPod video converter because it has a very simple interface, it works quickly and, best of all, it is completely free and will not slam you with advertisements or attempt to install any malicious software on your computer.
When you are looking around for an iPod video converter solution, you may invariably try out a few other options that seem like they should be the solution.
However, I have found that, in my experience, there are major drawbacks to each of them that are dealbreakers. Handbrake has been my iPod video converter of choice for several years now, and I have no reason to switch.
Using Handbrake as an iPod Video Converter
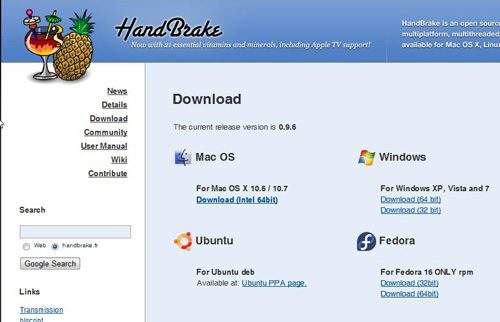
To get started, visit the Handbrake download page and click the link listed under your operating system. Save the file to your computer, then double-click the downloaded file and follow the prompts to complete the installation.
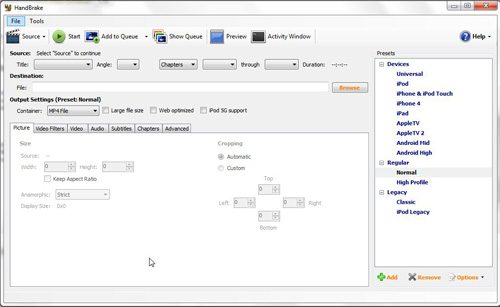
If the Handbrake application does not open automatically, then you can start it on your Windows 7 computer by clicking the Start button at the bottom-left corner of the screen, click All Programs, click the Handbrake folder, then click Handbrake again. This should open a screen like the one displayed below.
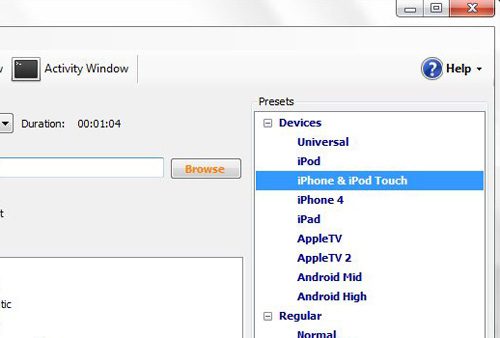
Click the Source button at the top of the window, then click the Video File option to locate the video that you want to run through the iPod video converter. If you get a pop-up window indicating that you have not set the default output directory, you can just click OK to ignore it. Now click the option in the Presets section at the right side of the window that applies to your iPod. In the example image below, I have selected the iPhone & iPod Touch option, because I want to use the iPod video converter software to convert my video for my iPod Touch.
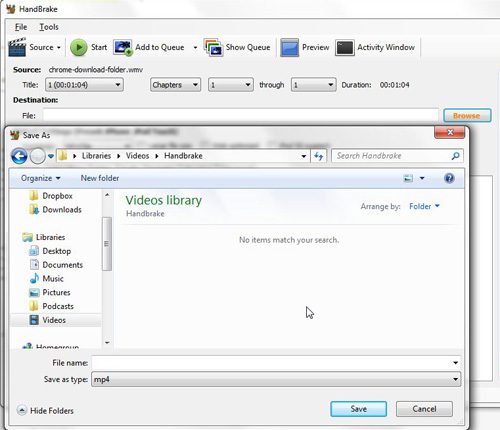
The beauty of using Handbrake as an iPod video converter is that those presets at the right side of the window make it so that you do not need to change any of the video output settings. Everything is already optimized for playback on your iPod device. However, there is one last step before you are ready to use the iPod video converter to convert your video file. Click the Browse button in the Destination section of the window, type a name for your converted file, then select the folder in which you want the output file to be saved. Click Save when you are done.
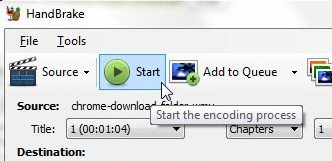
You are now ready to use the Handbrake iPod video converter utility to generate your iPod optimized video, so click the Start button at the top of the window. A green progress bar at the bottom of the Handbrake window will let you know how the conversion is going, then it will display Encoding Finished when the file is finished converting. You can then browse to the output folder that you just selected to see your converted video.
Now that you know more about converting files to watch them on your iPod, you can use this technique and increase the size of the video library you have for your device.

Matthew Burleigh has been writing tech tutorials since 2008. His writing has appeared on dozens of different websites and been read over 50 million times.
After receiving his Bachelor’s and Master’s degrees in Computer Science he spent several years working in IT management for small businesses. However, he now works full time writing content online and creating websites.
His main writing topics include iPhones, Microsoft Office, Google Apps, Android, and Photoshop, but he has also written about many other tech topics as well.
