Excel’s primary use is to store, compare and analyze data, but the sheer number of tools and options available to Excel users make it a much more versatile program than that.
For example, you might be using a spreadsheet to create an order form or an invoice, which typically requires a slightly different approach than what you would do if you were only making a spreadsheet.
One way to improve the look of your form is by including your company’s logo on the form.
As an Amazon affiliate, I earn from qualifying purchases.
Put a Picture or Logo in a Spreadsheet in Excel 2013
There are many other reasons that you might want to insert a picture in an Excel 2013 spreadsheet, but this is one that I see a lot.
Luckily it is a simple thing to do, and once the picture is placed, it is even pretty easy to move or resize it as necessary.
This tutorial is also going to assume that you have the picture that you want to insert somewhere on your computer. If you don’t have it yet, then locate that picture and get it on your computer before you start this process.
Step 1: Open your spreadsheet in Excel 2013.
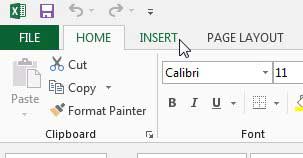
Step 2: Click the Insert tab at the top of the window.
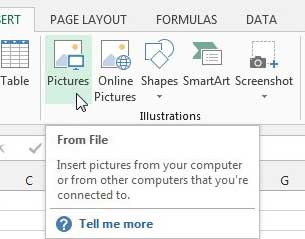
Step 3: Click the Pictures button in the Illustrations section of the ribbon.
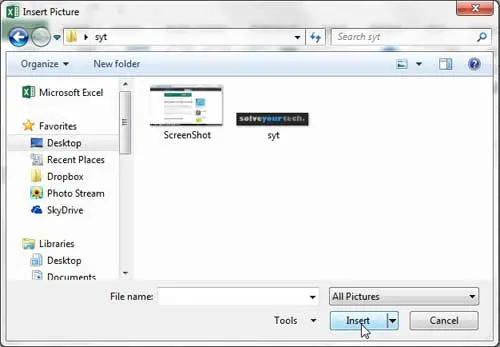
Step 4: Browse to the picture you want to insert, select it, then click the Insert button.
You can then click on the picture and drag it to wherever you want it to be displayed.
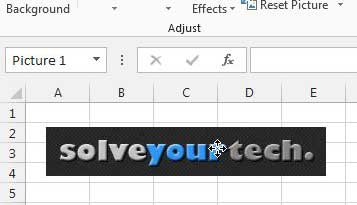
The picture can also be resized by clicking on any of the handles surrounding the image and dragging them.
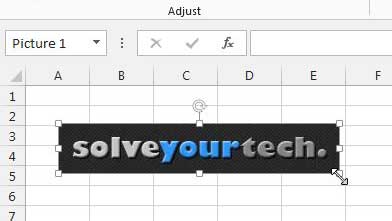
Now that you know how to insert a picture in Excel 2013, you can use these steps to start adding images that you need to include along with your data.
If you have data or files on your computer that you can’t afford to lose, then you need to be backing those files up to an external hard drive or a networked computer. Large capacity external hard drives are getting much cheaper, including this 1 TB option at Amazon. Combine that with a free backup program like CrashPlan and you can have an automatic backup solution set up in minutes.
One very useful tool in Excel is the PivotTable. This can really simplify any manual addition or row-combining that you might need to do. Learn how to create a Pivot table in Excel 2013.

Matthew Burleigh has been writing tech tutorials since 2008. His writing has appeared on dozens of different websites and been read over 50 million times.
After receiving his Bachelor’s and Master’s degrees in Computer Science he spent several years working in IT management for small businesses. However, he now works full time writing content online and creating websites.
His main writing topics include iPhones, Microsoft Office, Google Apps, Android, and Photoshop, but he has also written about many other tech topics as well.