If Windows 11 keeps returning to Automatic Repair, select Advanced options to reach its recovery tools. Try Troubleshoot > Advanced options > Startup Repair if it has not already failed. If it has, choose the next option according to what changed before the problem began, such as a recent update or driver installation.
There is no single repair that fixes every startup loop. Record the exact message and use the Windows 11 recovery paths below. Before a reset or restoration, understand which files, apps, or settings the option can change.
Before Choosing a Recovery Tool
Keep the PC connected to power. If you can still reach Windows or Safe Mode, back up important files before proceeding. If your only copy is on a PC that will not boot, do not choose an erasing reset or clean installation simply to get past the repair screen; get help preserving those files first.
An encrypted device may request a BitLocker recovery key. This is a 48-digit key, separate from your Windows sign-in password. Use Microsoft’s recovery-key instructions to locate it in the associated account or other saved location. For a work or school PC, ask its IT administrator. Do not post the key in a support forum.
Write down whether the failure began after an update, a new app, or a driver change. For example, “it began on the first restart after an update” gives you a better starting point than “Windows is broken.” Keep track of each recovery option and its result.
Open Windows Recovery Environment
Windows Recovery Environment, often called WinRE, contains troubleshooting tools outside the normal desktop. Windows can enter it automatically after repeated startup failures. On an Automatic Repair screen, select Advanced options, then Troubleshoot.
If you can reach the sign-in screen, hold Shift while selecting Power > Restart. If the desktop works, open Settings > System > Recovery and choose Restart now beside Advanced startup. Save open work first.
If those routes are unavailable, Windows installation media created on another working PC can provide a repair entry point. Boot from it and choose the repair option rather than starting an installation. Microsoft’s WinRE guide explains these access methods. The key for a manufacturer’s recovery menu is device-specific; F11 is not a universal Windows shortcut.
Run Startup Repair Once, Then Check Its Result
- In WinRE, select Troubleshoot > Advanced options > Startup Repair.
- Follow the restart prompt and supply the recovery key if requested.
- Allow the repair to finish, then check whether Windows reaches the sign-in screen and desktop.
- If it reports that it could not repair the PC, record the message and return to Advanced options instead of repeatedly running the same failed repair.
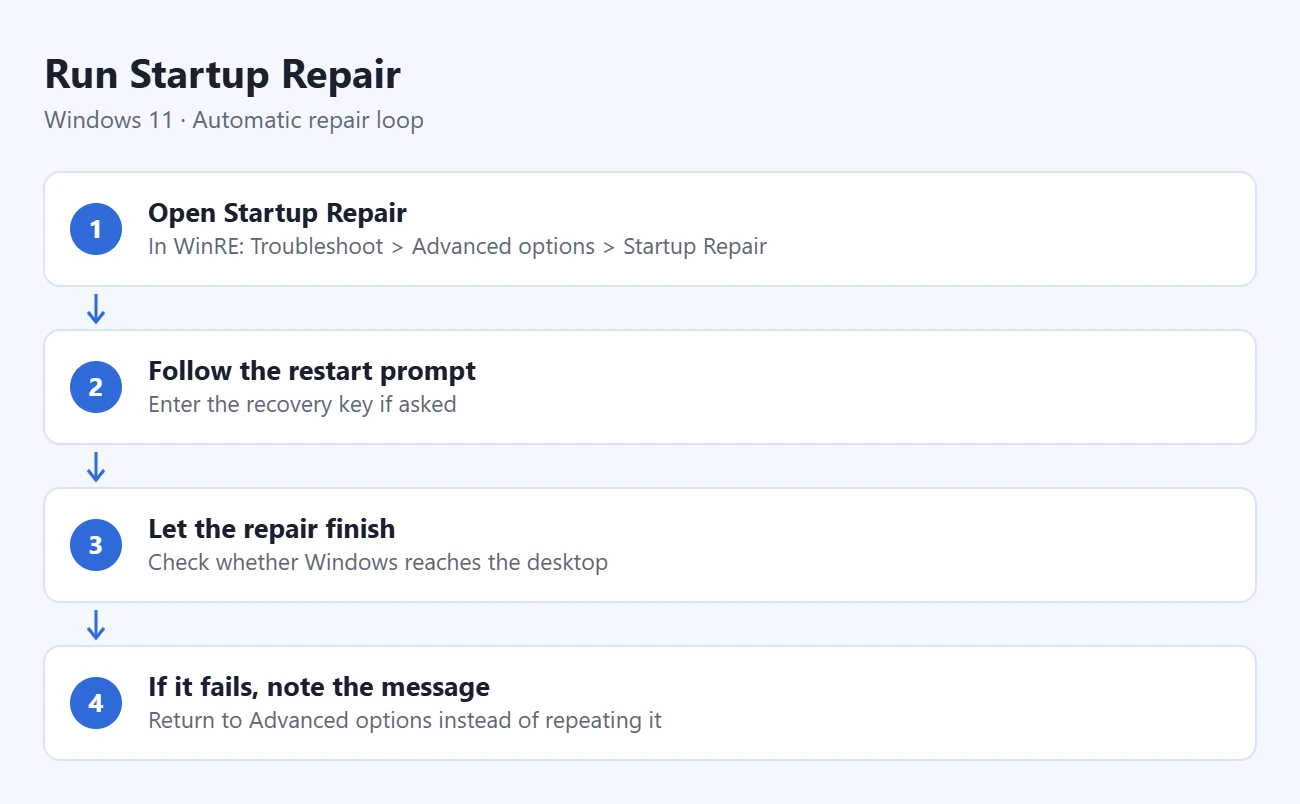
Microsoft’s Startup Repair guide describes the startup problems it attempts to diagnose and fix. Success is a normal boot, not merely reaching another recovery screen. If Automatic Repair already ran this tool and failed, proceed to a relevant alternative.
If the Loop Started After a Windows Update
Open Troubleshoot > Advanced options > Uninstall Updates. Review the offered choices and select the one matching the recent update you are trying to reverse. Some updates cannot be uninstalled; do not assume the choice will always be available or successful.
After completing an uninstall, restart and check whether the original startup problem is resolved. Microsoft’s recovery-options guide explains when update removal is appropriate and how it differs from other recovery methods. If you cannot identify what changed, investigate before removing unrelated components.
Use System Restore for a Recent System Change
- Select Troubleshoot > Advanced options > System Restore.
- Choose a restore point from before the startup problem. If offered, select Show more restore points.
- Use Scan for affected programs to review the changes, then select Next and Finish when ready.
- When restoration completes, restart and check the normal boot.
System Restore changes system files, settings, and installed programs while leaving personal files unaffected. You need an available restore point. If none exists, choosing this tool cannot create a pre-failure state retroactively.
Do not confuse it with Point-in-time restore, which may appear on supported systems. That option rolls back the system drive, including personal files, to its snapshot. Changes made afterward can be lost. Review its separate consequences before selecting it.
Try Safe Mode to Narrow Down the Problem
Open Troubleshoot > Advanced options > Startup Settings > Restart, then select 4 or F4 for Safe Mode. It loads a limited set of files and drivers. Microsoft’s startup-settings guide explains the choices.
If Safe Mode works, back up accessible files and investigate the specific recent app, driver, or setting change. Reaching Safe Mode narrows the problem; it does not prove Windows is repaired. Restart normally afterward and verify that the loop is gone.
If You See Quick Machine Recovery
On supported Windows 11 systems, Quick machine recovery can check Microsoft’s online services for a remedy to a known, widespread boot problem. Its manual route is Troubleshoot > Advanced options > Quick machine recovery. It needs a supported network connection and an available remedy; it is not a universal fix for every individual PC failure.
When to Consider a Reset or Get Help
If the less disruptive tools do not resolve the issue, review Microsoft’s reset instructions and confirm your backups first. Keep my files reinstalls Windows while removing apps and settings. Remove everything also removes personal files. Keeping files is not a substitute for a backup.
Use the recovery option that matches your situation rather than copying a command sequence intended for another boot configuration. For persistent failures, suspected hardware trouble, missing recovery keys, or irreplaceable files, contact the PC manufacturer or IT support. Our guide to getting help in Windows 11 includes support routes and information to gather.
After recovery, check that Windows boots normally, open important files, and confirm the original symptom is gone. Keep a backup and a record of the successful repair so a recurring failure can be investigated.

Matthew Burleigh is the founder, head writer, and editor of Solve Your Tech, which he launched in 2012. He has written technology tutorials since 2008 and worked in IT since 2003, including small-business support, IT management, and consulting. He holds Bachelor’s and Master’s degrees in Computer Science from Arizona State University.
Matthew writes practical guides for Windows, iPhone and iPad, Microsoft Office, Outlook, Google apps, and Android. Solve Your Tech’s guides are tested on current devices or checked against official product documentation, with clear steps, sources, and update dates.
Read more about Matthew and how Solve Your Tech writes and updates its guides, or report a correction.