To create an FTP server in Windows 11, install IIS FTP Service and IIS Management Console, add an FTP site, and configure its certificate, users, folder permissions, and firewall. Use FTPS (FTP encrypted with TLS) for password-protected transfers. The setup below starts with a private, read-only site so you can test access before allowing uploads.
Before you start
You need administrator access, an available IIS FTP Service feature, a dedicated folder, an existing Windows account authorized to use it, and a suitable server certificate. If FTP Service is unavailable on your Windows installation or your organization controls these settings, use an approved server or ask IT.
Keep this first setup on a trusted network. Do not forward router ports just to make the initial test work. Write down existing IIS and firewall settings before changing them, especially on a PC already hosting other services.
SFTP uses SSH and is a different protocol. An SFTP client setting will not connect to an IIS FTPS site.
1. Install the FTP components
- Search Start for Turn Windows features on or off and open it.
- Expand Internet Information Services > FTP Server and select FTP Service.
- Expand Web Management Tools and select IIS Management Console.
- Select OK, let installation finish, and restart if prompted. Open Internet Information Services (IIS) Manager from Start or Windows Tools.
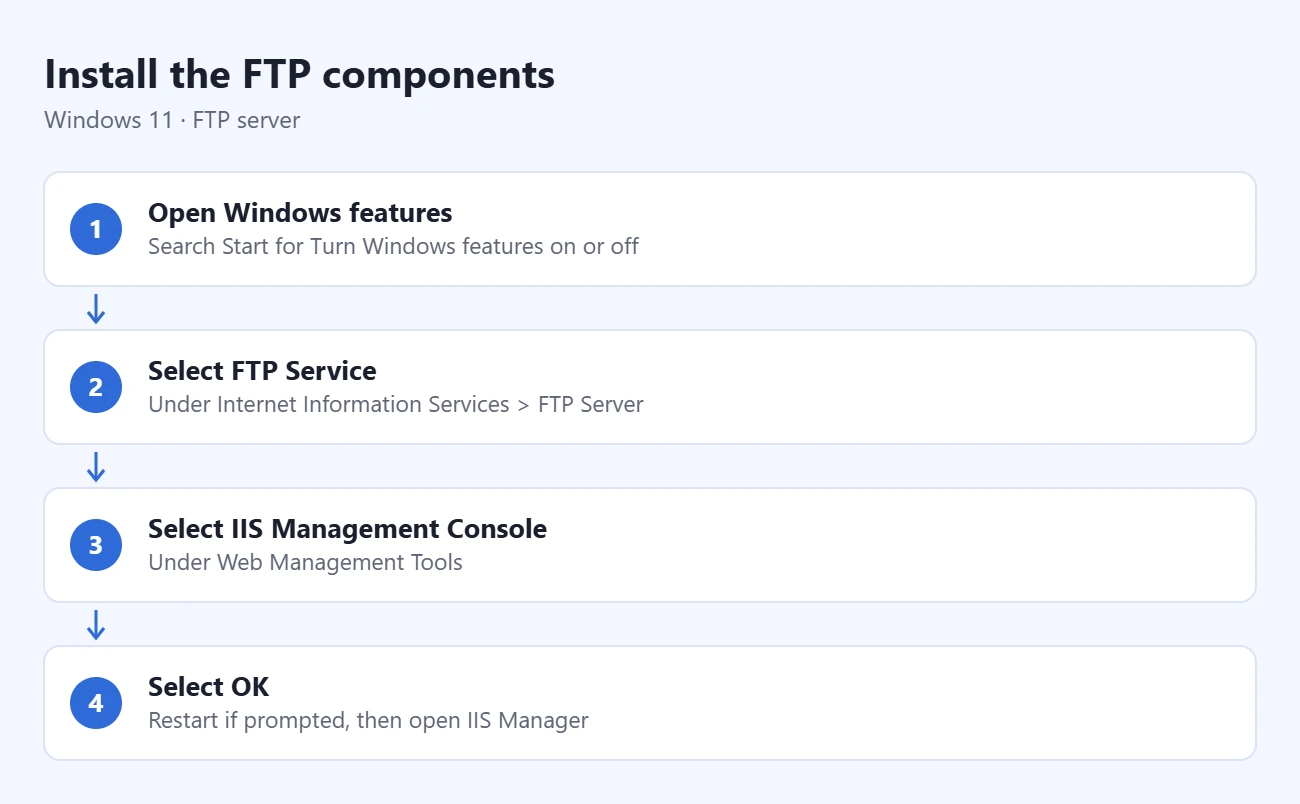
The expected result is an IIS Manager window containing your computer’s server node. WinSCP’s Windows desktop FTPS setup guide documents these components. FTP Service alone does not supply the management console.
2. Prepare the folder and Windows account
Create an empty test folder, for example C:\FTP-Test, and put a harmless readme.txt inside it. Avoid sharing your entire drive, user profile, or a folder containing private records.
Use a dedicated standard Windows account with a strong password. A Windows sign-in PIN is not the account password used for FTP Basic authentication. In the folder’s Properties > Security settings, grant that account the access you intend: Read for downloads, or the necessary write access for uploads. Keep existing administrator and system permissions.
IIS access rules and Windows folder permissions are separate checks. A successful login does not guarantee that a user can read or upload a file.
3. Add the FTP site
- In IIS Manager, expand the server node, right-click Sites, and choose Add FTP Site.
- Enter a descriptive name, such as Private FTP test, and select the dedicated folder as the Physical path. Select Next.
- Choose the intended local IP address and control port, usually 21. If another site already uses that address and port, resolve the binding conflict first. If you do not know the address, see how to find your PC’s IP address on Windows 11.
- Select the server certificate and Require SSL. Continue to authentication and authorization.
The certificate must be appropriate for the hostname clients will use and trusted by those clients. If you do not have one, stop and arrange the certificate before sending credentials. Do not treat a certificate warning as a routine step to dismiss.
Microsoft’s IIS FTP site walkthrough explains the wizard. Its screenshots use older Windows releases; the FTP site concepts still apply.
4. Restrict authentication and access
Select Basic authentication, leave Anonymous unselected, and choose Specified users. Enter the intended Windows account. Start with Read; add Write only when uploads are required. Select Finish.
On the new site’s feature page, check FTP Authentication and FTP Authorization Rules. Remove unintended broad access rules from this site’s configuration rather than assuming the wizard replaced inherited access. Microsoft’s authorization documentation distinguishes identifying a user from granting that user access.
Basic FTP authentication sends plaintext credentials without TLS. In FTP SSL Settings, keep Require SSL for both commands and file data. Allow SSL permits unencrypted connections and does not enforce encryption.
5. Configure the control and data connections
FTP needs a control connection and a separate data connection for listings and transfers. Opening only TCP 21 can allow login while directory listings still fail.
At the server node, open FTP Firewall Support. Choose an unused, limited Data Channel Port Range, such as 50000-50100, and apply it. Restart Microsoft FTP Service in Services after changing the range; coordinate this restart if other FTP sites use the service.
In Windows Defender Firewall with Advanced Security, configure inbound TCP access for the chosen control port and passive data range. Limit the rules to the required network profile and client addresses. Review existing FTP rules so a broader rule does not undermine those restrictions. Keep the firewall enabled.
For a later external deployment, the server’s passive response, external address, and router/firewall rules must agree. Microsoft explains this in its FTP firewall guide. Its anonymous, unencrypted examples are not the authentication settings used here.
6. Test the actual transfer
- Start the FTP site if it is stopped. From a permitted client, use an FTPS-capable application with FTP and explicit TLS, the certificate’s matching hostname, the configured port, and the authorized Windows username and password.
- Verify the certificate and encrypted session before continuing. Confirm that the remote listing contains
readme.txt. - Download that file and open the local copy. If uploads are intended, add the required IIS and folder write permissions, upload a disposable test file, and confirm it reaches the dedicated folder.
- Disconnect when finished. A login message alone is not proof that file transfers work.
Our FileZilla upload guide explains the local and remote panes. Select the server’s required encrypted protocol before following its file-transfer steps.
If the test fails
- IIS Manager is missing: check IIS Management Console installation.
- Connection refused: check that the site and Microsoft FTP Service are running, the binding is correct, and the required firewall rule applies.
- Login rejected: check the Windows account password, account status, and specified-user rule. Do not substitute your PIN.
- Login works but listing stalls: check passive data ports, firewall scope, and any external-address configuration.
- Download works but upload fails: check both IIS Write authorization and folder permissions.
- Certificate or TLS error: correct certificate trust, hostname, and client protocol. Do not switch to No SSL to bypass the error.
Stop or undo the setup
In IIS Manager, select the test FTP site and choose Stop to stop accepting its connections. Disable only the firewall rules you added for this test and reverse its account authorization and folder permission changes. Preserve your files. Remove FTP Service through Windows Features only if no other site needs it; do not remove shared IIS components blindly.

Matthew Burleigh is the founder, head writer, and editor of Solve Your Tech, which he launched in 2012. He has written technology tutorials since 2008 and worked in IT since 2003, including small-business support, IT management, and consulting. He holds Bachelor’s and Master’s degrees in Computer Science from Arizona State University.
Matthew writes practical guides for Windows, iPhone and iPad, Microsoft Office, Outlook, Google apps, and Android. Solve Your Tech’s guides are tested on current devices or checked against official product documentation, with clear steps, sources, and update dates.
Read more about Matthew and how Solve Your Tech writes and updates its guides, or report a correction.