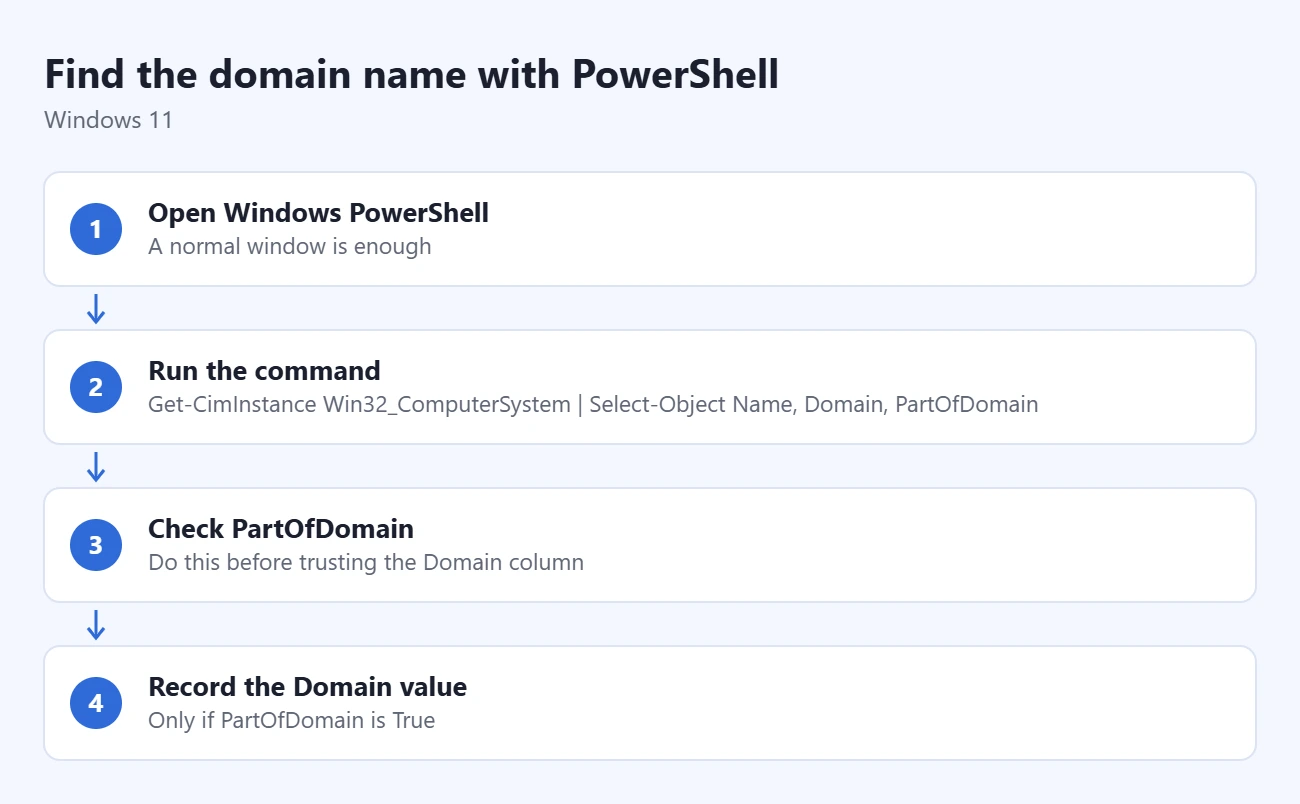
To find your Windows 11 computer’s Active Directory domain, open PowerShell and run Get-CimInstance Win32_ComputerSystem | Select-Object Name, Domain, PartOfDomain. When PartOfDomain is True, read the Domain value. When it is False, that value represents a workgroup instead.
You can also view membership in System Properties without running a command. This guide checks the computer you are using; it does not join a domain, change a computer name, or disconnect a work account. A website domain, your email address, and your PC’s domain membership are different things.
Find the Domain with PowerShell
- Open Start, type PowerShell, and open Windows PowerShell. Start with a normal window; do not choose an administrator window just to view membership.
- Paste
Get-CimInstance Win32_ComputerSystem | Select-Object Name, Domain, PartOfDomaininto the window and press Enter. - Read Name as the computer name. Check PartOfDomain before treating the Domain column as a domain name.
- If PartOfDomain is True, record the Domain value exactly as displayed. If it is False, the computer is not joined to a traditional Active Directory domain; the Domain column shows its workgroup.
Microsoft documents these meanings in the Win32_ComputerSystem properties. A custom workgroup name can look like an organization name, so the word WORKGROUP alone is not the test. If membership is blank or unknown, do not interpret it as a successful domain check.
The Get-CimInstance command reads local Windows information when no remote computer or session is specified. Keep the command as shown to check this PC. The Select-Object portion limits the output to three useful fields. It does not change the values or connect the computer to a network.
View Membership in System Properties
- Press Windows key + R to open Run.
- Type sysdm.cpl and select OK to open System Properties.
- Select the Computer Name tab if another tab is active.
- Look for Domain or Workgroup and read the value next to that label. Close the window when finished.
A Domain label identifies traditional domain membership; a Workgroup label identifies workgroup membership. Do not use Change merely to read this information. That control is for changing the name or membership. Microsoft’s domain-joining instructions use the Computer Name controls for that separate operation.
The Full computer name field is a different value. Copy the membership value when IT asks for the domain, and include the computer name separately if requested. Settings > System > About is useful for device information, but do not assume Device specifications will always contain a domain field. The direct System Properties route avoids depending on that layout.
Check Microsoft Entra Join Status Separately
An organization can connect a device to Microsoft Entra ID, formerly Azure Active Directory. This cloud join is different from a traditional Active Directory domain join. A PC can also have both through a hybrid configuration. Seeing a work or school account in Settings does not by itself resolve which join state applies.
- If IT needs the device’s join state, open Command Prompt in your normal signed-in work-user session.
- Run
dsregcmd /status. - Find the Device State section. Read DomainJoined, DomainName when present, and AzureAdJoined.
Microsoft’s dsregcmd reference explains the fields: DomainJoined YES means an Active Directory domain join; AzureAdJoined YES means a Microsoft Entra join. Both YES indicates a hybrid join. DomainName supplies the domain for a domain-joined device. A cloud-only join can therefore coexist with no traditional domain membership.
WorkplaceJoined appears under User State and refers to Microsoft Entra registration for the current user. Registration is not the same as Entra join. Give IT the relevant fields and the command’s error, if any; avoid posting the entire diagnostic output publicly because it contains device and organization details.
Why whoami Does Not Answer the Same Question
whoami describes the currently signed-in account. Microsoft’s whoami documentation identifies /fqdn as a format for the user name. It is not a general command for returning the computer’s domain membership.
A local account, a domain account, and the device’s membership are separate facts. If a whoami result differs from System Properties or the PowerShell check, compare what each command actually reports before assuming the computer is misconfigured. Use the membership checks above for this article’s task.
If You Cannot Find a Domain
A workgroup result is a valid result, not proof that Windows is broken. Connecting to company Wi-Fi or signing into a work website does not establish that the PC has joined an Active Directory domain. If the organization expects membership, ask IT to confirm the intended setup rather than changing it yourself.
If a command is blocked, returns access denied, or cannot read the information, save the exact error and try the System Properties view. Do not weaken organization restrictions to complete a lookup. If both checks are unavailable, provide IT with the computer name and explain which checks failed.
To connect a computer after IT confirms the correct domain and authorization, see our Windows 11 domain-joining guide. Joining has edition, permission, and network requirements and can require a restart. Finding the existing name is a separate read-only task.
Common Questions
Is the domain the same as my computer name?
No. The computer name identifies the individual PC. The membership label identifies its domain or workgroup. Record both with their labels if support asks for them.
Does this show my website or email domain?
No. This article checks Windows device membership. A company email suffix or a website address may resemble a domain name, but that resemblance does not prove the PC belongs to it.
Do I need to restart after checking?
No restart is needed simply to read these values. Close the windows when you have the result, and keep the label with the name so a workgroup is not mistaken for a domain.

Matthew Burleigh is the founder, head writer, and editor of Solve Your Tech, which he launched in 2012. He has written technology tutorials since 2008 and worked in IT since 2003, including small-business support, IT management, and consulting. He holds Bachelor’s and Master’s degrees in Computer Science from Arizona State University.
Matthew writes practical guides for Windows, iPhone and iPad, Microsoft Office, Outlook, Google apps, and Android. Solve Your Tech’s guides are tested on current devices or checked against official product documentation, with clear steps, sources, and update dates.
Read more about Matthew and how Solve Your Tech writes and updates its guides, or report a correction.