To test a webcam in Windows 11, open Start, type Camera, and open the Camera app. A moving preview shows that the selected camera can supply video to that app. Check the picture, then test the camera in the meeting app you actually plan to use.
This guide covers built-in laptop cameras and connected webcams on Windows 11. You can start with the preview without making a recording. Choose an uncluttered test area so you do not accidentally include private documents or another person in the image.
Test the Picture in the Camera App
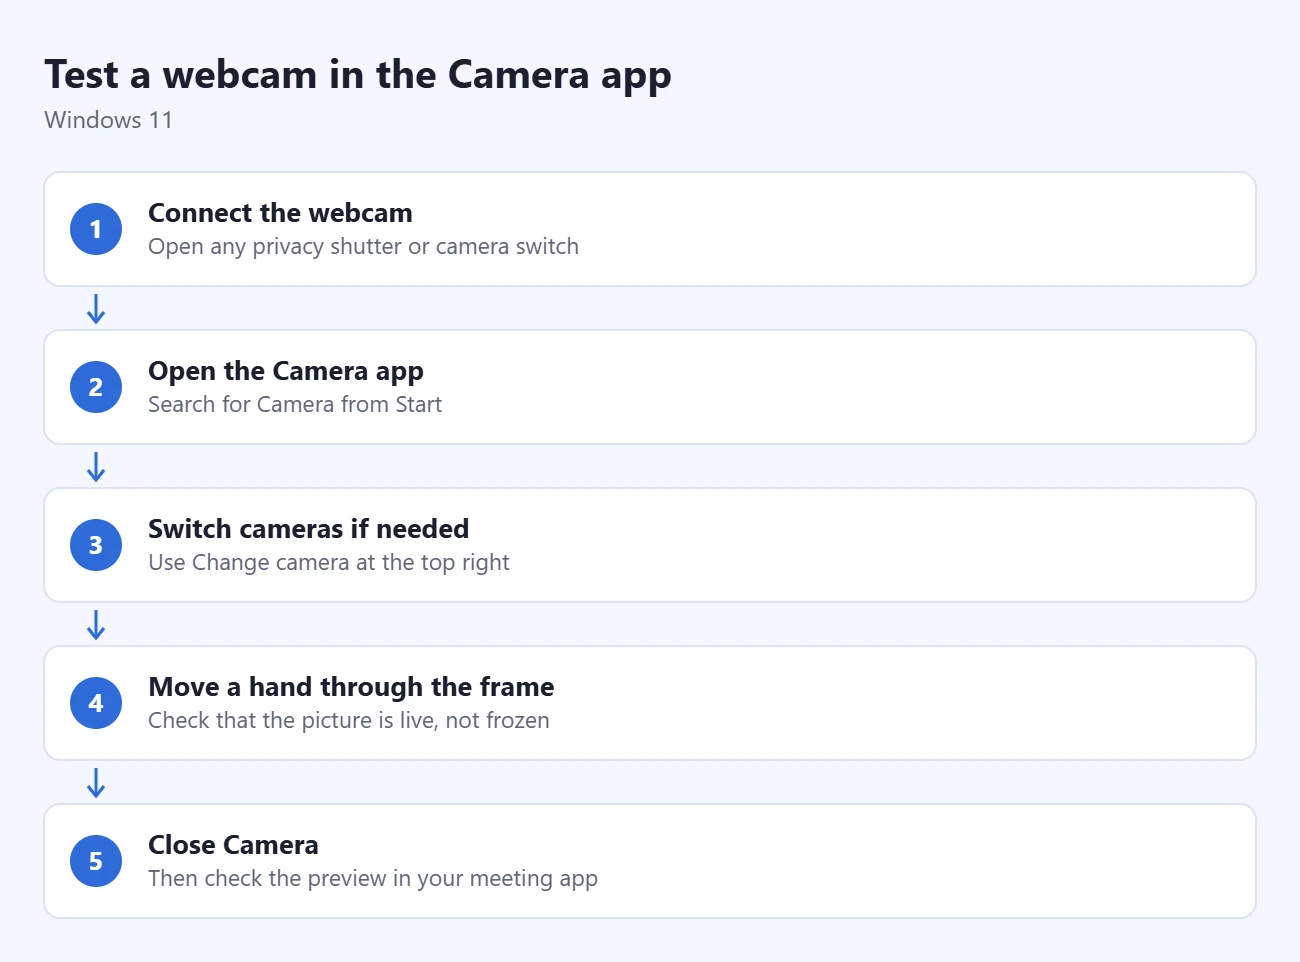
- Connect an external webcam if needed. Open a physical privacy shutter or check the laptop’s camera switch. Position the camera where you will use it.
- Open Start, type Camera, and select the Windows Camera app. Expect a live picture. If access is blocked, use the permissions section below.
- If the computer has several cameras, use Change camera at the top right to switch between them. Confirm that the view comes from the intended device.
- Move a hand through the frame. Check that the picture changes instead of remaining frozen. Look at your normal sitting position: is your face framed clearly, or is a bright window behind you making it dark?
- Close Camera when finished, then check the meeting app’s own camera preview. A successful Camera test does not prove that every other app has selected or can access the same device.
Microsoft’s Camera app guide also explains optional captures. Select Photo and then Take photo, or select Video, Take video, and then Stop. Use the thumbnail at the bottom right to review the result. A preview is enough for the basic video test.
Use the Camera Preview in Settings
Another route is Settings > Bluetooth & devices > Cameras. Under Connected cameras, select your webcam. Windows starts its preview and displays supported controls. Brightness, contrast, saturation, sharpness, and other options depend on the camera and Windows version.
Changes here are saved as that camera’s defaults for your Windows user account. Note the original value before experimenting so you can put it back. Meeting apps may override these defaults, so check the final picture inside your intended app too.
Microsoft’s Camera settings documentation notes that some devices, including Windows Hello infrared cameras and some specialist cameras, do not appear on this page. An absent entry alone does not establish a hardware fault.
Check Camera Permissions When Access Is Blocked
- Open Settings > Privacy & security > Camera.
- Check Camera access. Turn it on if you want this device to allow camera use. If the control cannot be changed, ask the device administrator.
- For a listed Microsoft Store app, check Let apps access your camera and that app’s individual switch.
- For desktop apps, check Let desktop apps access your camera. This is a shared desktop-app control; Windows does not provide individual switches for those apps on this page.
- Reopen the app and try its preview again.
See Microsoft’s camera permissions guide for the distinctions and exceptions. Do not turn on every app switch just to test one camera. On a managed work or school computer, use your organization’s approved access process.
Interpret a Failed or Poor-Quality Test
- No picture or a crossed-out camera: Recheck the physical shutter, keyboard camera key, or switch. External webcams also need a secure connection; try another USB port.
- Camera works, but the meeting app does not: Check the meeting app’s selected device and access settings. Close other apps using the camera before retrying. Focus on the failing app before changing drivers.
- Dark or grainy image: Try light in front of you rather than directly behind you. Compare the same position before and after the change.
- Blurred image: Check for a protective film or obstruction. Follow the camera manufacturer’s cleaning instructions. Adjust your distance and allow any supported autofocus to settle.
- Camera still fails: Save your work, restart the PC, and retry. Microsoft’s camera troubleshooting guide starts Windows 11 diagnostics in the Get Help app and covers Windows Update and optional camera-driver updates. Use that guided process or manufacturer support for persistent faults.
Does a Camera Test Check the Microphone?
A moving camera preview checks video only. If you need sound for a call, separately select and test the microphone in the meeting app. A webcam’s microphone, a headset, and the laptop microphone may be different input devices.
Our Windows microphone and audio guides cover input level and sound troubleshooting. Check the camera picture and microphone separately before the call, then close your test apps.

Matthew Burleigh is the founder, head writer, and editor of Solve Your Tech, which he launched in 2012. He has written technology tutorials since 2008 and worked in IT since 2003, including small-business support, IT management, and consulting. He holds Bachelor’s and Master’s degrees in Computer Science from Arizona State University.
Matthew writes practical guides for Windows, iPhone and iPad, Microsoft Office, Outlook, Google apps, and Android. Solve Your Tech’s guides are tested on current devices or checked against official product documentation, with clear steps, sources, and update dates.
Read more about Matthew and how Solve Your Tech writes and updates its guides, or report a correction.