To fix screen flickering in Windows 11, press Windows + Ctrl + Shift + B to restart the graphics driver, then open Task Manager to see whether the cause is the display driver or an app. Update or roll back the graphics driver, update or remove the problem app, and try a different refresh rate for the monitor. The steps below also apply to Windows 10.
Save your work first, and think about what changed just before the flickering started, such as a driver update, a new app or a new monitor. Make one change at a time and check the screen after each, so you know which fix worked.
Start with Task Manager
Press Ctrl + Shift + Esc. If that does not open Task Manager, use Ctrl + Alt + Delete and choose it. Watch the window while the flickering occurs.
| What you see | What to check next |
|---|---|
| Task Manager flickers with the desktop | A display driver is a likely cause. Start with the driver section below. |
| Task Manager stays steady while other windows flicker | Investigate a recently installed or updated app. |
| Only an external display flickers | Also check its cable, power, and supported refresh rate. |
Microsoft’s screen flickering guide uses the same Task Manager test to tell a driver problem from an app problem.
For a quick graphics reset, press Windows + Ctrl + Shift + B. The screen goes black for a second and you may hear a beep. If the flickering comes back, use the matching section below.
Check the graphics driver
Right-click Start, open Device Manager, and expand Display adapters. Identify the adapter you are troubleshooting; computers can list more than one.
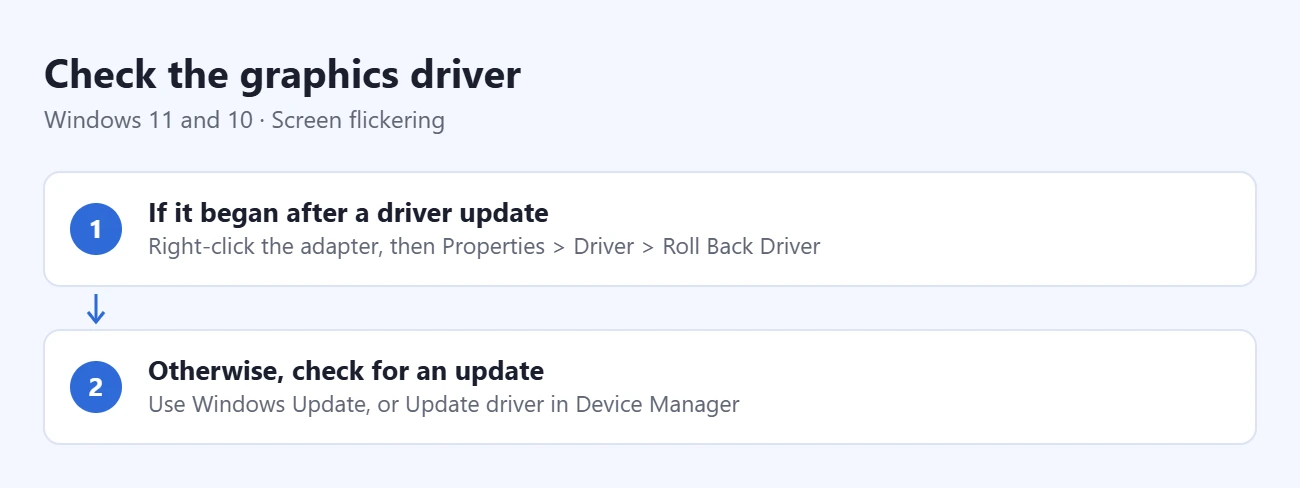
- If flickering began after a driver update: right-click the adapter, select Properties > Driver > Roll Back Driver, follow the prompts, and restart. Rollback needs administrator access. A disabled button means no previous driver is available through this control.
- Otherwise, check for an update: use Windows Update, or right-click the adapter in Device Manager and select Update driver with automatic search. If Windows finds nothing, check the computer or graphics manufacturer’s official support site for your model and Windows version.
If those choices fail, Microsoft’s driver update and reinstall instructions explain how to uninstall the display adapter and restart so Windows reinstalls it. Download the official driver for your model first, in case the display is hard to use afterward.
Get drivers only from Windows Update, your PC maker, or the graphics chip maker. Write down the adapter name and each change you make so you can describe it to support if needed.
Update or remove the suspected app
Update the app through Microsoft Store or its developer first. If flickering persists, uninstall one suspected app, restart, and check again:
- Windows 11: open Settings > Apps > Installed apps, find the app, and choose Uninstall from its menu.
- Windows 10: open Settings > Apps > Apps & features, select the app, and choose Uninstall.
Before you uninstall, save any work in the app and make sure you can reinstall it and sign back in. Remove one app at a time so you know which one caused the flickering.
Check the affected monitor’s refresh rate
Write down the current rate before changing it. Open Settings > System > Display, then use the route for your version:
- Windows 11: select Advanced display, choose the affected monitor, and open Choose a refresh rate.
- Windows 10: select Advanced display settings, choose the display, and use the Refresh rate list.
Try another supported rate shown in the list, then check the same screen activity. There is no single correct rate for every monitor. In Windows 11, an asterisk next to a rate indicates that choosing it also changes the resolution. Microsoft’s refresh-rate instructions explain the available controls.
Use Safe Mode if normal troubleshooting is difficult
Safe Mode starts Windows with a basic set of drivers and no startup apps. If the flickering stops in Safe Mode, a driver or an app that starts with Windows is the likely cause.
- Save your work. If the device uses BitLocker encryption, have its recovery key available before entering recovery tools.
- Open Start’s power menu and hold Shift while selecting Restart. This opens the Windows recovery environment.
- Select Troubleshoot > Advanced options > Startup Settings > Restart.
- Press 4 or F4 for Safe Mode. Restart normally when you finish.
If you need another route in, you can start Windows in Safe Mode while booting.
See Microsoft’s Startup Settings guide for the other startup options.
Consider System Restore for a recent change
If you have an existing restore point from before the flickering began, System Restore can revert system settings and installed software. It can remove apps or drivers installed after that point. It is not a backup of your personal files.
- Open Control Panel > Recovery > Open System Restore.
- Select Next, choose a suitable restore point, and use Scan for affected programs to review the changes.
- Back up important work, then select Next > Finish. The computer restarts and rolls back.
If no suitable point exists, skip this option. Microsoft’s System Restore instructions also cover using it through recovery tools.
When the problem may involve hardware
For an external monitor, check that its power and display cables are firmly connected. Try another compatible cable or monitor to isolate the connection. Microsoft’s blank-screen troubleshooting guide includes these hardware checks.
If the screen remains unusable or the problem persists after the relevant tests, contact the computer or monitor manufacturer with the model, when flickering started, and your test results. For arrangement and connection questions, browse our Windows monitor and display guides.
If your tests changed resolution, scale or refresh rate, reset display settings in Windows 11 to put them back.

Matthew Burleigh is the founder, head writer, and editor of Solve Your Tech, which he launched in 2012. He has written technology tutorials since 2008 and worked in IT since 2003, including small-business support, IT management, and consulting. He holds Bachelor’s and Master’s degrees in Computer Science from Arizona State University.
Matthew writes practical guides for Windows, iPhone and iPad, Microsoft Office, Outlook, Google apps, and Android. Solve Your Tech’s guides are checked step by step against the device or app maker’s own documentation and tested on his own devices whenever he has the hardware or software, with clear steps, sources, and update dates.
Read more about Matthew and how Solve Your Tech writes and updates its guides, or report a correction.