To enable Wake-on-LAN in Windows 11, check your PC’s supported sleep mode, then configure its supported firmware and Ethernet-adapter wake settings. A second device sends a “magic packet” addressed to that adapter. The computer must still have power and a supported network connection; this cannot start an unplugged PC.
Start with a local-network test from Sleep. Waking after shutdown is a separate, hardware-dependent capability. Also check for Modern Standby before following traditional Power Management instructions: those controls are not appropriate for every Windows 11 PC.
Check Compatibility and Sleep Mode First
- Check your PC or motherboard manual for Wake-on-LAN support, the supported adapter or dock, and allowed power states. A USB Ethernet adapter does not automatically support wake.
- Connect the target PC by Ethernet and keep its power connected. Use the manufacturer’s recommended power arrangement for a laptop. Wi-Fi wake requires explicit device support; Ethernet instructions alone do not enable it.
- Use a second device on the same local subnet for the first test. Guest Wi-Fi or an isolated network can prevent the packet reaching the PC. Have administrator access available for driver and firmware settings.
Open Start, type Command Prompt, and open it. Run powercfg /a. This read-only command lists available sleep states. Look for Standby (S3) or Standby (S0 Low Power Idle), which identifies Modern Standby. Keep the result for troubleshooting.
For Modern Standby, follow your manufacturer’s current instructions for that model and adapter. Microsoft explicitly cautions against enabling legacy S3 Wake-on-LAN on Modern Standby systems. Do not use a registry workaround to force S3 or restore a missing Power Management tab. Intel also documents that these options can be unavailable with Modern Standby.
For a PC using traditional S3 sleep, use the following firmware and driver steps. Our Windows 11 sleep and hibernate guide explains the difference between those power states.
Enable the Supported Firmware Setting
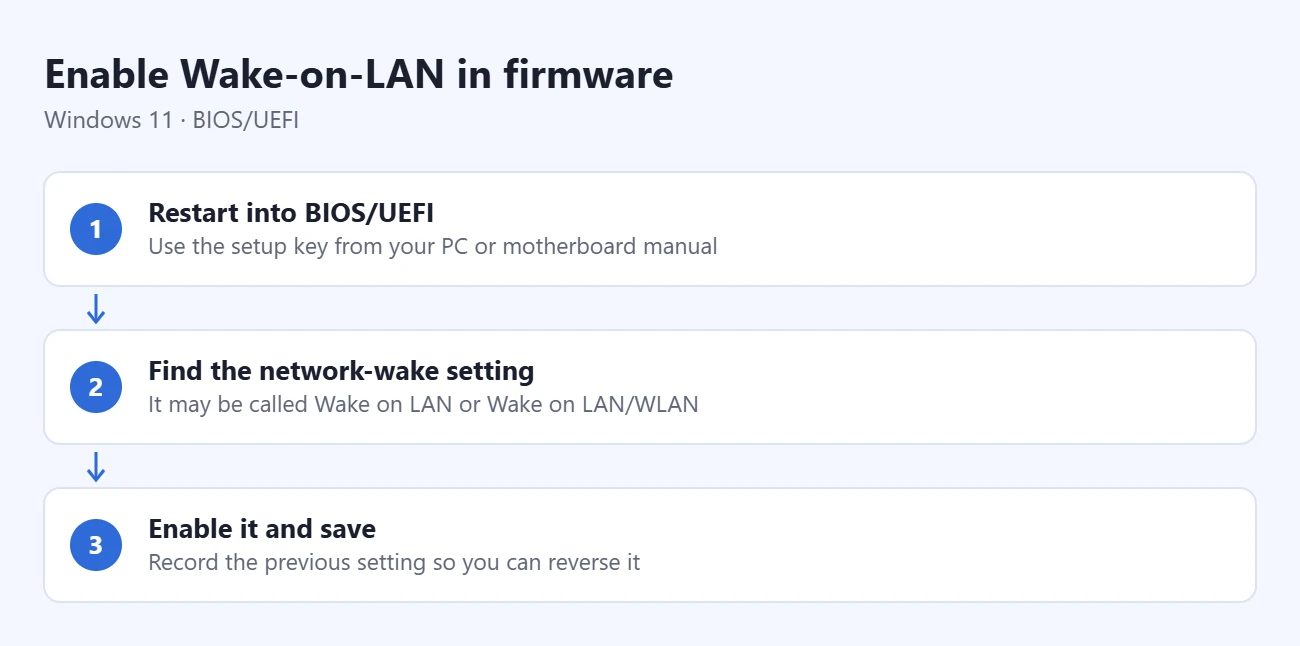
- Save your work and restart. Use the setup key specified in your PC or motherboard manual to enter BIOS/UEFI, the firmware settings that load before Windows.
- Find the manufacturer’s network-wake setting. It may be called Wake on LAN, Wake on LAN/WLAN, or a similar name under power or system-management settings. The location and supported choices vary.
- Enable the documented LAN-wake option for your model. Record the previous setting so you can reverse it. Save changes and let the PC boot back into Windows.
For example, Dell’s setup guide shows System Management > Wake on LAN on supported models. It also describes model-specific Deep Sleep and Energy-Efficient Ethernet settings that can prevent wake. Apply such changes only where your own model’s documentation calls for them. Changing unrelated boot, storage, or security settings is unnecessary.
Configure the Ethernet Adapter for Traditional Sleep
- Right-click Start and select Device Manager. Expand Network adapters.
- Right-click the Ethernet adapter connected to your cable, then select Properties. Choose the wired controller, rather than a Wi-Fi or virtual adapter.
- Open Advanced. If your driver offers Wake on Magic Packet, set it to Enabled. Use the adapter maker’s instructions for differently named options.
- Open Power Management, when available. Enable Allow this device to wake the computer. If supported, selecting Only allow a magic packet to wake the computer restricts waking to that event rather than other network traffic.
- Select OK to save. Restart if the driver or manufacturer’s instructions require it.
Intel’s adapter guidance documents additional driver settings for its supported products; it is not a universal checklist for every controller. If the tabs or options are missing, recheck the sleep-mode result, the exact adapter, and its OEM driver. Do not automatically uncheck every power-saving option or enable Internet-wake features.
Send a Magic Packet and Check the Result
- While the target PC is awake, run
ipconfig /allin Command Prompt. Under the connected Ethernet adapter, note its Physical Address (MAC address) and IPv4 address. Do not copy another adapter’s address. - On the second local device, open a Wake-on-LAN sender supported by that device, or your router’s documented wake tool. Create a target entry with the Ethernet MAC address and any local address fields the tool requests.
- Save work on the target PC, then choose Start > Power > Sleep. Keep the Ethernet cable and power connected.
- From the second device, send the wake packet to the saved target. Check whether the PC resumes; wake support does not bypass the Windows sign-in screen.
One documented Windows sender is NirSoft’s WakeMeOnLan. Its vendor page lists sender support through Windows 10, so check compatibility with your sending device. With the target awake, F5 scans the local network; verify the discovered MAC address. After putting the target to sleep, select that entry and choose Wake Up Selected Computer (F8). Other tools use different controls.
If the PC Does Not Wake
- Check the state: Test Sleep separately from Hibernate or shutdown. Microsoft documents S3/S4 wake support, while fast-startup and S5 shutdown wake depend on firmware-specific support. Disabling Fast Startup is not a guarantee; follow your OEM’s instructions if shutdown wake is your goal.
- Check delivery: Recheck the wired MAC address, cable, same-subnet connection, and sender’s local broadcast settings. Adapter link lights can help indicate power, but are not proof that wake works. Do not disable your firewall or forward Internet ports just to test local wake.
- Check Modern Standby: Network wake can vary with power and connectivity. Microsoft notes that Windows 11 24H2 and later can suppress most wake sources after excessive standby battery drain. Use the power button or lid to resume, connect power, and check the OEM guidance.
- Check configuration: Run
powercfg /devicequery wake_armedto list devices configured for sleep wake, andpowercfg /lastwakeafter a wake to inspect the reported cause. These are diagnostic clues, not an end-to-end compatibility test. See Microsoft’s command reference.
The Modern Standby wake-source documentation explains power and network limitations. Waking across the Internet needs a separately designed remote-access arrangement; a successful local test does not establish that capability. Our guide on setting up a computer for remote access covers the main options.
Undo the Change or Investigate Unexpected Waking
For the traditional adapter setup, return to its properties and disable the wake option you enabled, or restore your recorded settings. Review powercfg /lastwake first if waking is unexpected: a timer or another device can be responsible. Confirm a repeatable local Sleep test before experimenting with other power states.

Matthew Burleigh is the founder, head writer, and editor of Solve Your Tech, which he launched in 2012. He has written technology tutorials since 2008 and worked in IT since 2003, including small-business support, IT management, and consulting. He holds Bachelor’s and Master’s degrees in Computer Science from Arizona State University.
Matthew writes practical guides for Windows, iPhone and iPad, Microsoft Office, Outlook, Google apps, and Android. Solve Your Tech’s guides are tested on current devices or checked against official product documentation, with clear steps, sources, and update dates.
Read more about Matthew and how Solve Your Tech writes and updates its guides, or report a correction.