While you might be accustomed to using a content management system like WordPress or Shopify to manage your website, occasionally, you will need to put files online that you can’t do with those applications.
This will require the use of an FTP client, such as Filezilla.
Our tutorial below will show you how to use Filezilla to perform an FTP upload.
Summary – Using Filezilla to Upload Through FTP
- Open Filezilla.
- Enter your username.
- Enter your password, then click QuickConnect.
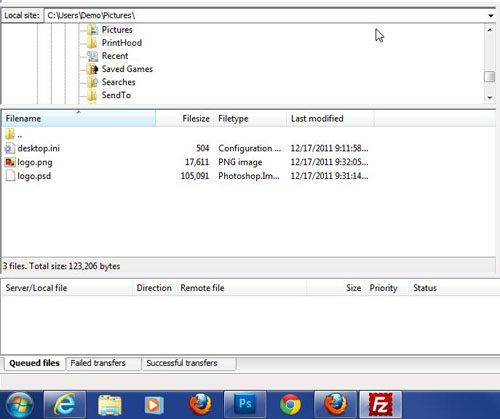
- Choose the file or folder to upload in the Local Site section.
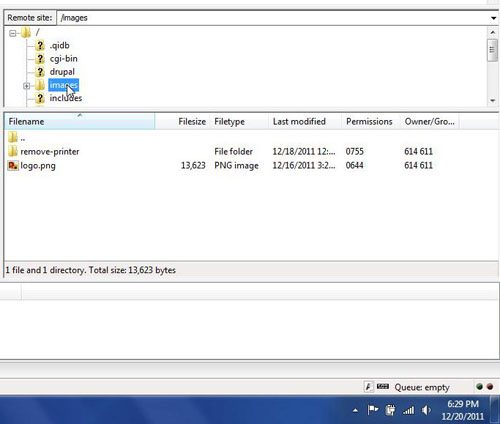
- Select the target for the upload in the Remote Site section.
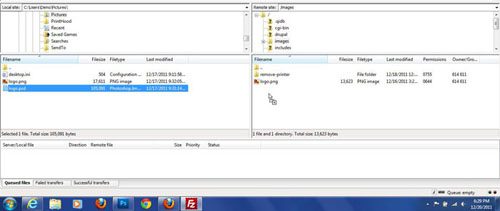
- Drag the file from the left to the right to upload it.
Our guide continues below with additional information on how to perform a Web server upload with Filezilla, including pictures of these steps.
If you need to perform a web server upload, or if a business contact wants you to upload files to their website, then an FTP client, such as Filezilla, can be a helpful tool.
The files that you are uploading do not need to be Web pages, however
. Your web server upload can consist of XML files, images, and PDF files – nearly any type of file can be uploaded to a web server with an FTP client.
With the FTP hostname, user name, and password, you can access the server where the files are to be uploaded and copy the files from your computer to that server.
The steps below will show you how to upload files to your server using the Filezilla application.
How to Use Filezilla to Upload Files to a Website
If you have not already done so, download the Filezilla FTP client to get started with your web server upload.
Step 1: Launch FileZilla, click inside the “Host” field at the top-left corner of the window, then type the FTP address. It should be something like ftp.yoursite.com.

Step 2: Click inside the “Username” field at the top of the window, then type your username. It should be something like “you@yoursite.com.”

Step 3: Click inside the “Password” field, type your password, then click the “Quickconnect” button.

Step 4: Click the folder containing the file that will be included in your web server upload in the “Local Site” section at the bottom-left portion of the window.

Step 5: Click the folder to which you want to upload the file from the “Remote Site” section at the bottom-right portion of the window.

Step 6: Click the file that you want to upload from the window at the bottom-left corner of the window, then drag it to the window at the bottom-right corner of the window to complete your web server upload.

Keep your FTP log in information private, especially if it is the only FTP information that can be used for your web server upload. With these “admin” level FTP credentials, anyone could upload or delete any file stored on your web server.

Matthew Burleigh has been writing tech tutorials since 2008. His writing has appeared on dozens of different websites and been read over 50 million times.
After receiving his Bachelor’s and Master’s degrees in Computer Science he spent several years working in IT management for small businesses. However, he now works full time writing content online and creating websites.
His main writing topics include iPhones, Microsoft Office, Google Apps, Android, and Photoshop, but he has also written about many other tech topics as well.