You may be used to seeing horizontal and vertical lines in an Excel spreadsheet, but you may be wondering if it’s possible to have them in a Word document, too.
Fortunately there is a way for you to learn how to show gridlines in Word 2010 by making a change to a setting on the View menu.
You will then have a grid underlying your content, which can make it easier for you to position objects like drawings or pictures within your document.
How to Make a Grid in Word 2010
- Open the document.
- Select the View tab.
- Check the Gridlines box.
Our tutorial continues below with additional information on how to show gridlines in Word 2010, including pictures of these steps.
Many Word documents will only contain text in them, but the program is capable of including other types of media as well. Whether you are adding pictures, tables, or clip art, adding a visual element other than text can bring a lot of value to your document.
But aligning objects in your Word document can be difficult when you are just using your eyes on a computer screen, so one way to make object alignment simpler is with a grid.
Word 2010 has an option for gridlines that you can toggle on or off. These gridlines are displayed in the editable section of the document, behind your content.
Our guide on how to change Word margin units can help you to switch between inches and cm when you are editing your document.
How to Display Gridlines in a Word 2010 Document (Guide with Pictures)
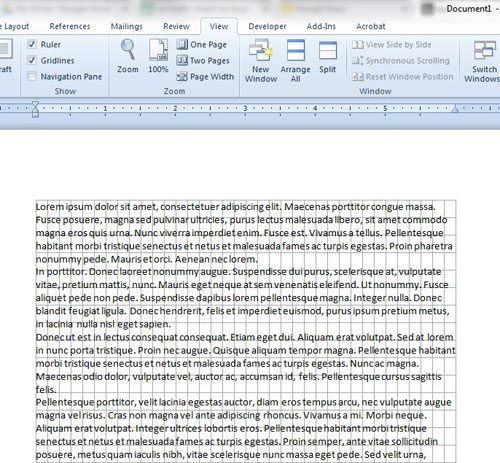
The steps in this article will change the appearance of your document by including a grid that spans the entire editable region of the document.
The gridlines will not print with the document, and are meant to serve as a guide when placing elements within the document.
If you simply have a table and want to hide the borders of the table, then you can read the steps in this guide.
Step 1: Open your document in Microsoft Word 2010.
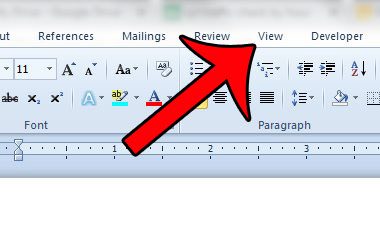
Step 2: Click the View tab at the top of the window.

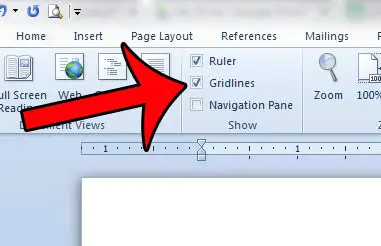
Step 3: Check the box to the left of Gridlines in the Show section of the Office ribbon at the top of the window.

Your Word document should now include a grid that covers the entire editable region of the document body, as in the image below.

Now that you know how to show gridlines in Word 2010 you will be able to come o this menu and check or uncheck that box based on the current needs of your document.
If you find the gridlines to be distracting, or if you are done using them, then you can turn the gridlines off by unchecking the box from Step 3 above.
Are you printing your document on a page size other than letter? This article will show you how to adjust the size of your page for the type of paper on which it will be printed.
Additional Sources

Matthew Burleigh has been writing tech tutorials since 2008. His writing has appeared on dozens of different websites and been read over 50 million times.
After receiving his Bachelor’s and Master’s degrees in Computer Science he spent several years working in IT management for small businesses. However, he now works full time writing content online and creating websites.
His main writing topics include iPhones, Microsoft Office, Google Apps, Android, and Photoshop, but he has also written about many other tech topics as well.